Summary
This document will guide you through the steps to configure PhenixID Authentication Services and/or PhenixID Signing Services to consume user authentication from Azure AD.
PhenixID Authentication Services (PAS) will act as a SAML Service Provider against Azure AD SAML Identity Provider.
Background
Many organizations use Azure AD as the master identity store for all or parts of their user base. With PhenixID, you can:
- Add the second factor in a multifactor authentication flow where the first factor is internal Azure AD authentication.
- Sign documents and transactions electronically using your Azure AD account
- Protect web- and cloud apps (SAML SPs, OIDC RPs) with Azure AD authentication and PhenixID MFA
- Protect internal PhenixID web apps, such as the MyApps portal, with Azure AD authentication
System requirements
- PhenixID Authentication Services 4.0 or higher
- An Azure AD Global administrator account
Instruction
Configure PhenixID Authentication Services
Add authenticator
- Login to Configuration Manager
- Advanced->Authenticators-HTTP
- Depending on the service you protect, you need to create an authenticator:
– Protecting internal web application (for example Myapps, self service, signing) -> SAMLServiceProviderAuthN. Please view this instruction.
– Protecting external service which is a SAML SP -> SAMLSPBroker. Please view this instruction.
– Protecting external service which is an OIDC RP -> OIDCToSAMLBroker. Please view this instruction.
Make sure to set this parameter on the authenticator:
“targetIDP”: “dummy-will-be-changed-later”
Example configuration (in this example the activateonetouch web app will be protected by Azure AD authentication):
 {
"id": "c0742d0c-6d01-47d2-8b37-f4f0ecd5988e",
"alias": "c0742d0c-6d01-47d2-8b37-f4f0ecd5988e",
"name": "SAMLServiceProviderAuthN",
"displayName": "External IdP",
"configuration": {
"successURL": "/activateonetouch/",
"sp": "https://x.phenixid.net/saml/sp",
"pipeID": "assertionConsumer",
"targetIDP": "dummy-will-be-changed-later",
"acsUrl": "https://x.phenixid.net/activateonetouch/authenticate/c0742d0c-6d01-47d2-8b37-f4f0ecd5988e",
"entityID": "https://x.phenixid.net/saml/sp"
}
}
Fetch SAML SP Metadata
- Fetch your sp metadata by opening the URL:
For a SAMLServiceProviderAuthN authenticator : <acsUrl_in_authenticator_conf>?getSPMeta
For a SAMLSPBroker or OIDCToSAMLBroker authenticator : <acsUrl_in_authenticator_conf>?getMeta
- Save the produced metadata to a xml file.
- Open the metadata xml file in a text editor
- Locate the entityID property value. Copy it. This will be used in later step.
- Locate the AssertionConsumerService->Binding=”urn:oasis:names:tc:SAML:2.0:bindings:HTTP-POST“->Location value. Copy it. This will be used in later step.
Configure Azure AD
- Login to Azure (https://portal.azure.com/) with your Global administrator account
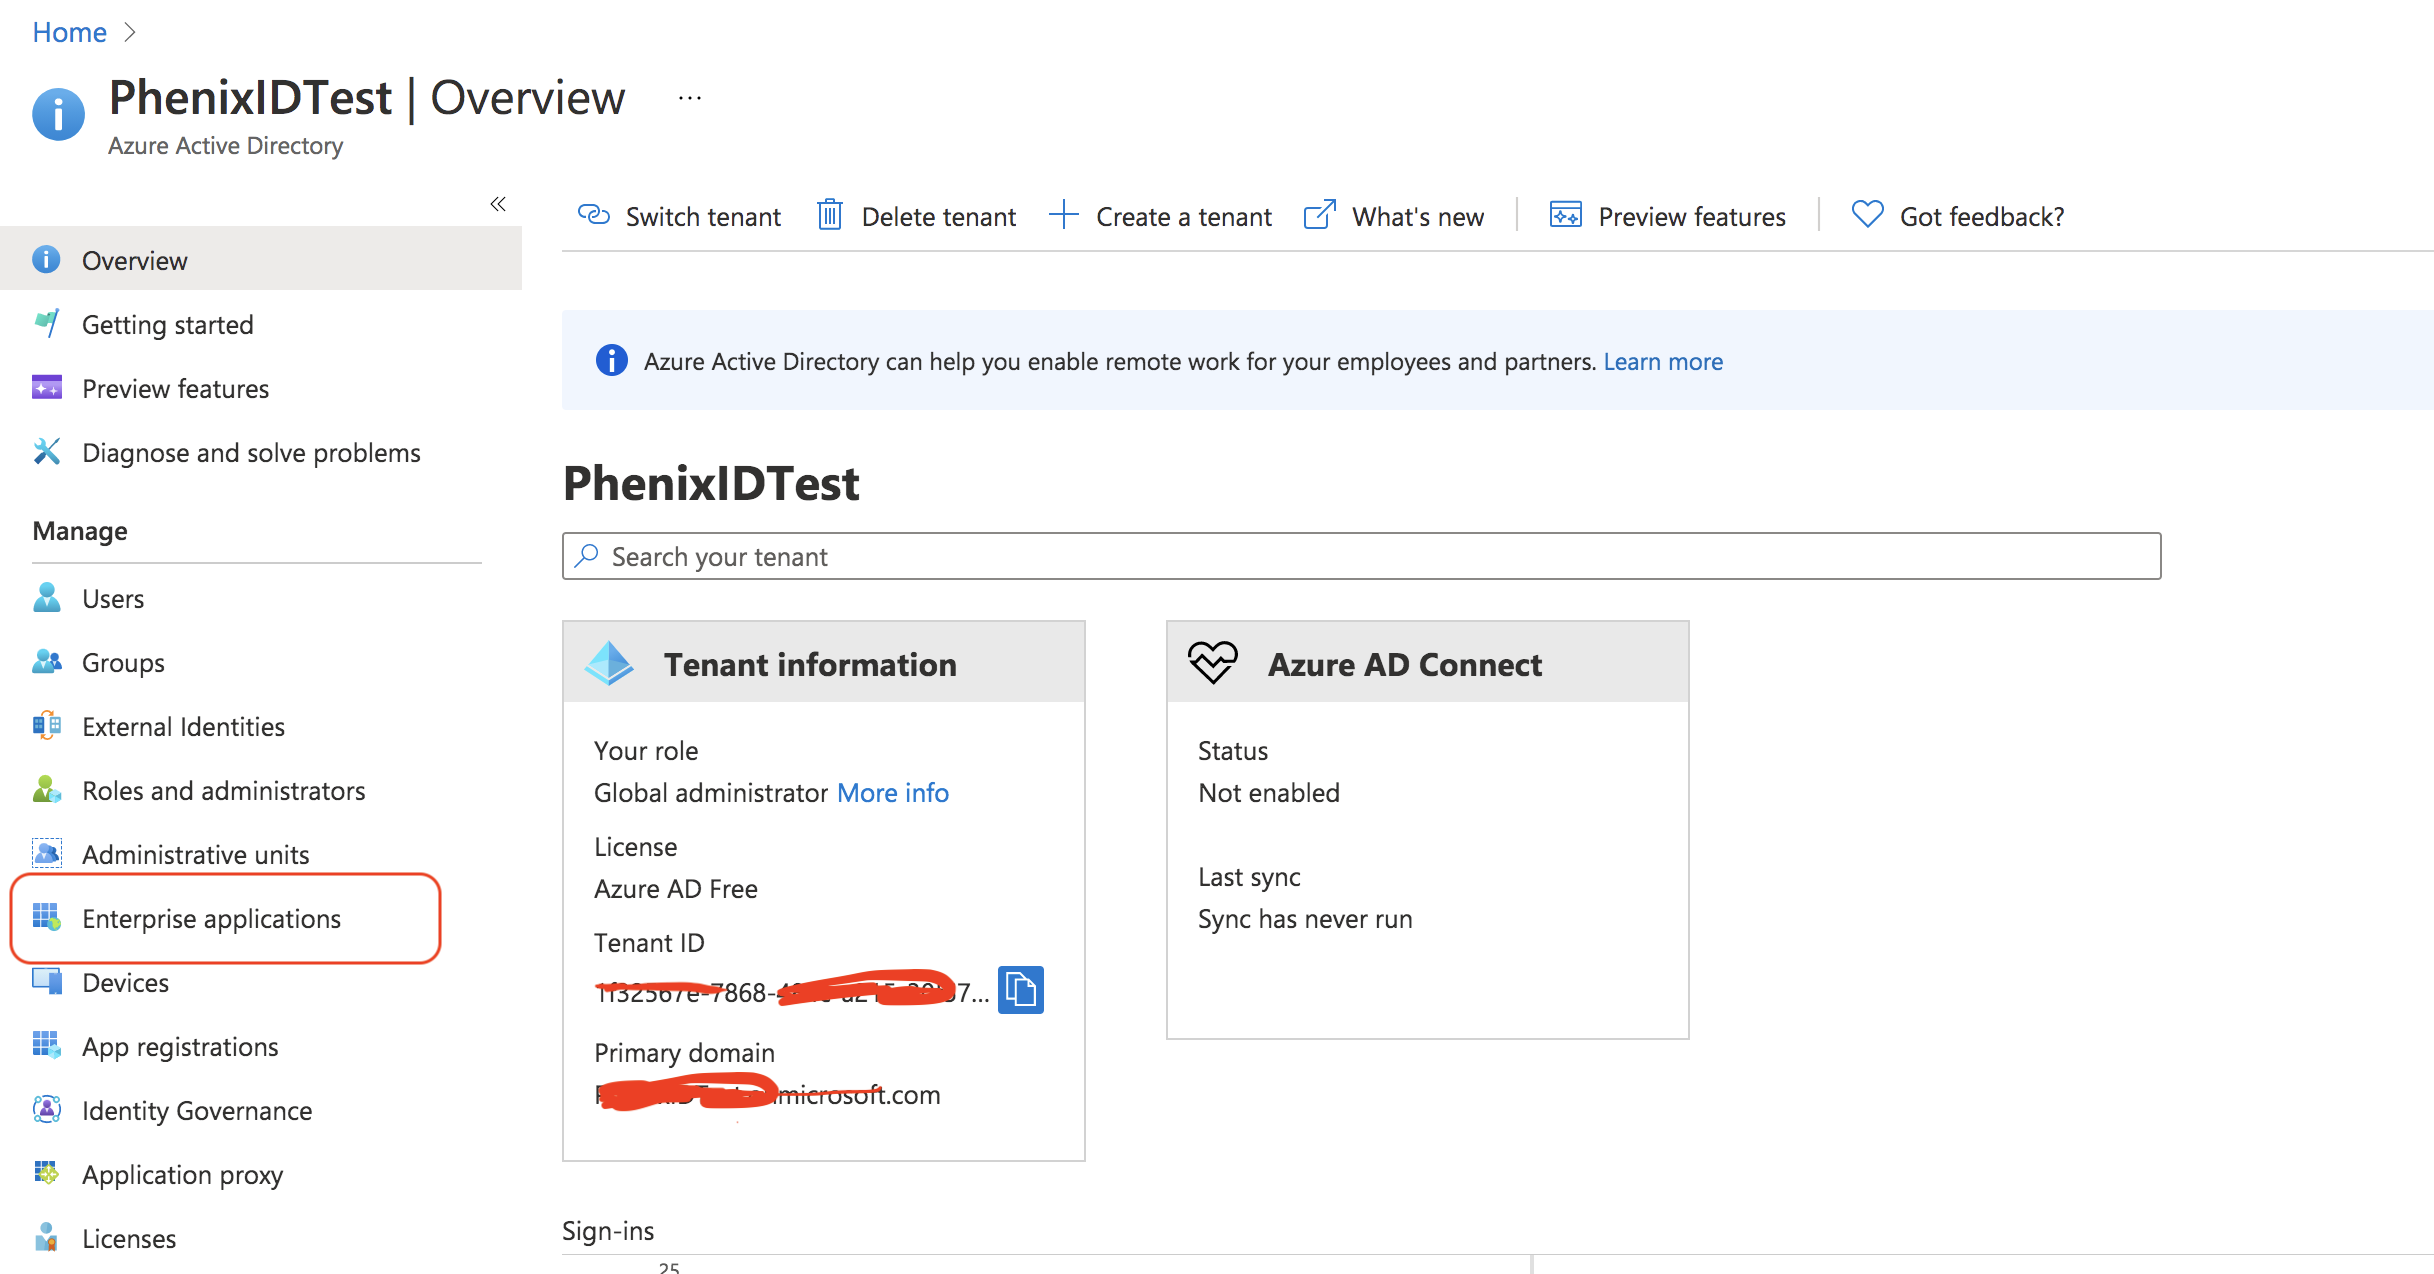
- Navigate to Azure Active Directory
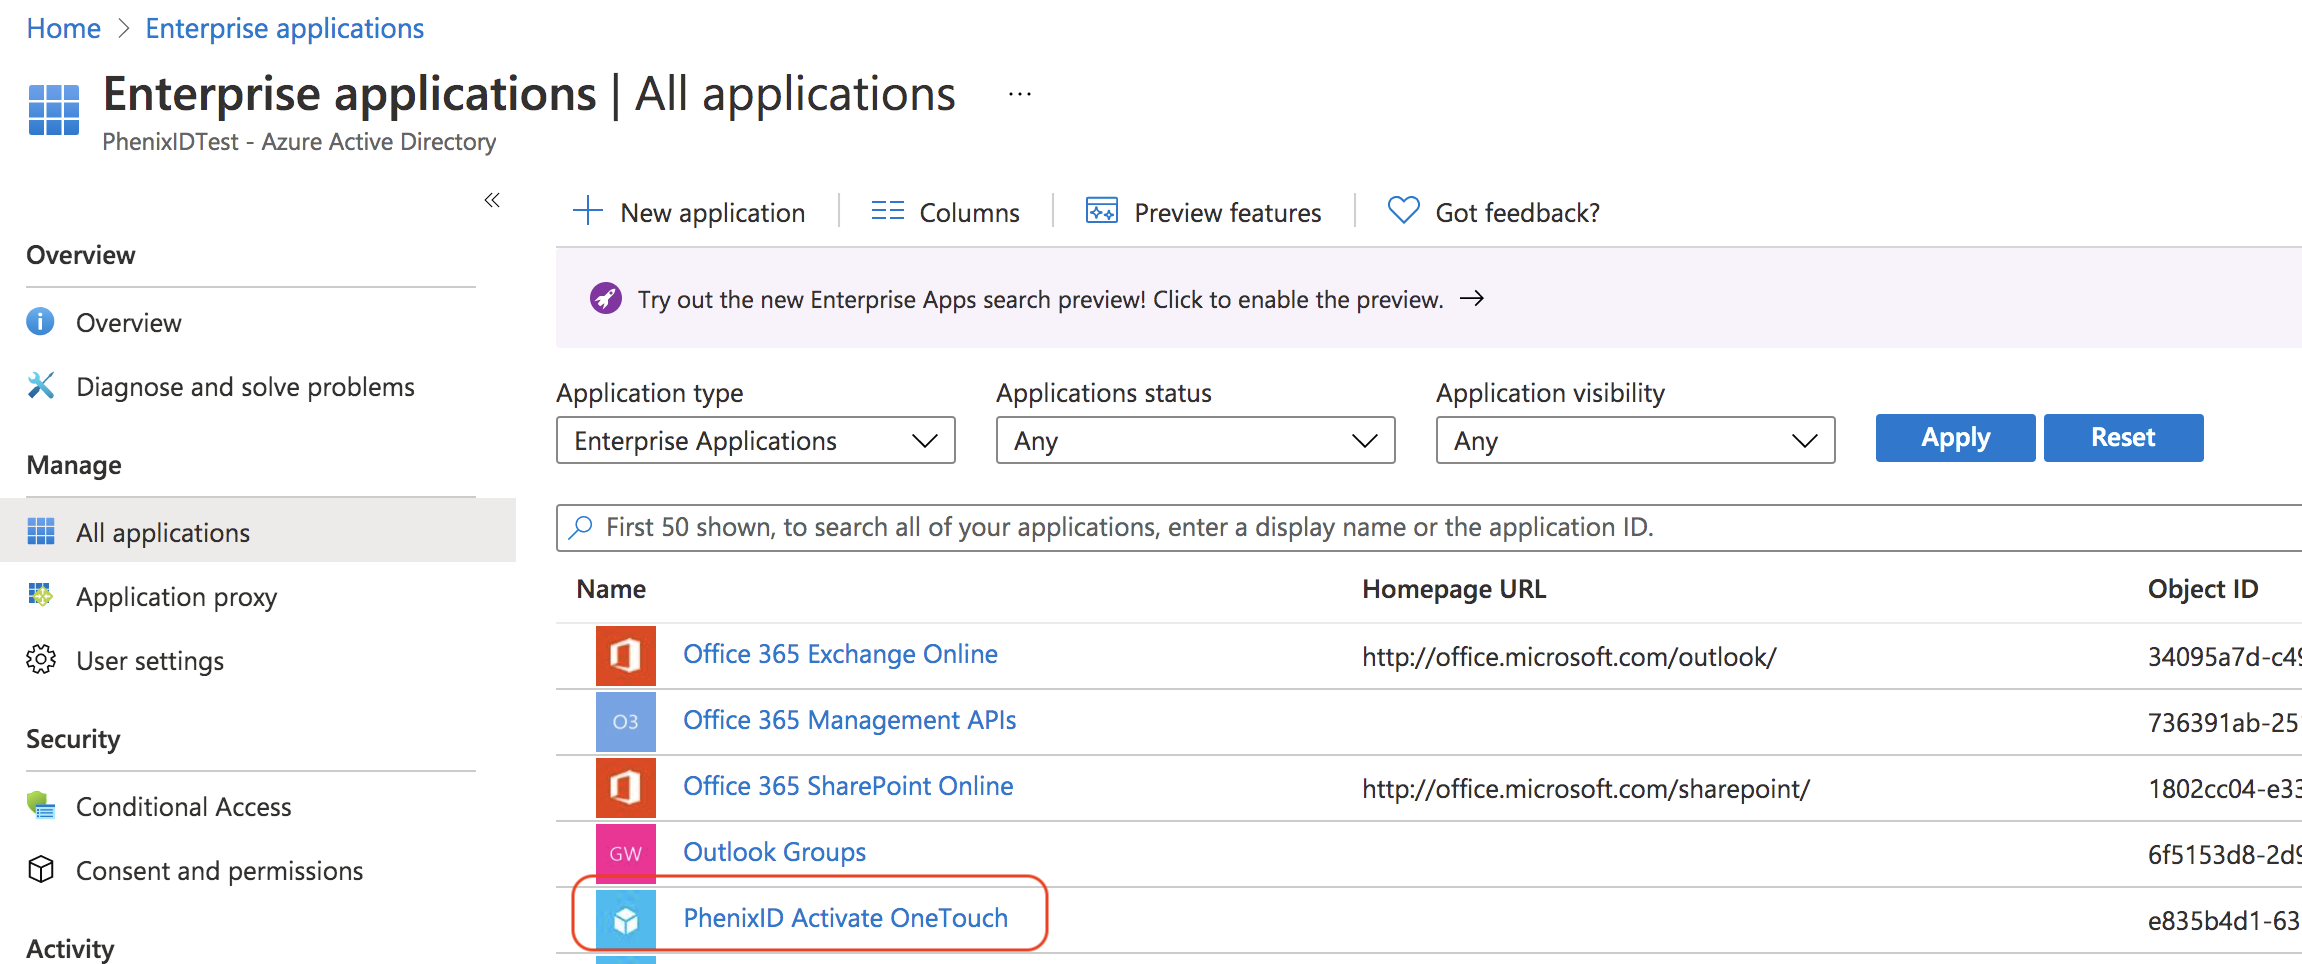
- Click on Enterprise applications
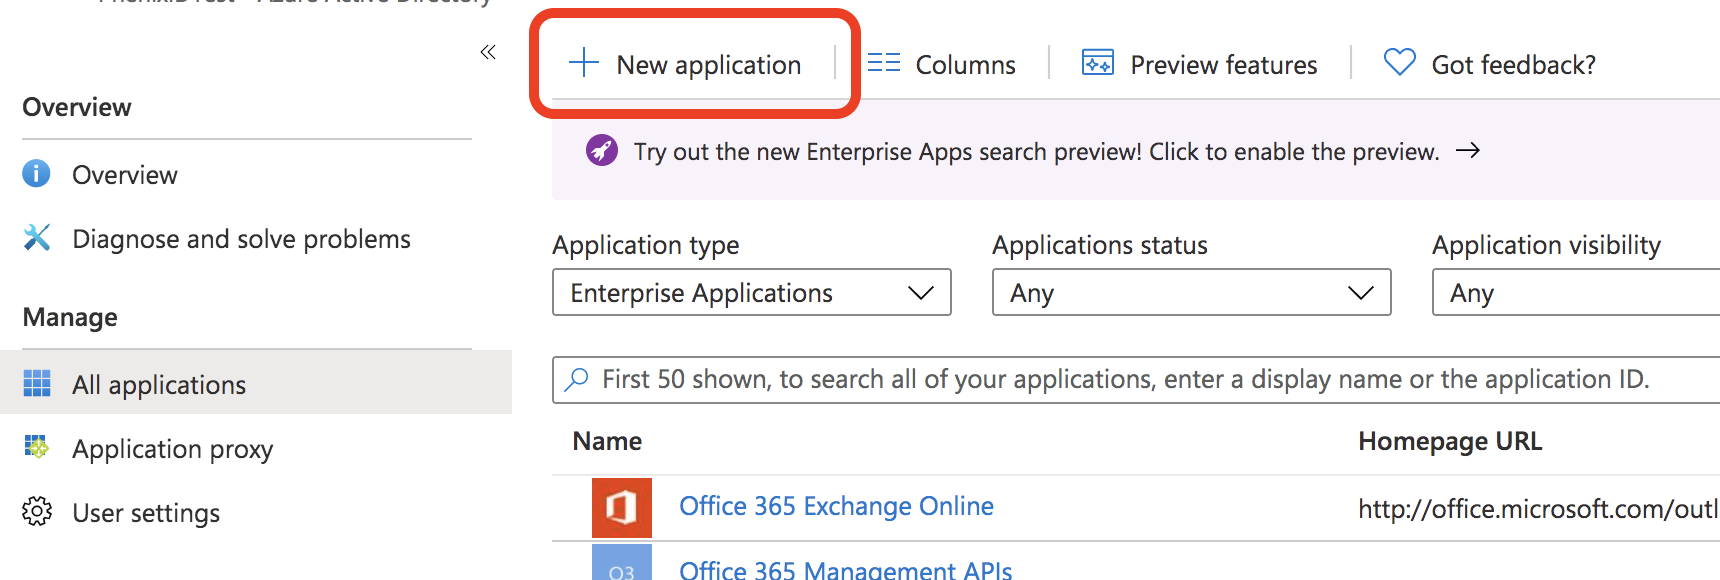
- Click New application
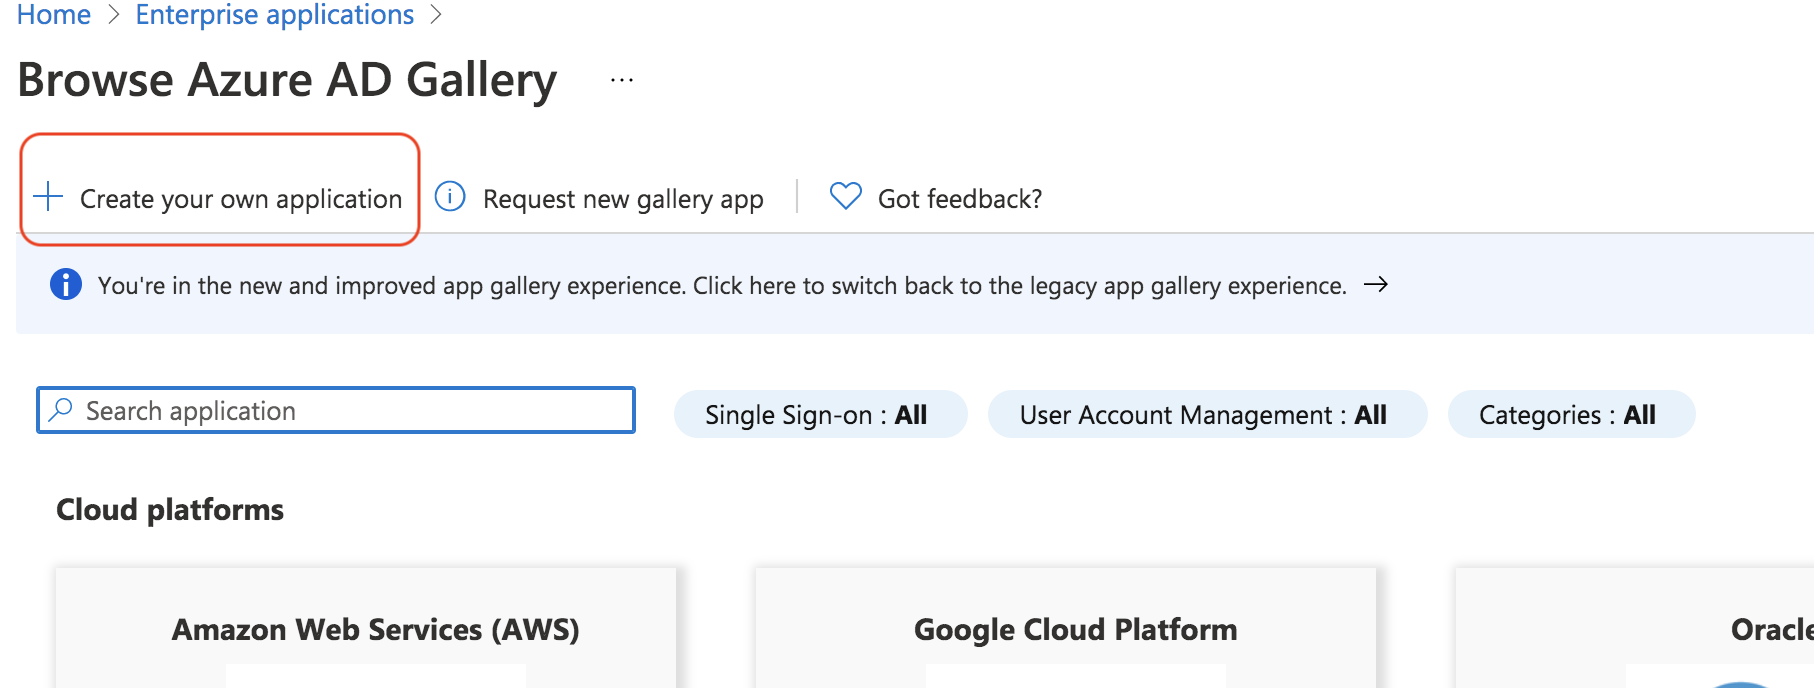
- Click Create your own application
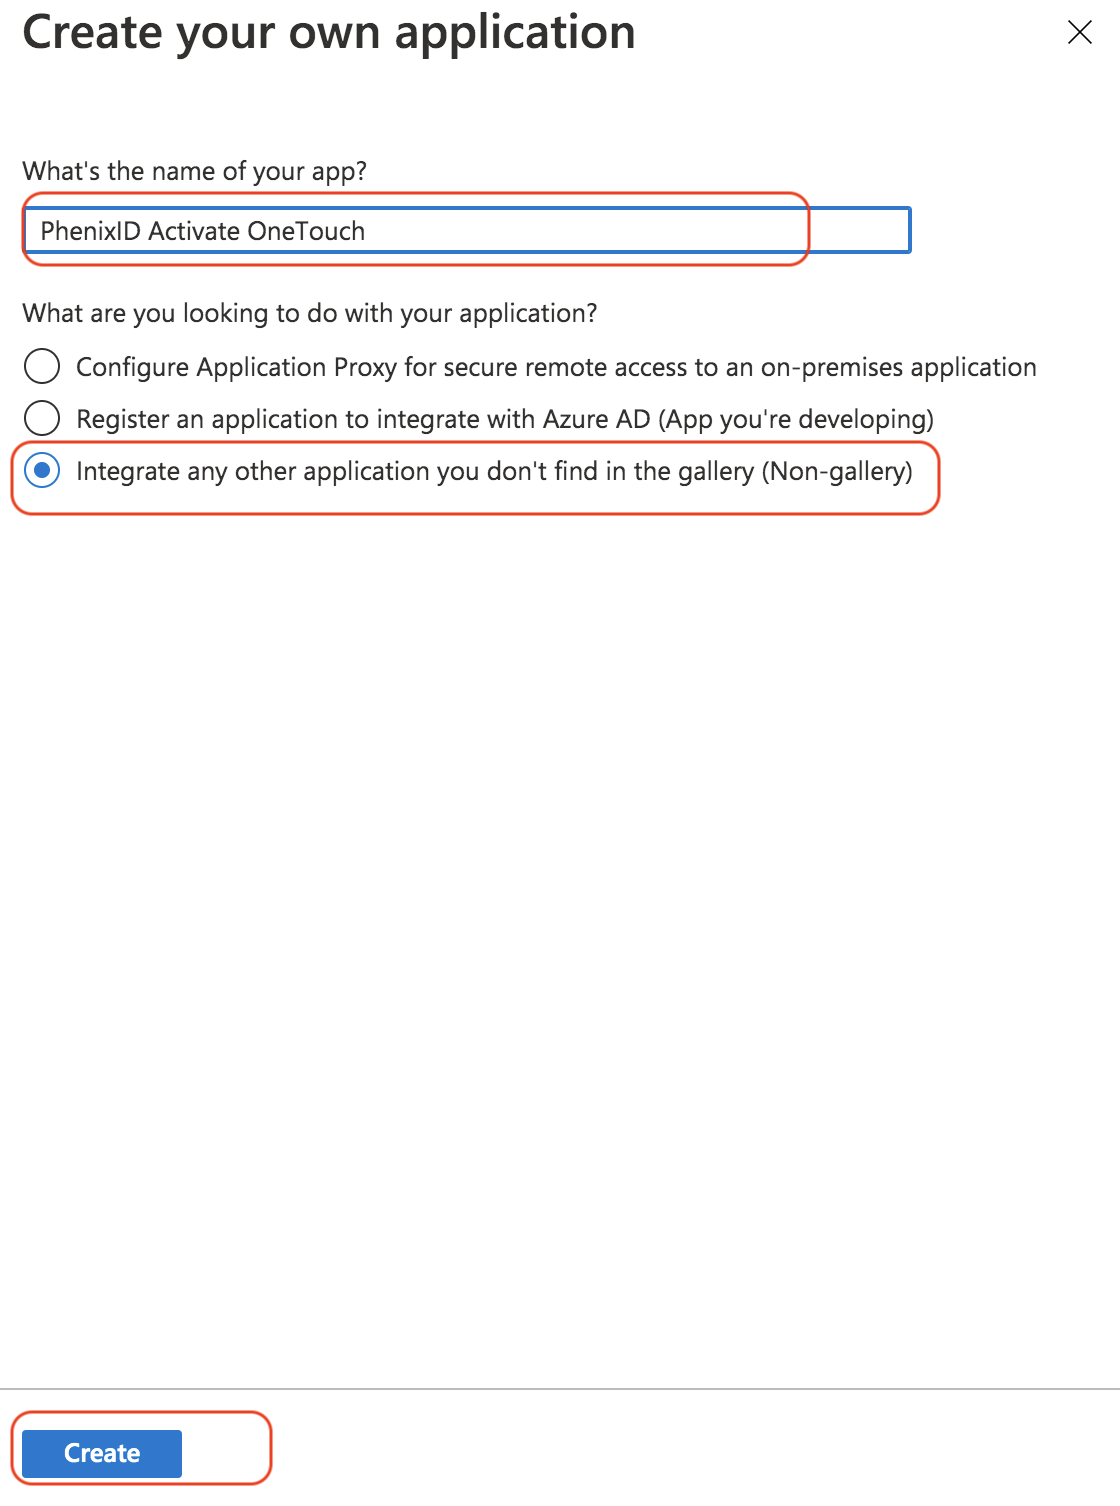
- Enter a name for the application, select Integrate.. and click Create.
- From Enterprise Applications -> All applications, click on the newly added application.
- Click 1. Assign users and groups. Select which users should be able to login to the application.
- Click 2. Set up single sign on
- Select SAML
- Click on Edit on the Basic SAML Configuration.

- Add identifier (Entity ID). Use the value fetched in previous step. Select as default. Remove the previous identifier.
- Add Reply URL (Assertion Consumer Service URL) . Use the value fetched in previous step. Select as default and remove (if any) already added urls.
- Add Sign on URL. (optional) The URL that triggers SP-initiated SAML.
- Add a logout URL. Use https://<your_phenixid_idp>/saml/authenticate/logout/

- Click Save
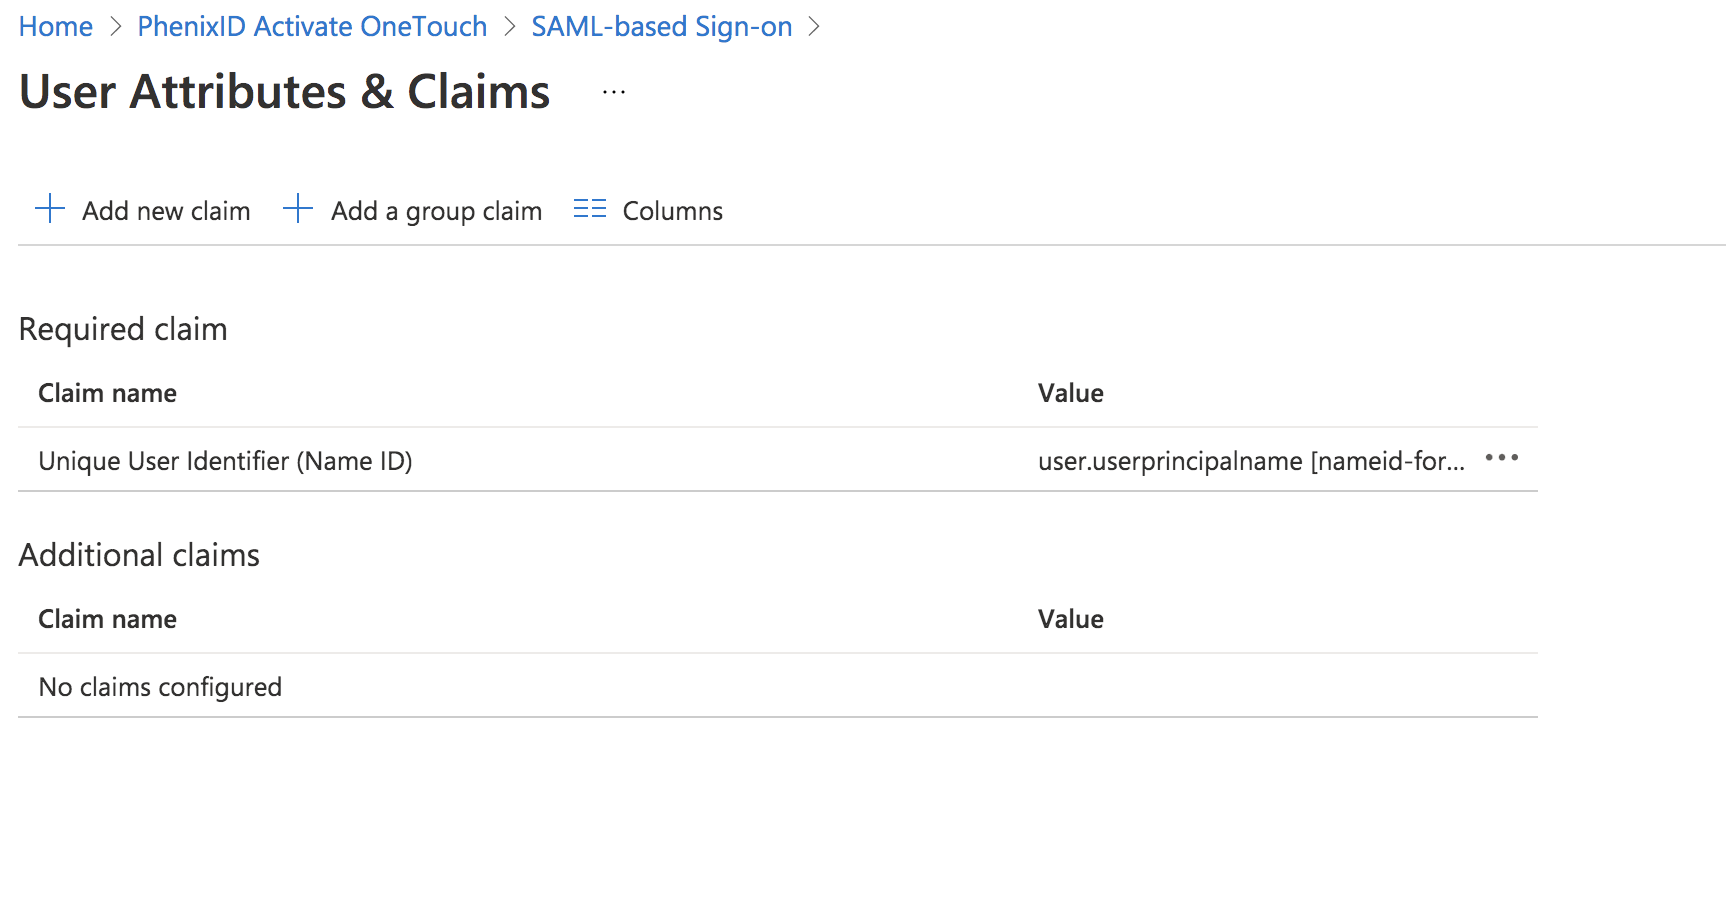
- Click Edit to set SAML Attributes (claims)

- Add/remove the user attributes (claims) you need for the federation to work out. This will differ from case to case. In this example the NameID claim is used only.
- Click Download to get the Azure IdP SAML metadata
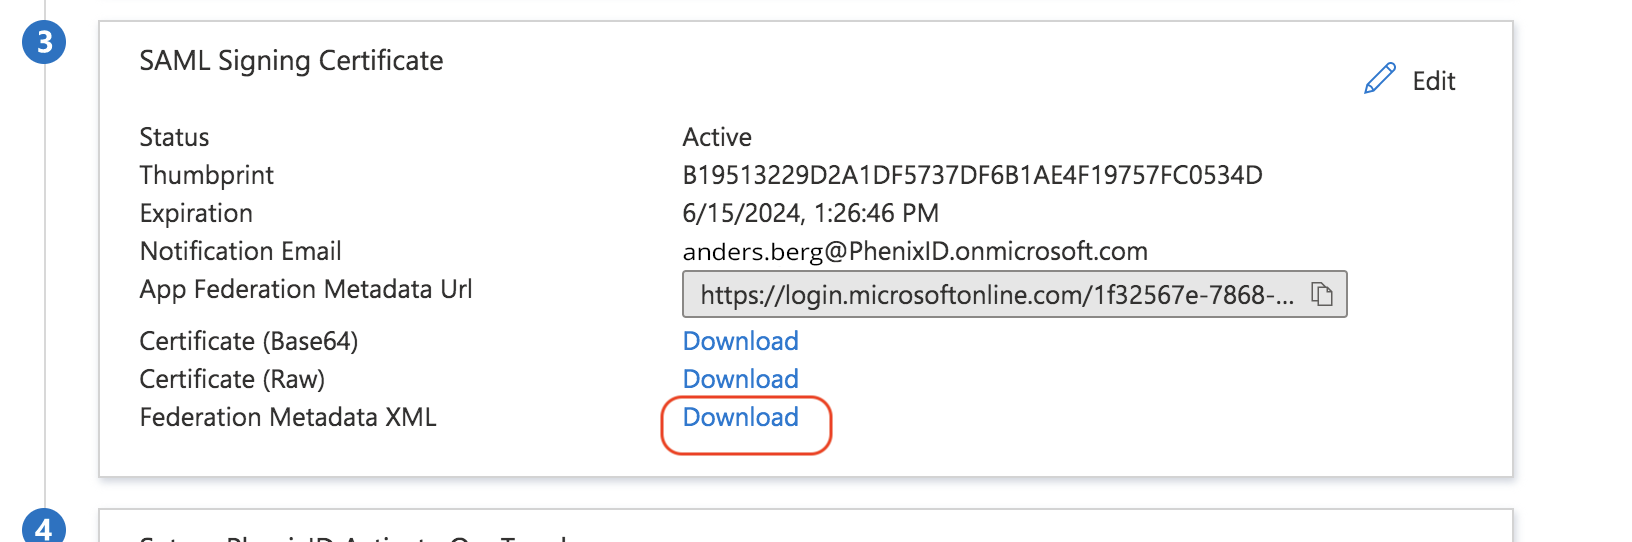
- Open the downloaded file in a text editor
- Fetch the entityID value of the IdP
Add trust to Azure AD on PhenixID Authentication Services
Upload Azure AD metadata
- Open Configuration Manager
- Scenarios->Federation->SAML Metadata upload
- Upload the downloaded Federation Metadata XML file from previous step
Set targetIdP
- Open Configuration Manager->Advanced->Authenticators-HTTP
- Locate the authenticator you previously created
- Set the targetIDP value to the IdP entityID value fetched in previous step.
Test
- Trigger the authentication flow where the Azure AD authentication is involved (for example https://x.phenixid.net/activateonetouch/)
- Your browser should be redirected to the Azure AD IDP
- Authenticate using your azure ad users account
- Your browser should be redirected back to PhenixID Authentication Services with a SAML assertion containing the Azure AD userID (by default userPrincipalName)
- You should now be logged in to the service protected by Azure AD authentication
Debugging
- Use a SAML debugging tool, such as SAML Tracer, to retrieve the SAML messages
- Use PhenixID server.log in debug mode to find
DISCLAIMER
Information provided in this document is for your information only. PhenixID makes no explicit or implied claims to the validity of this information. Any trademarks referenced in this document are the property of their respective owners.The origin of this information may be internal or external to PhenixID. PhenixID makes all reasonable efforts to verify this information.
PhenixID - support.phenixid.se