Summary
This document will guide you through the steps to create an ADFS Send LDAP attributes as claims rule in ADFS when PhenixID Authentication Services is used as the claims provider.
Background
In some use cases it is required that the authentication takes place with an external claims provider, such as PhenixID Authentication Services. The claims to be provided to the relying party might be a mix from different originators, ie some claims from the external claims provider and other fetched from the Active Directory.
ADFS provides an option to fetch additional claims from Active Directory during an authentication flow. This is done using the claim rule Send LDAP attributes as claims.
By default, when adding this rule, it will require the authentication to be from the Active Directory claims provider.
This guide provides the steps to use Send LDAP attributes as claims with an external claims provider, such as PhenixID Authentication Services.
System Requirements
- PhenixID Authentication Services added as a Claims Provider in ADFS
Instruction
Configure PhenixID Authentication Services SAML attribute release
- Login to Configuration Manager
- Navigate to the IDP used
- Click Execution flow
- Make sure the attribute http://schemas.microsoft.com/ws/2008/06/identity/claims/windowsaccountname is added with the value DOMAIN\<sAMAccountName>.See example below. In this example. the AD domain name is MYDOMAIN. Change to suite your environment.

- Click Save
Create Send LDAP attributes as claim rule
- Open ADFS Management console
- Navigate to the PhenixID claims provider
- Edit claim rules
- Add a passthrough rule for Windows account name
- Navigate to the relying party
- Edit claim rules
- Add a Send LDAP attributes as claim rule
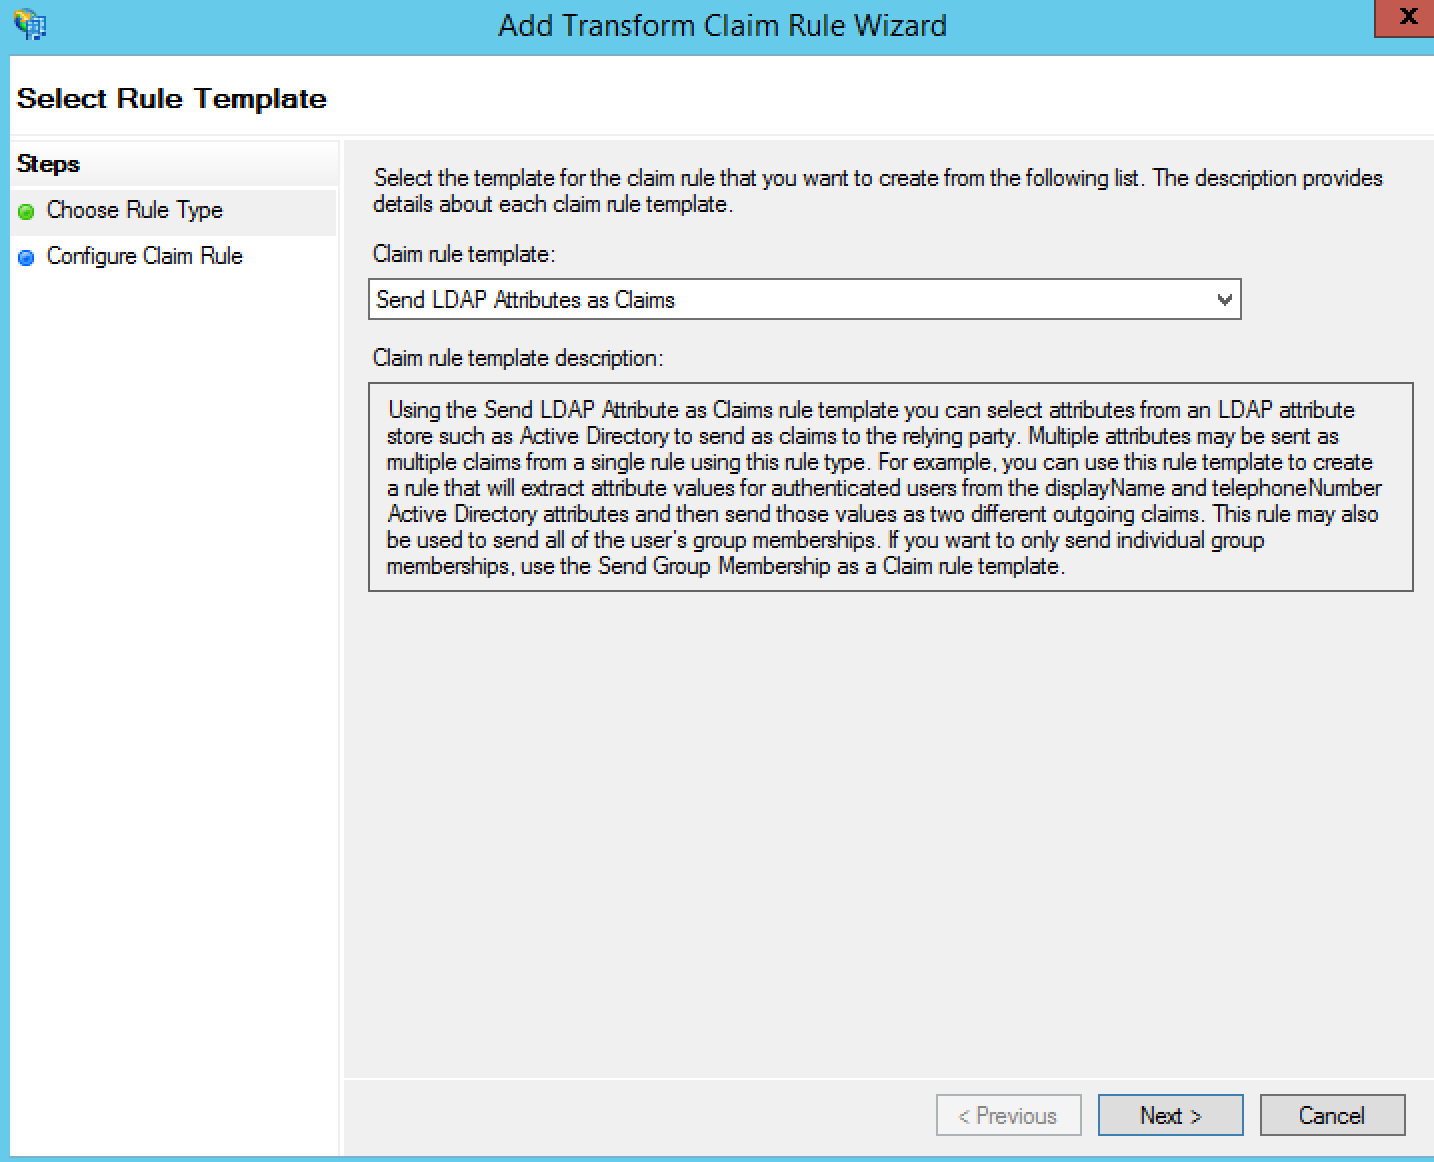
- Click Next
- Define a rule name and which attributes should be fetched from AD. (Example:
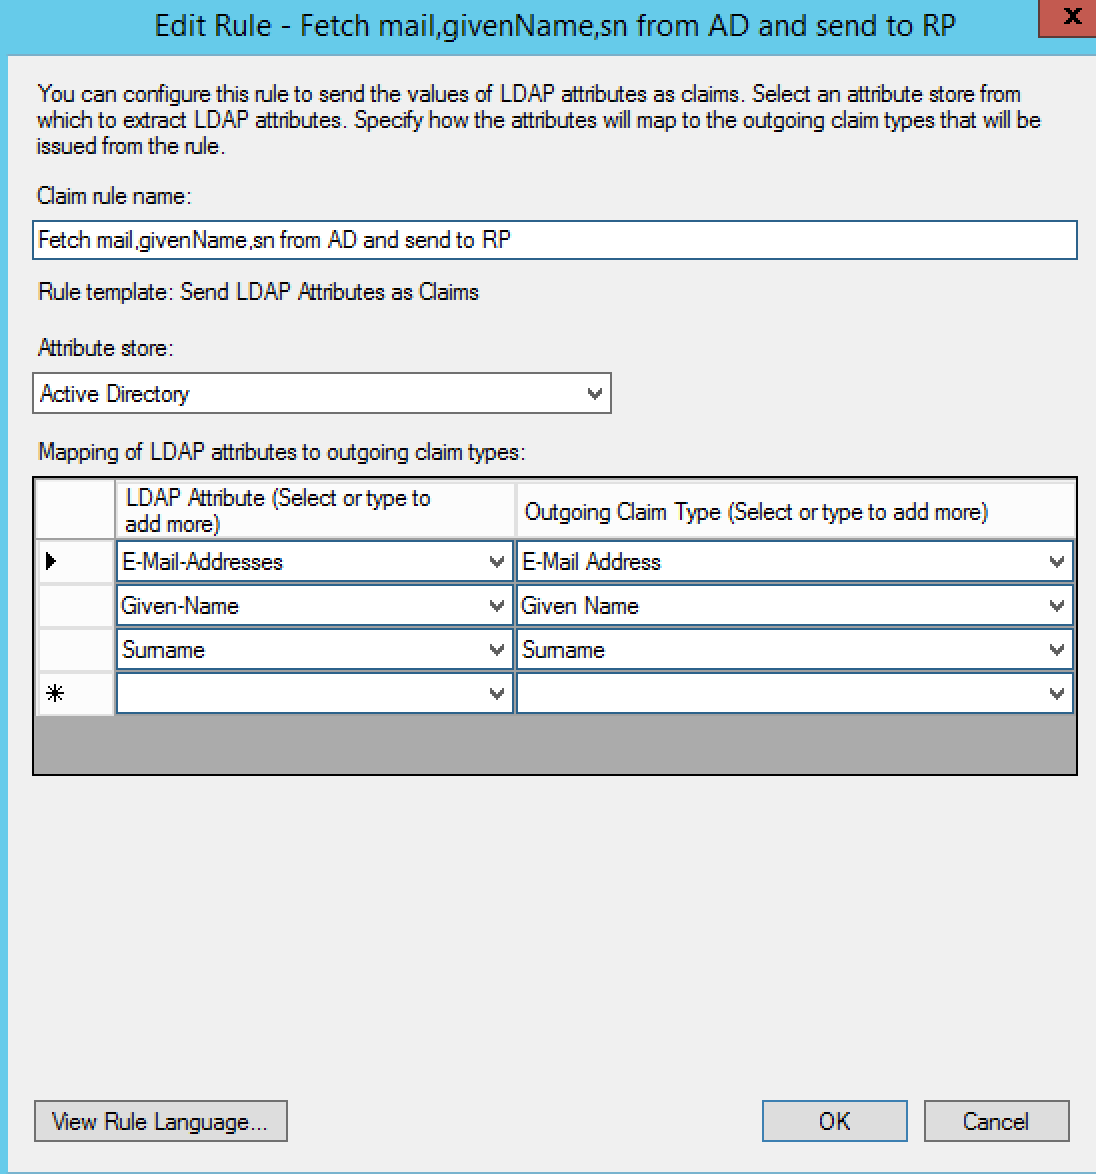
) - Finish
Copy name and claim rule
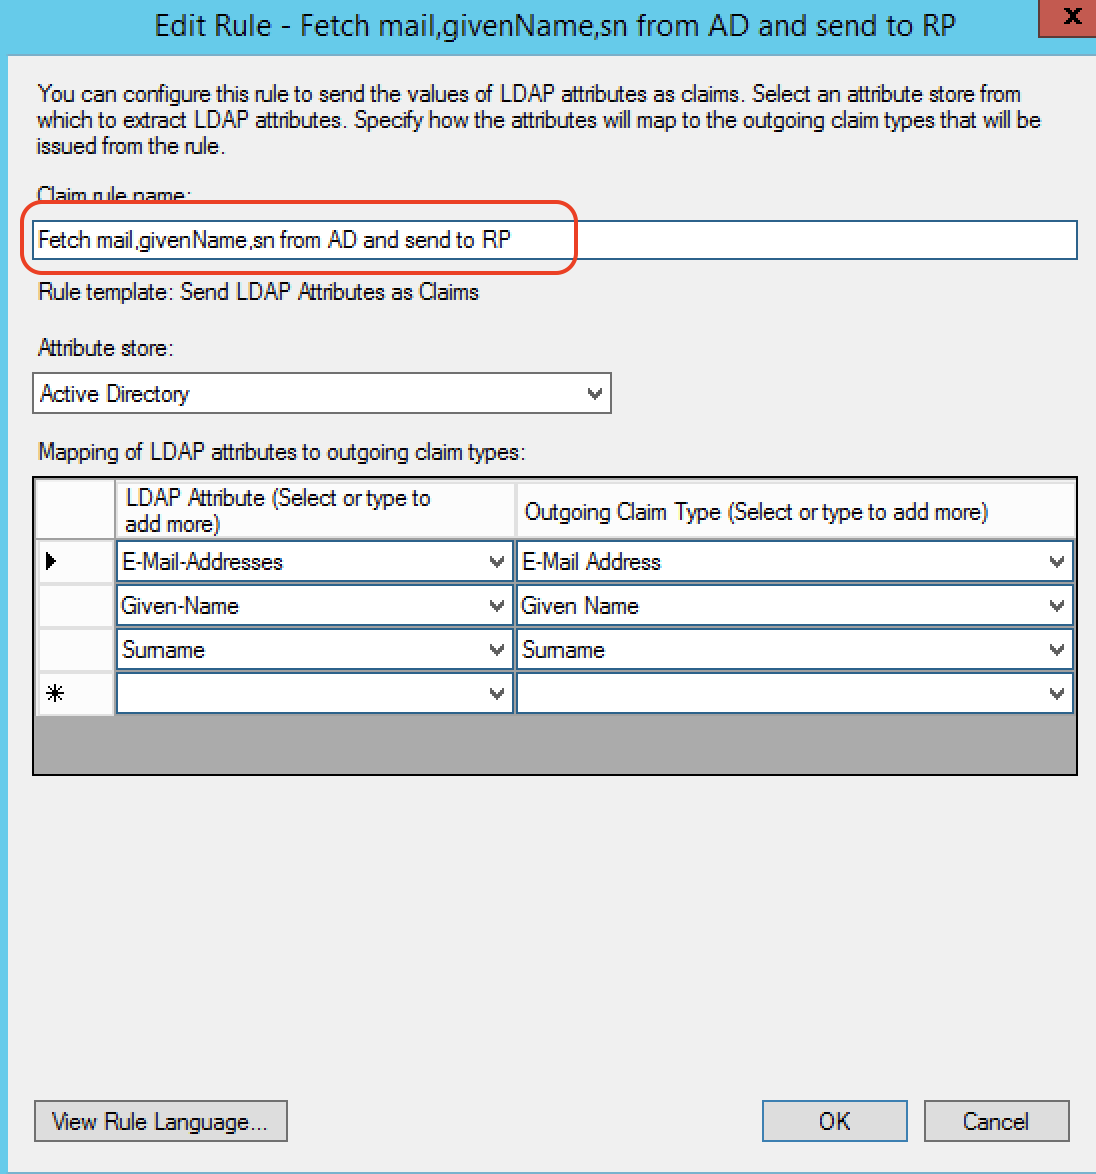
- Edit the previously added rule.
- Copy the name to a text editor
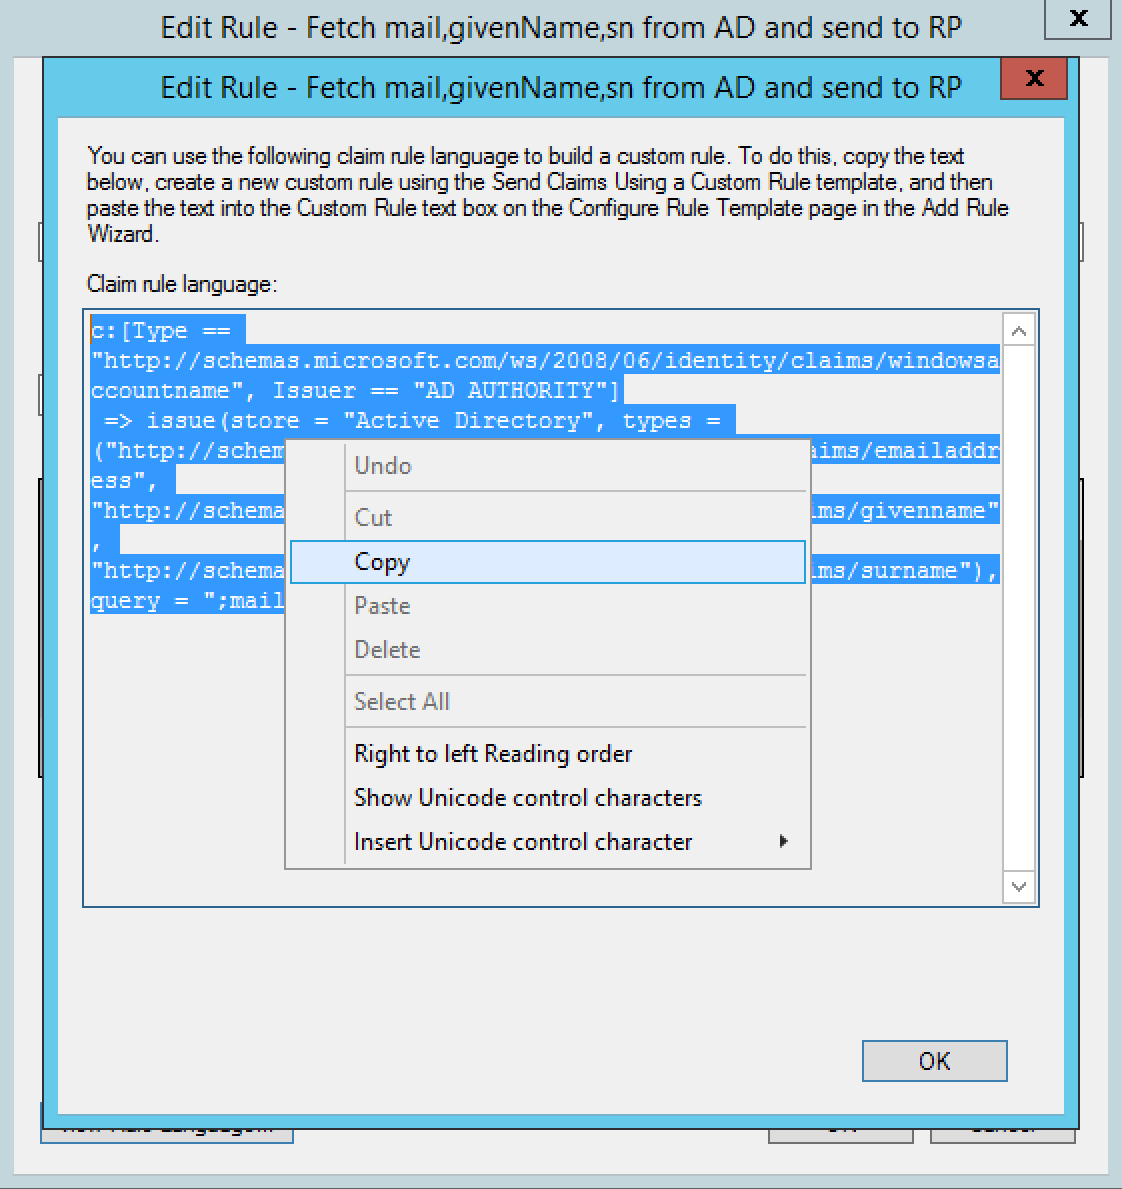
- Click View Rule Language
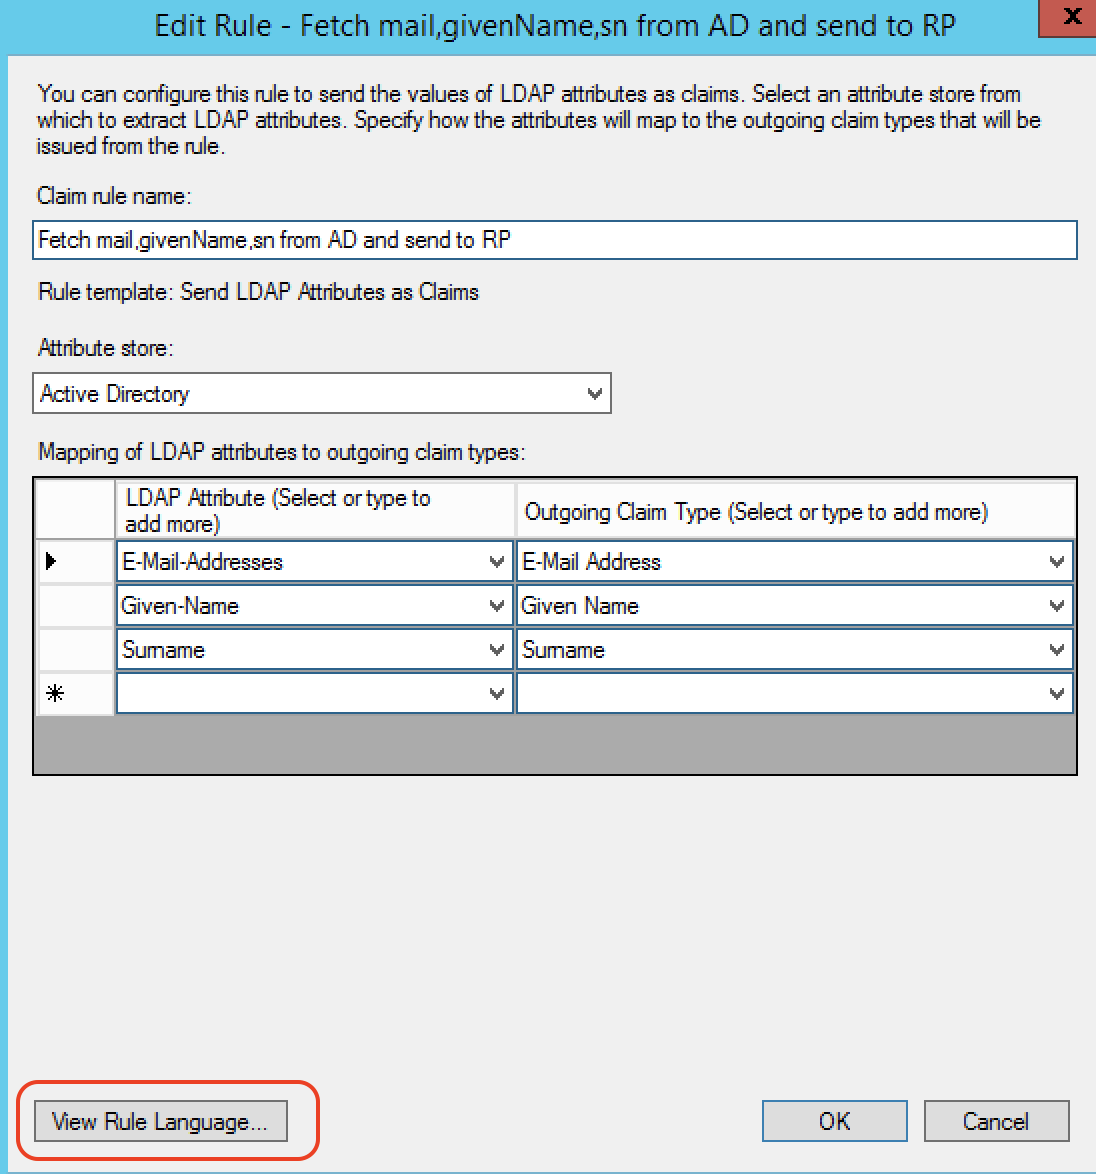
- Copy the Custom rule context to a text editor
Remove claim and add custom claim
- Remove the previously added claim
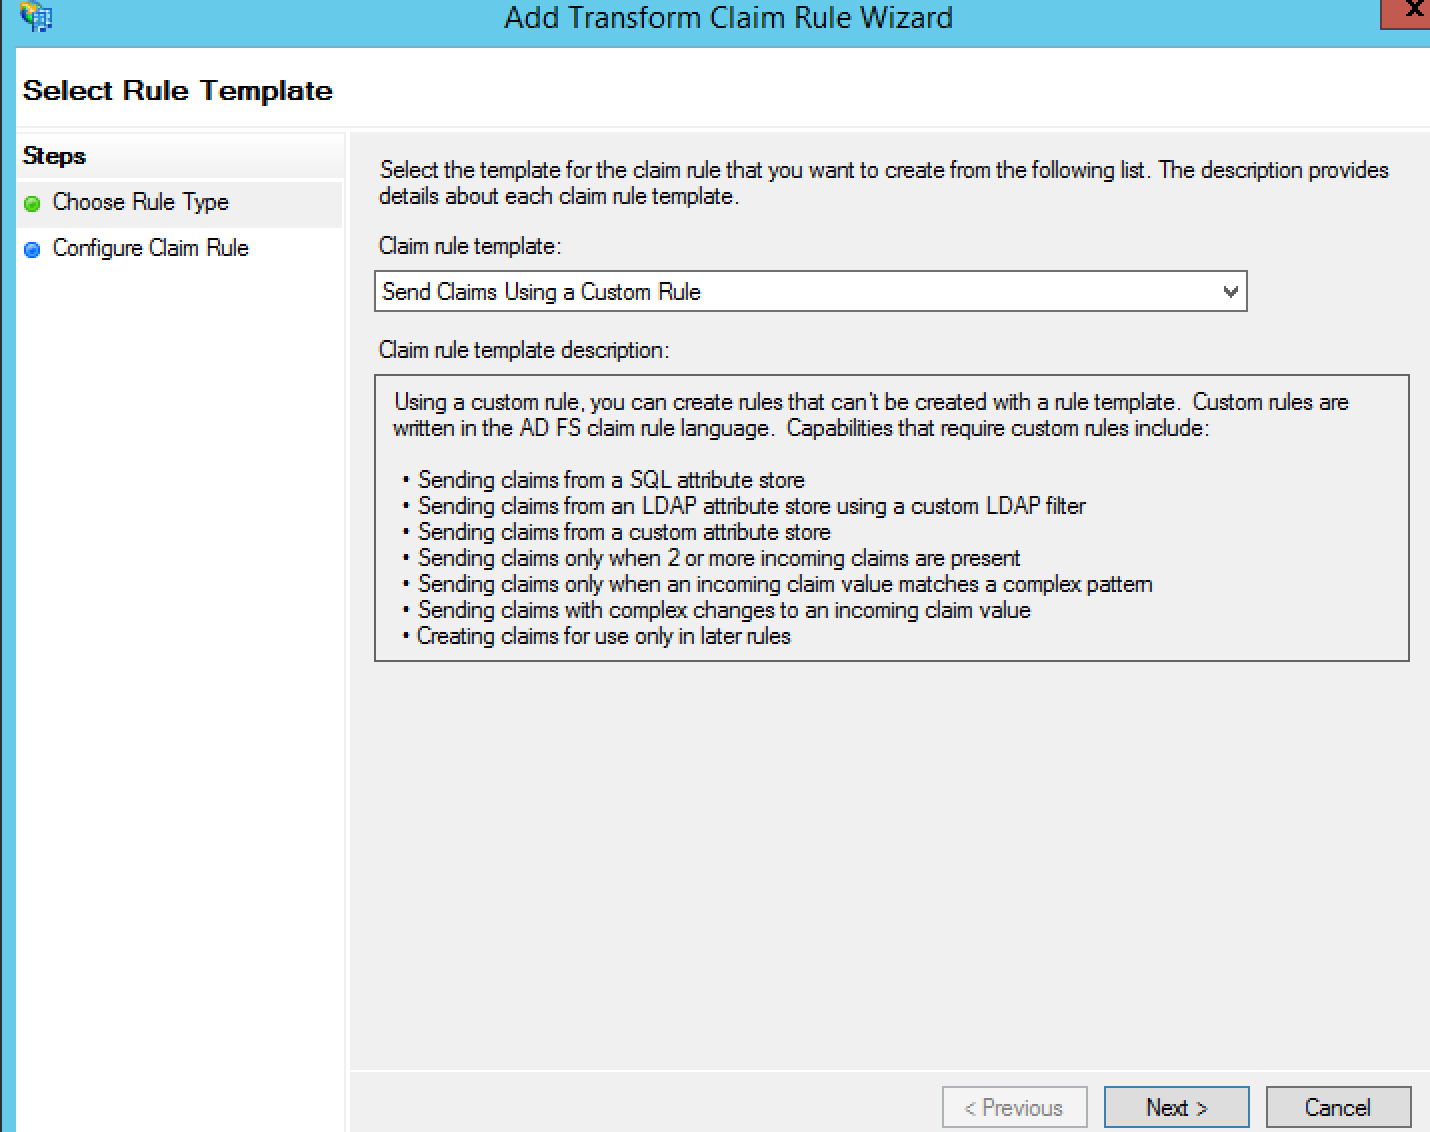
- Add a new claim using the template Send claims using a custom rule
- Set name -> copied from previous rule
- Do a find-replace of the Custom rule context copied in previous step.
Find: , Issuer == “AD AUTHORITY”
Replace: - Set Custom rule -> Result of step 4.
Example: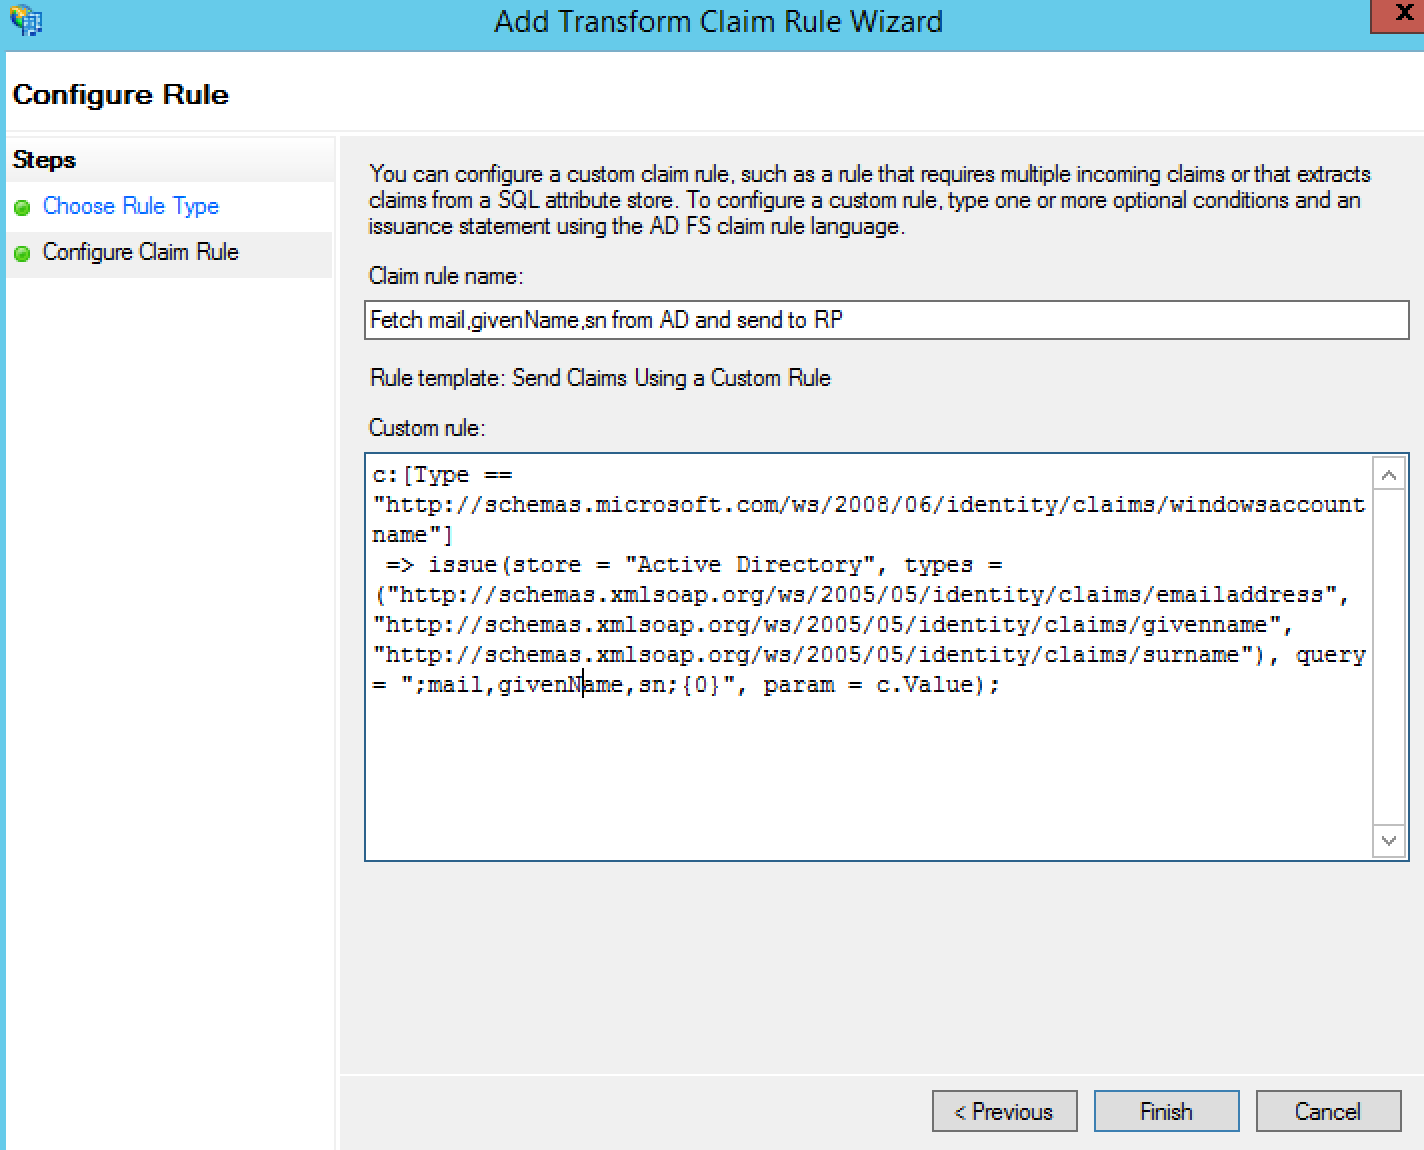
- Finish
Test
1. Browse to the RP
2. Redirect to ADFS
3. Redirect to PhenixID Authentication Services
4. Redirect to ADFS
5. Redirect to RP with ldap attributes claims (use debugger tool such as saml tracer to verify it)
NameID claim release example
This claim rule fetches the mail attribute from LDAP and passes it as a NameID claim.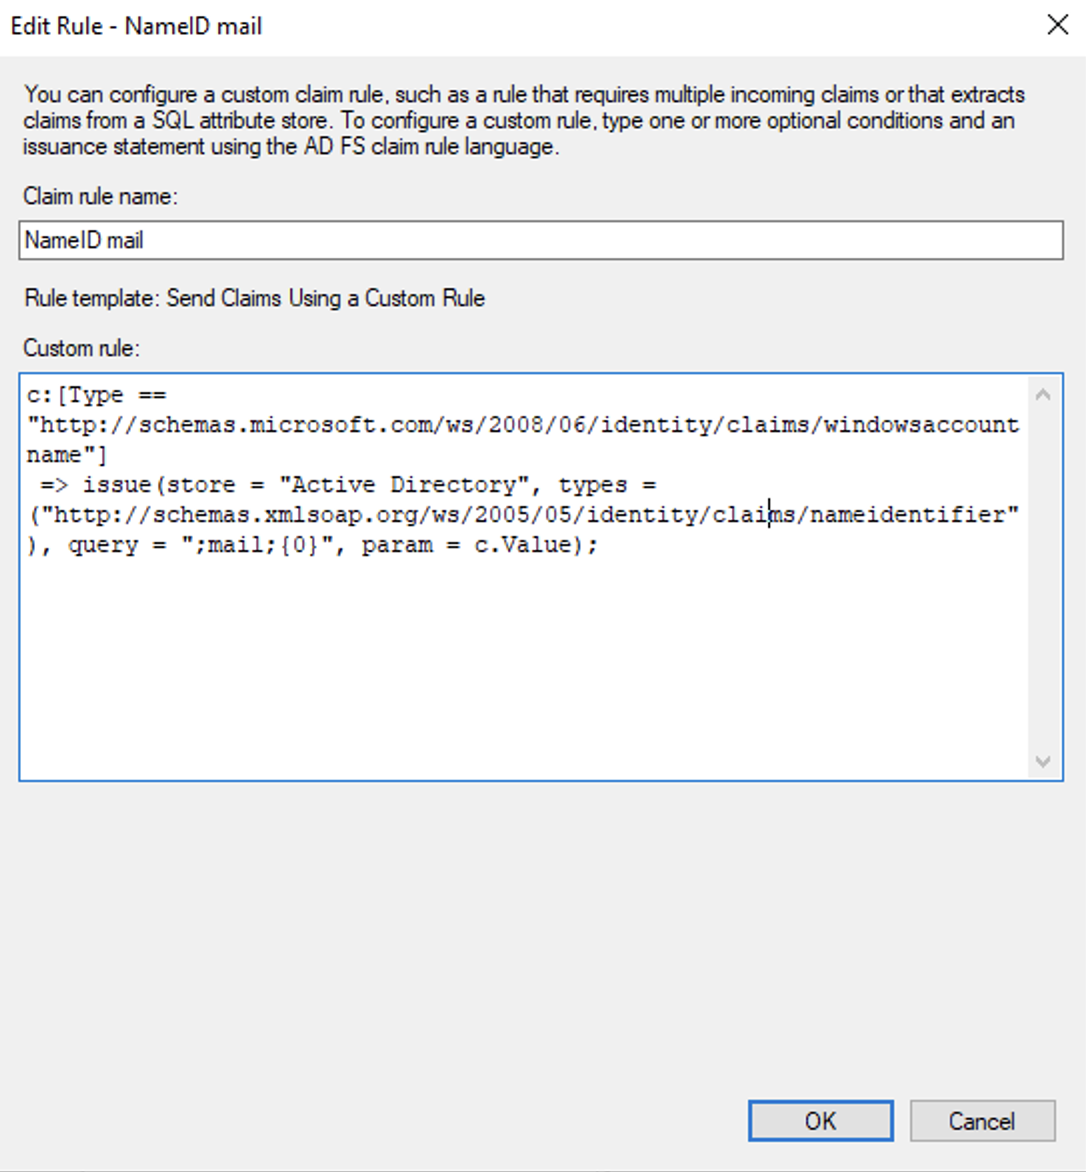
DISCLAIMER
Information provided in this document is for your information only. PhenixID makes no explicit or implied claims to the validity of this information. Any trademarks referenced in this document are the property of their respective owners.The origin of this information may be internal or external to PhenixID. PhenixID makes all reasonable efforts to verify this information.
PhenixID - support.phenixid.se