Summary
This document will guide you through the steps to enable multi-factor authentication and Single-Sign On for Atlassian products such as Confluence, Jira, Trello and Bitbucket.
System Requirements
- PhenixID Authentication Server 2.0 or higher
- Install Kantega SAML Plugin (from Atlassian marketplace)
Instruction
Overview
This document will guide you through the steps to enable multi-factor authentication and Single-Sign on for Atlassian products.
PhenixID Server acting as SAML IdP
- Setup PhenixID Authentication Services as a SAML IdP using one of the Federation scenarios described here. (If the required authentication method is not provided by a scenario, use the documentation for the SAML authenticator here)
- Depending on your setup, fetch the Weekdone userID value from the appropriate attribute (typically sAMAccountName (or uid if using other LDAP directory) or email address) on the user object.
- Use sAMAccountName/uid/mail as Name ID attribute.
- Create two properties in the Execution flow, email and DisplayName. Populate the email property with the user email address. Populate the DisplayName with the user first- and lastname.
- Add email and DisplayName as additional attributes to the AssertionProvider in the Execution Flow.
- Go to Scenarios->Federation-> <newly_added_scenario> -> Identity Provider. Deselect “Require signed requests”. Save.
- Then export your SAML IdP metadata by going to the URL:
https://<YourServerDomainName>/saml/authenticate/<authenticator_alias>?getIDPMeta
and download the metadata to a xml file. Rename the file to Jira-MFA.xml. This file will be used in later step.
Configure Atlassian
- Login to Atlassian as an administrator (for your domain)
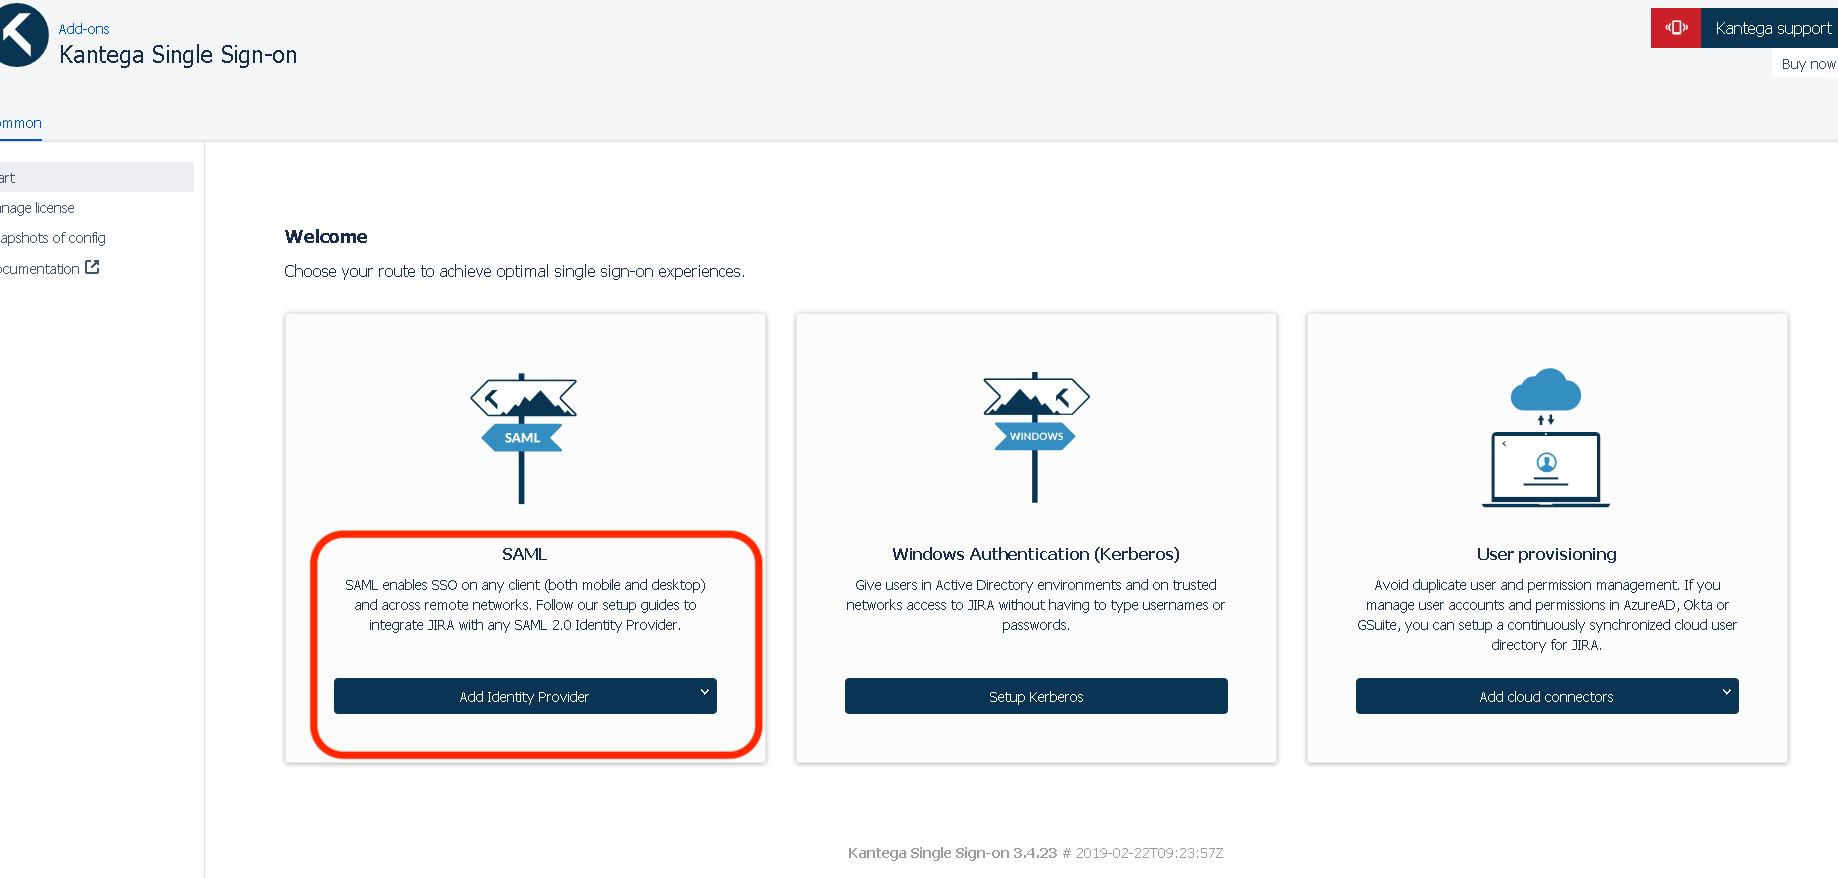
- Navigate to Kantega Single Sign-on
- Click SAML -> Add identity provider

- Select Any other SAML 2.0 Identity Provider

- Click Download to fetch Atlassian SAML Metadata. Save the file as atlassian_sp_metadata.xml. This file will be used in later step.

- Click Next
- Select Metadata file on my computer
- Upload Jira-MFA.xml (saved in earlier step).

- Click Next
- Name the Identity Provider. (Example PhenixID IdP)

- Click Next
- Click Next
- Select Create account in Jiras internal directory if needed.
- Enter the group new users should be added to.

- Click Next
- Copy the test URL provided. This will be used in later step.

Add trust to Atlassian on PhenixID Authentication Services
- Login to configuration manager
- Open Scenarios->Federation->SAML Metadata upload
- Click the plus sign
- Add Atlassian SAML SP Metadata by uploading the file created in previous step, atlassian_sp_metadata.xml.
Test
- Browse to the test URL copied in previous step.
- This should result in a redirect to PhenixID Authentication Server
- Authenticate
- If authentication was successful, a redirect to Atlassian should occur (with SAML assertion)
- The user should now be logged in.
DISCLAIMER
Information provided in this document is for your information only. PhenixID makes no explicit or implied claims to the validity of this information. Any trademarks referenced in this document are the property of their respective owners.The origin of this information may be internal or external to PhenixID. PhenixID makes all reasonable efforts to verify this information.
PhenixID - support.phenixid.se