Summary
This document will guide you through the steps to enable multi-factor authentication for Aweria Desktop.
System Requirements
- PhenixID Authentication Server 2.7 or higher
- Keystore file (.p12) for token signing
Instruction
Overview
This document will guide you through the steps to enable multi-factor authentication for Aweria Desktop.
Aweria Desktop integrates with PhenixID Authentication Services using OpenID Connect Authorization Code flow. For more info about OpenID Connect Authorization flow with PhenixID Authentication Services, please read this.
The authentication method used for Aweria Desktop is SSL Client Certificate Authentication (SITHS and EFOS CAs).
Description of the authentication flow
Aweria authentication
This diagram displays the Aweria Desktop authentication flow.

- User opens Aweria Desktop and clicks Login. This will start the system browser on the device
- The system browser will point to the authorization endpoint (PhenixID Authentication Services)
- PhenixID Authentication Services will prompt the user for SITHS/EFOS Authentication. User enters pin code. (This step includes multiple requests to PhenixID Authentication Services)
- The authentication has now been verified by PAS. PAS issues authorization code.
- The browser redirects to Aweria Desktop with the authorization code
- Aweria backend receives the authorization code
- Aweria backend sends authorization code to PAS token endpoint
- An ID Token is returned by PAS. Aweria will verify the token and if ok, login the user.
Configure PhenixID Authentication Services
Configure Aweria authentication
The configuration will include these steps:
- Setup authorization endpoint
- Trigger SITHS/EFOS authentication using internal federation flow and Client Certificate authenticator.
- Configure pipe to create authorization code
- Setup token endpoint.
- Login to Configuration Manager
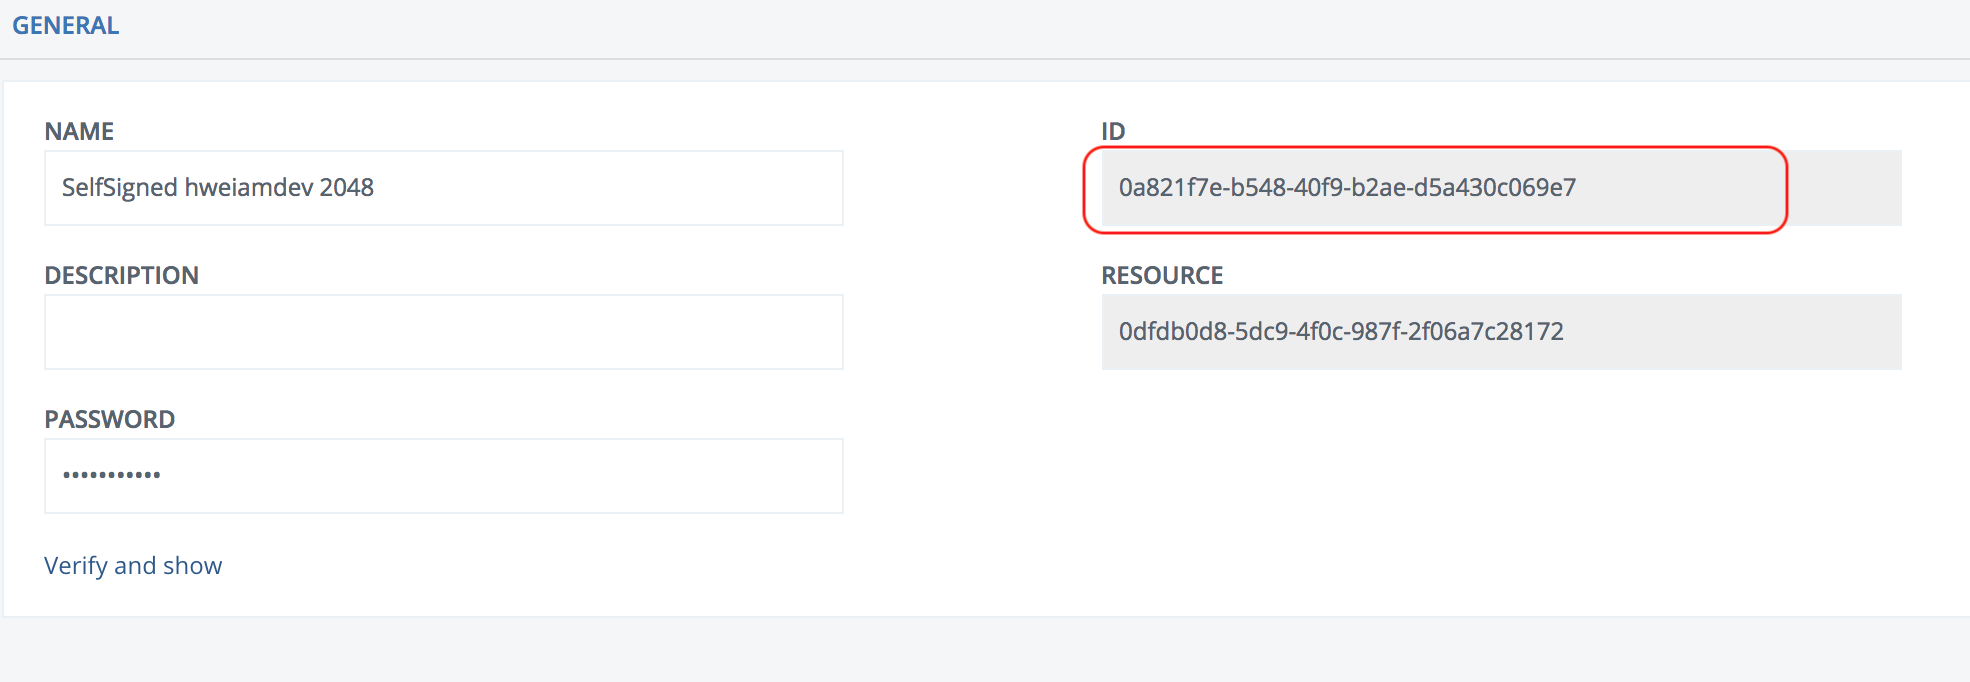
- Go to Scenarios->Federation->Keystore and upload the p12 file.
- Once uploaded, copy the keystore ID value. This will be used in later step.
- Go to the Advanced tab
- Open Authentication-HTTP
- Add authenticator. Change the url domain (example.org in example below) to suite your environment.
{ "id": "aweria_desktop", "alias": "aweria_desktop", "name": "OIDCToSAMLBroker", "displayName": "SITHS/EFOS", "configuration": { "sp": "https://example.org.tieto.com/saml/sp/aweria_desktop", "pipeIDAssertionConsume": "pipeAssertionConsumerAweriaDesktop", "targetIDP": "https://example.org/saml/idp/siths_for_oidc", "acsUrl": "https://example.org/oidc/authenticate/aweria_desktop", "entityID": "https://example.org/saml/sp/aweria_desktop", "allowedRP": [ "aweria" ] } } - Click Stage Changes and Commit Changes
- Click OIDC RP
- Add this RP:
{
		"id": "aweria",
		"name": "Aweria OpenID Connect RP",
		"displayName": "Aweria Ambulance",
		"password": "<set_a_password_here>",
		"allowedRedirects": [
			"aweria://oidc"
		]
	}
Change these values to suite your environment:
– password (client_password for token endpoint verification. Select a password of your choice.)
– allowedRedirects (Ask the Aweria administrator for proper value(s)) - Click Stage Changes and Commit Changes
- Click SAML Service Providers
- Add this SAML SP object. Change the URL domain (example.org in the example below) to suite your environment. Change keystoreSign and keystoreEncrypt to the Keystore ID value from previous step.
{ "id": "https://example.org/saml/sp/aweria_desktop", "keystoreSign": "0a821f7e-b548-40f9-b2ae-d5a430c069e7", "keystoreEncrypt": "0a821f7e-b548-40f9-b2ae-d5a430c069e7", "entityID": "https://example.org/saml/sp/aweria_desktop" } - Click Pipes
- Add this pipe:
{ "id": "pipeAssertionConsumerAweriaDesktop", "valves": [ { "name": "AssertionConsumer", "config": { "clock_skew_minutes": "10" } }, { "name": "FlowFailValve", "config": { "message": "User does not exist", "exec_if_expr": "flow.items().isEmpty()" } }, { "name": "SessionLoadValve", "config": { "id": "{{request.session_id}}" } }, { "name": "PropertyAddValve", "config": { "name": "redirect_uri", "value": "{{request.redirect_uri}}" } }, { "name": "PropertyAddDateTimeValve", "config": { "name": "time", "format": "n" } }, { "name": "PropertyAddValve", "config": { "name": "tmpcode", "value": "{{item.time}}{{session.cn}}{{request.client_id}}" } }, { "name": "PropertyStringBase64EncoderValve", "config": { "source": "tmpcode", "dest": "code" } }, { "name": "PropertyAddValve", "config": { "name": "state", "value": "{{request.state}}" } }, { "name": "SessionClearAllAliasValve", "config": {} }, { "name": "SessionBindValve", "config": { "alias": "{{item.code}}" } }, { "name": "PropertyKeepValve", "config": { "name": "redirect_uri,state,code" } } ] } - Click Stage Changes and Commit changes
- Open a new web browser tab
- Browse to the acsURL?getMeta value of the authenticator added in previous step. Example:
https://example.org/oidc/authenticate/aweria_desktop?getMeta - XML Metadata should be presented
- Save the XML Metadata to a file
- Open Configuration Manager
- Go to Scenarions->Federation->SAML Metadata upload
- Click on the Plus sign
- Enter name = “Internal SAML SP”
- Upload the XML file and click Create.
- Setup PhenixID Authentication Services as a SAML IdP with SSL Client certificate using this guide. Make sure you enter these values in the guide (change domain to suite your environment):
– entityID = “https://example.org/saml/idp/siths_for_oidc”
– Post SSO URL = “https://example.org/saml/authenticate/siths_for_oidc” (This URL is the one to be protected by SSL client certificate by front end proxy server)
– trust.jks should contain all trusted CAs for certificate authentication. (For example SITHS and EFOS). - Go to Scenarios->Federation and click on the newly added IdP
- Click Identity Provider
- Deselect “Require signed requests”

- Click Save
- Click Execution Flow
- Change the execution flow to this: (Make sure targetEntityID points to your SAML Identity Provider ID):


- Save
- Open a new web browser tab. Browse to the <Post SSO URL>/?getIDPMeta. Example:
https://example.org/saml/authenticate/siths_for_oidc/?getIDPMeta - XML metadata should be presented
- Save the XML metadata to a file.
- Open Configuration Manager
- Go to Scenarions->Federation->SAML Metadata upload
- Click on the Plus sign
- Enter name = “Internal SAML IdP – Cert”
- Upload the XML file and click Create.
- Add this module (if the module already exist, just modify the configuration of it):
{ "module": "com.phenixidentity~phenix-api-authenticate", "enabled": "true", "config": { "tenant": [ { "id": "aweria", "displayName": "Aweria RP", "allowedOperation": [ "collectJWTa" ] } ] }, "id": "http-auth-api" } - Click Stage Changes
- Click NODE GROUPS
- Add module to module_refs
"module_refs": "http-auth-api,....."
- Click Stage Changes and Commit Changes
- Click Pipes
- Add this pipe:
{ "id": "collectJWTa", "valves": [ { "name": "SessionResolveValve", "config": { "alias": "{{request.code}}", "require_session": "true", "require_auth_session": "false" } }, { "name": "SessionDumpToLog", "config": {} }, { "name": "ItemCreateValve", "config": { "dest_id": "{{request.user_id}}" } }, { "name": "GenerateJWTTokenVavle", "config": { "subjectattribute": "{{session.user_id}}", "keystore": "0a821f7e-b548-40f9-b2ae-d5a430c069e7", "expire_seconds": "3600" } }, { "name": "PropertyAddValve", "config": { "name": "redirect_uri", "value": "{{request.redirect_uri}}" } }, { "name": "SessionDeleteValve", "enabled": "false", "config": {} } ] } - Change the configuration parameter “keystore” value in pipe. Enter the ID for keystore saved in previous configuration step.
- Click Stage Changes and Commit Changes
- Connect to the PhenixID Authentication Services server (backend) root folder.
Collect OIDC metadata
These metadata properties must be collected:
- client_id = aweria
- client_password = <the password set for the OIDC RP with id = aweria)
- Token signing verification certificate. Extract the public certificate (including chain) from the p12-file. DO NOT distribute the private key.
- Token endpoint = https://<phenixid_authentication_services>/api/authentication/collectJWTa
- Authorization endpoint = https://<phenixid_authentication_services>/oidc/authenticate/logout/?nextTarget=https%3A%2F%2F<phenixid_authentication_services>%2Foidc%2Fauthenticate%2Faweria_desktop%3Fresponse_type%3Dcode%26client_id%3Daweria%26scope%3Dopenid%26redirect_uri%3D<redirect_uri>Change <phenixid_authentication_services> and <redirect_uri> values to suit your environment.
Configure Aweria
Distribute (in a safe channel) OIDC metadata collected in previous step to an Aweria Desktop administrator.
The Aweria Desktop administrator will configure Aweria Desktop based on the OIDC metadata.
If additional redirect_uri values will be used by Aweria Desktop, these values must be added to the aweria OIDC RP configuration in PhenixID Authentication Services.
DISCLAIMER
Information provided in this document is for your information only. PhenixID makes no explicit or implied claims to the validity of this information. Any trademarks referenced in this document are the property of their respective owners.The origin of this information may be internal or external to PhenixID. PhenixID makes all reasonable efforts to verify this information.
PhenixID - support.phenixid.se