Summary
This document will guide you through the steps to provide Single-Sign-On to Box using SAML with PhenixID Authentication Services as SAML IdP.
System Requirements
- PhenixID Authentication Services 2.0 or higher
- Box.net corporate domain
Instruction
- Setup PhenixID Authentication Services as a SAML IdP using one of the Federation scenarios described here. (If the desired authentication method is not provided by a scenario, use the documentation for the SAML authenticator here)
- Download the SAML IdP Metadata as a file.
- Distribute the SAML IdP Metadata file to Box. This is a manual process. Instructions will be provided by your Box contact.
- Download the Box SP metadata file from https://cloud.box.com/shared/3isa8qvvqn
- Add the Box SP metadata file to the <PhenixID_Authentication_Services>/resources folder
- Restart PhenixID Authentication Services.
- Logon to PhenixID Authentication Services Configuration Manager
- Click on the Configuration tab
- Click “SAML Meta loading”
- Add Box SAML SP metadata by adding this configuration snippet:
{
“id”: “box.net”,
“resource”: “boxmetadata.xml”
} - Click “Stage changes” and then “Commit changes”
- Configure the authentication method(s) to be used for the Box federation.
http://support.phenixid.se/phenix-serverdoc/authenticators/#SAML - Click on the Configuration tab
- Click on Pipes
- Modify the pipe(s) connected to the authenticators.
- Fetch email, givenName, sn from the user data source:
{
“name”: “LDAPSearchValve”,
“config”: {
“connection_ref”: “MyAD”,
“base_dn”: “ou=demo,DC=demo,DC=phenixid,DC=net”,
“scope”: “SUB”,
“size_limit”: “0”,
“filter_template”: “(&(objectClass=user)(samaccountname={{request.username}}))”,
“attributes”: “mail,givenName,sn”
}
} - Rename mail attribute
{
“name”: “PropertyCopyValve”,
“config”: {
“source”: “mail”,
“dest”: “primary_email”
}
} - Configure SAML assertion
{
“name”: “AssertionProvider”,
“config”: {
“targetEntityID”: “PhenixID_IdP_BOX”,
“nameIDAttribute”: “mail”,
“misc”: {
“excludeSubjectNotBefore”: “true”,
“signMessage”: “false”,
“signAssertion”: “true”
},
“sourceID”: “box.net”,
“additionalAttributes”: “primary_email,givenName,sn”
}
}
- Fetch email, givenName, sn from the user data source:
- Click “Stage changes” and then “Commit changes”
Test
- Browse to your box domain.
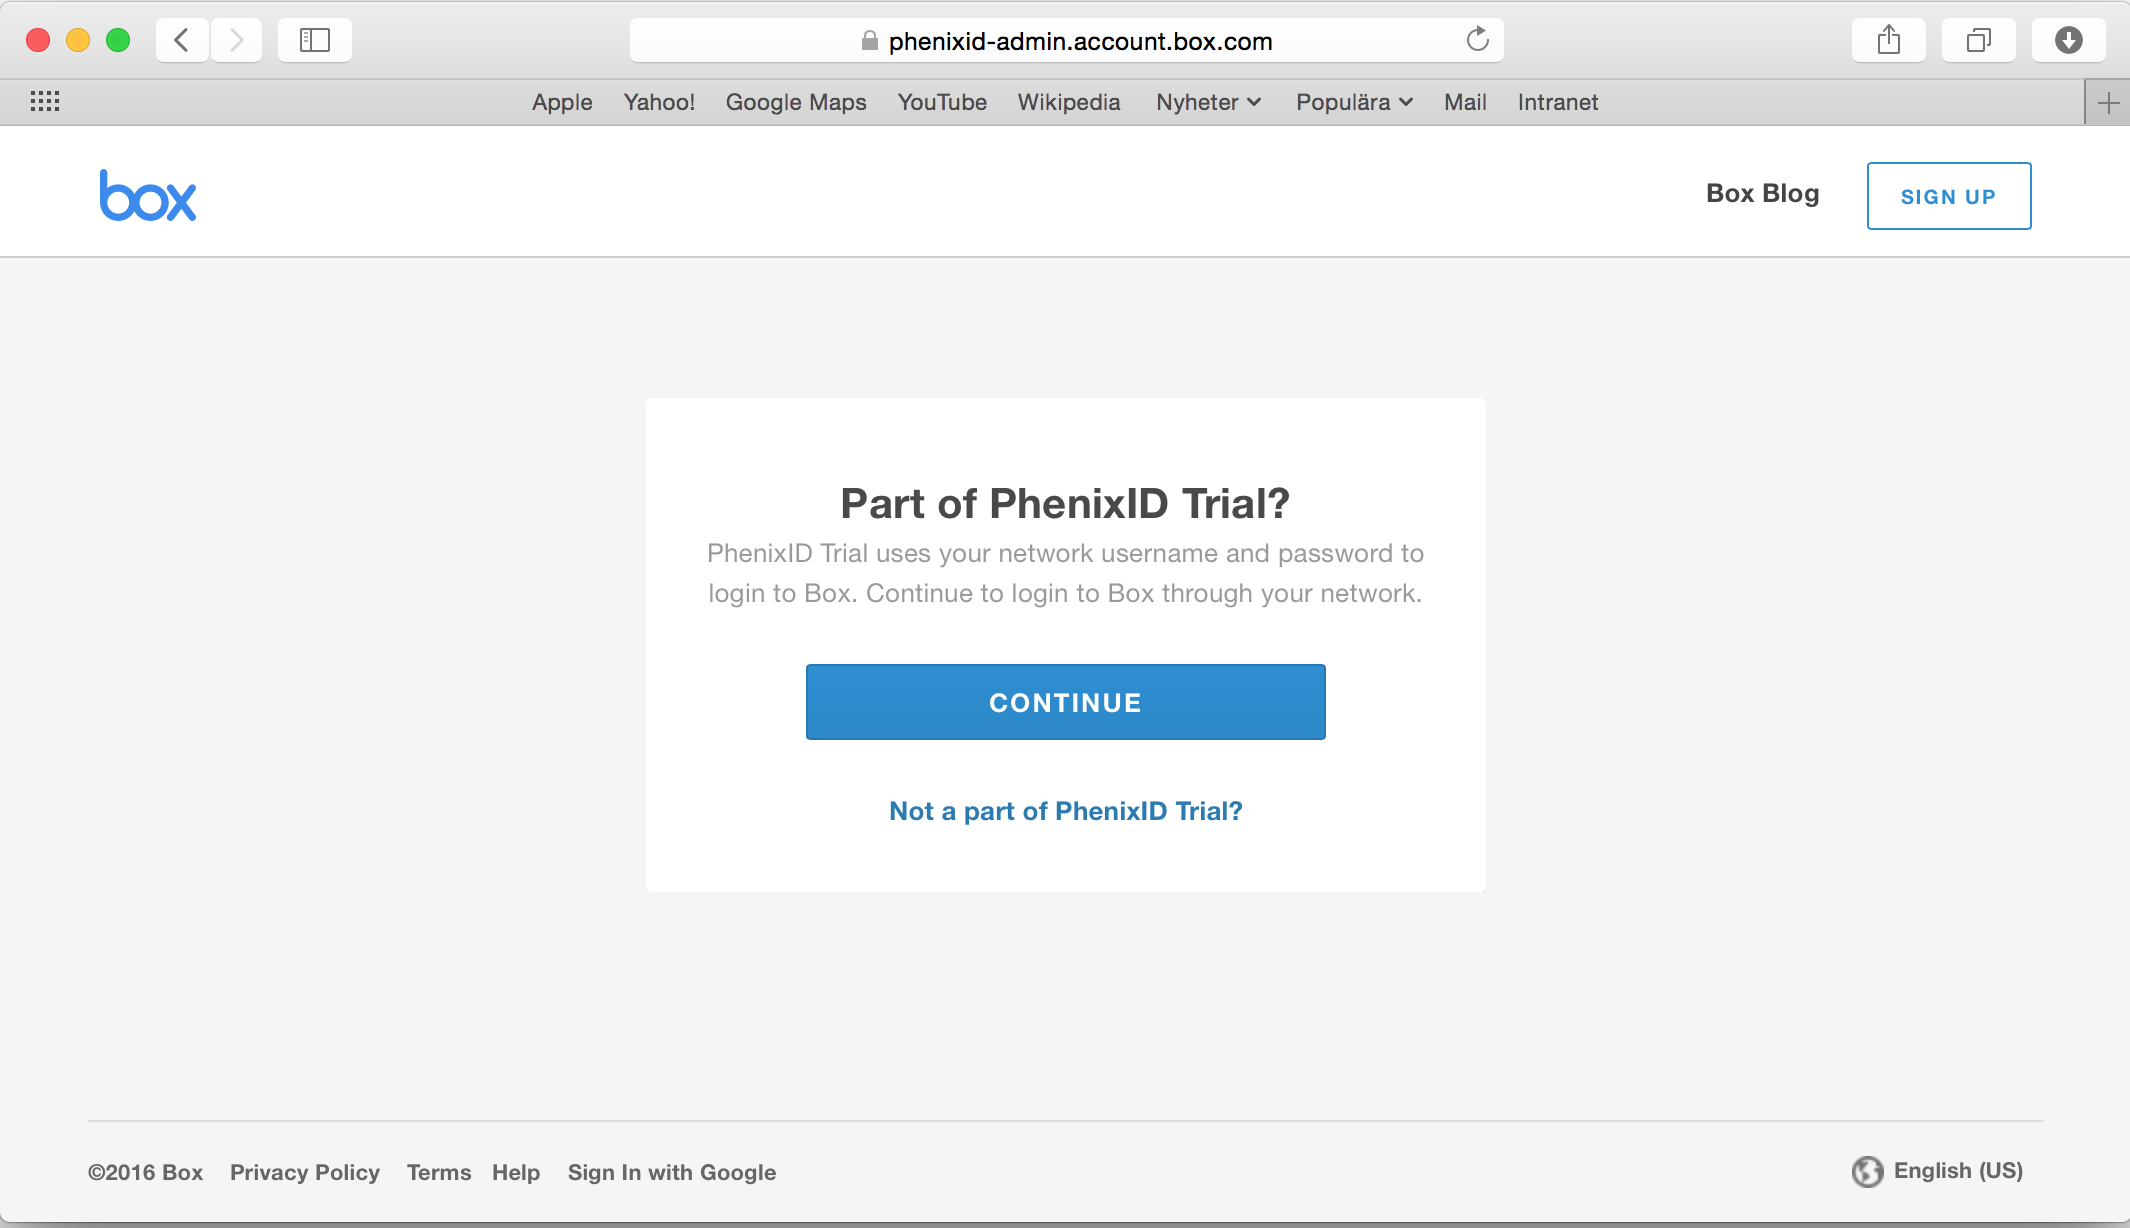
- Click Continue
- This should result in a redirect to PhenixID Authentication Services
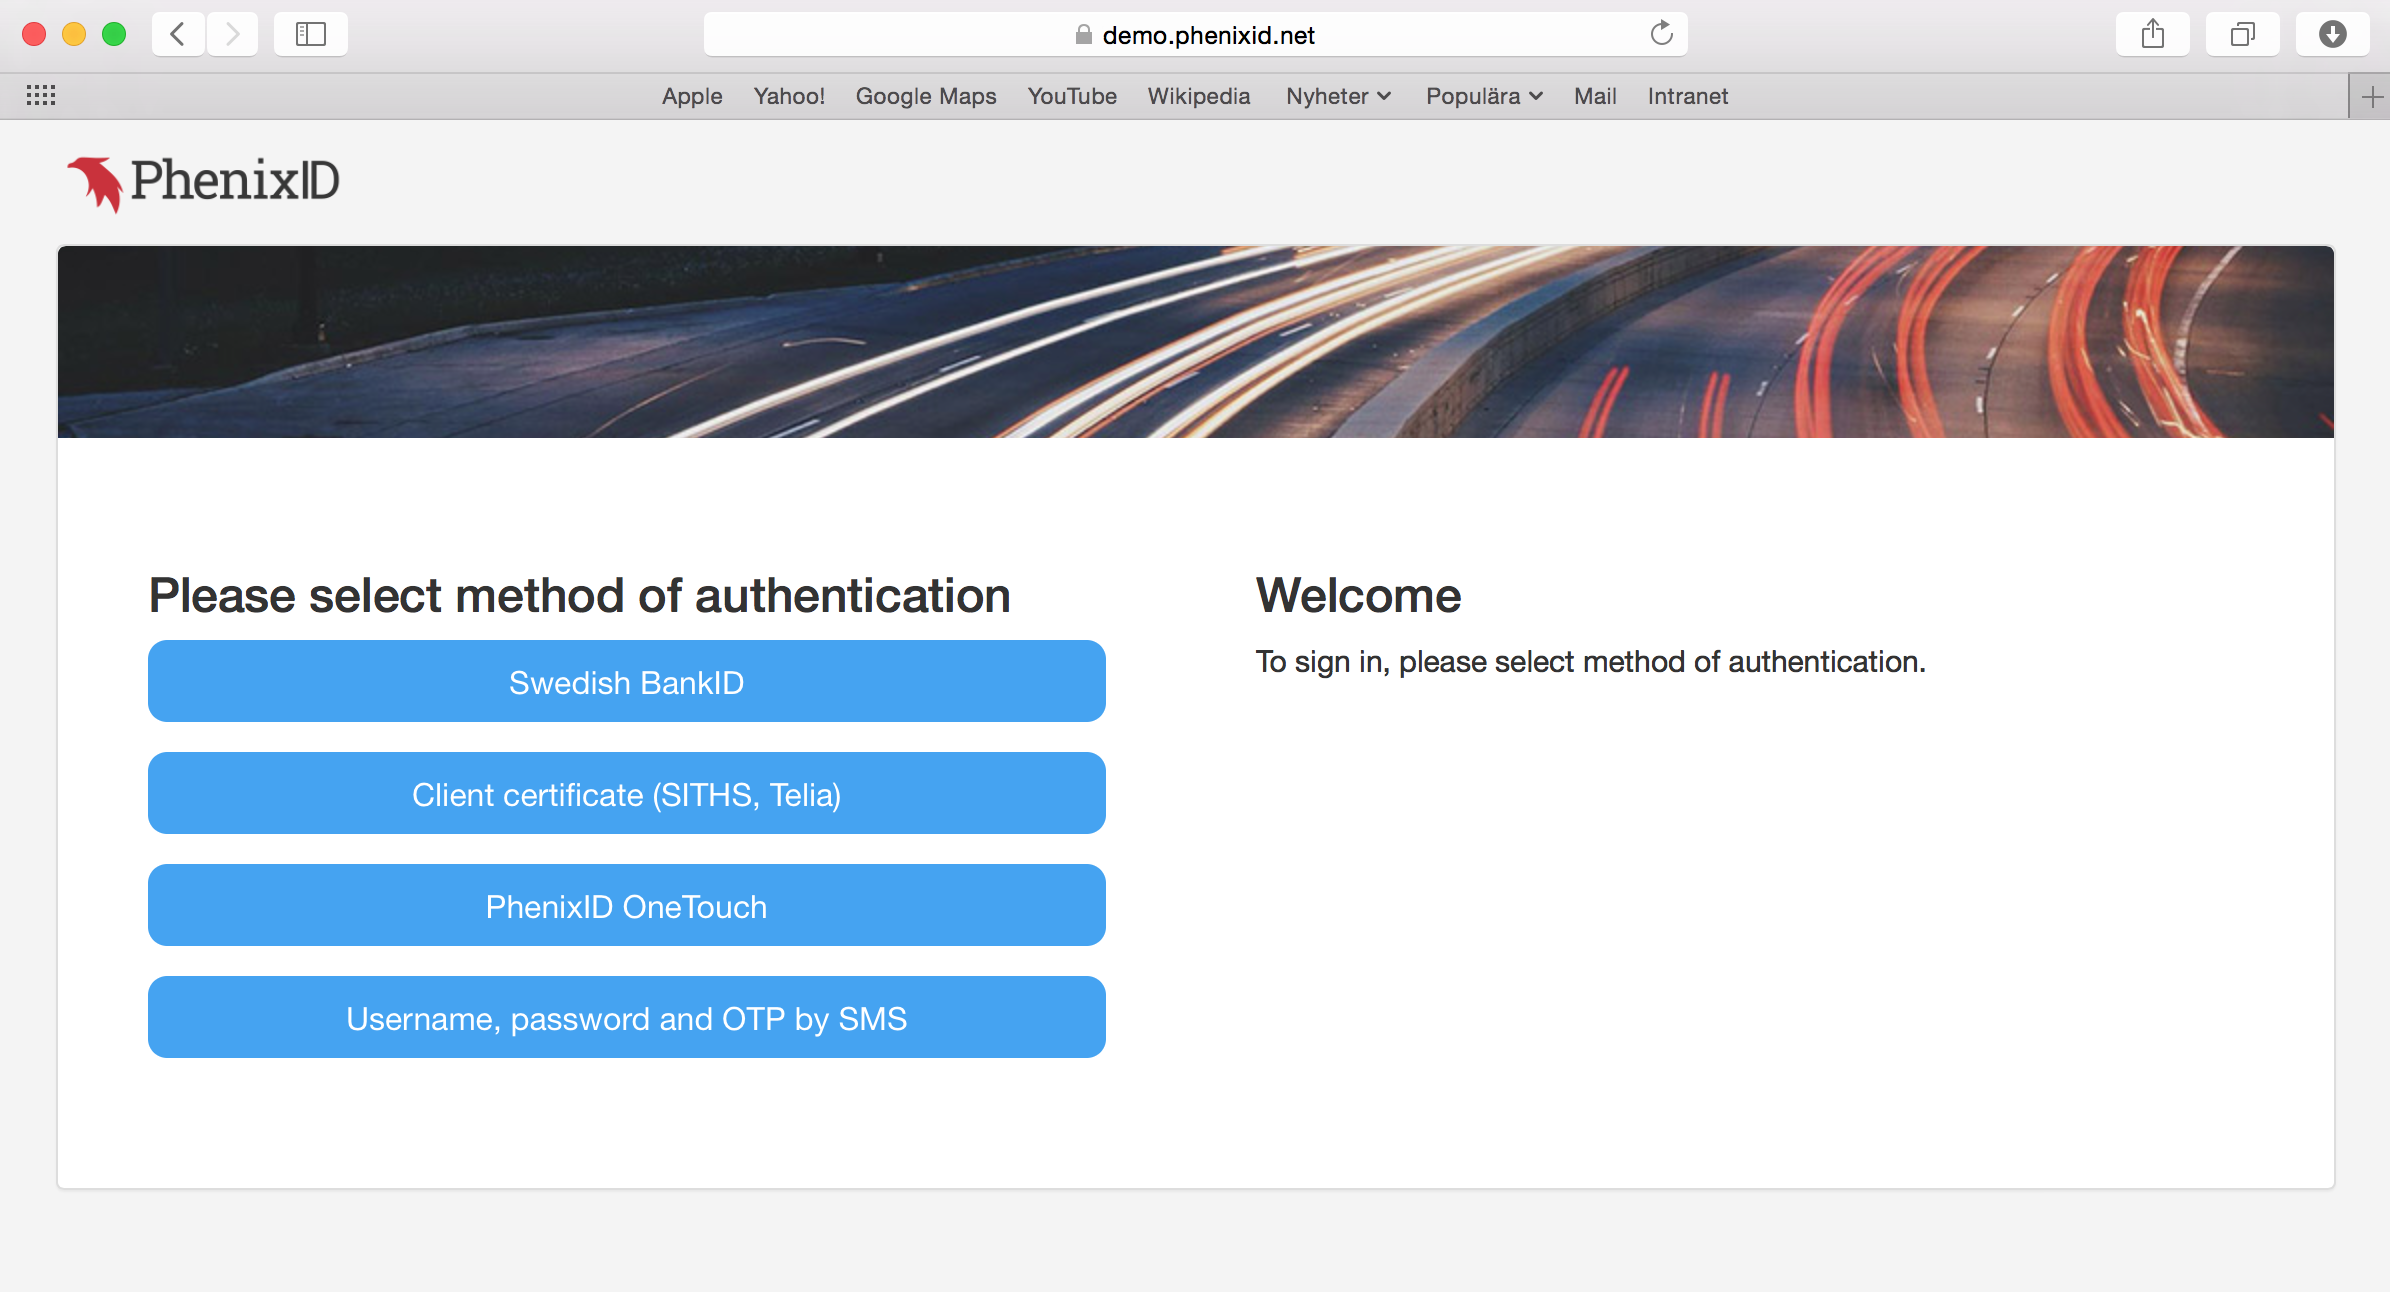
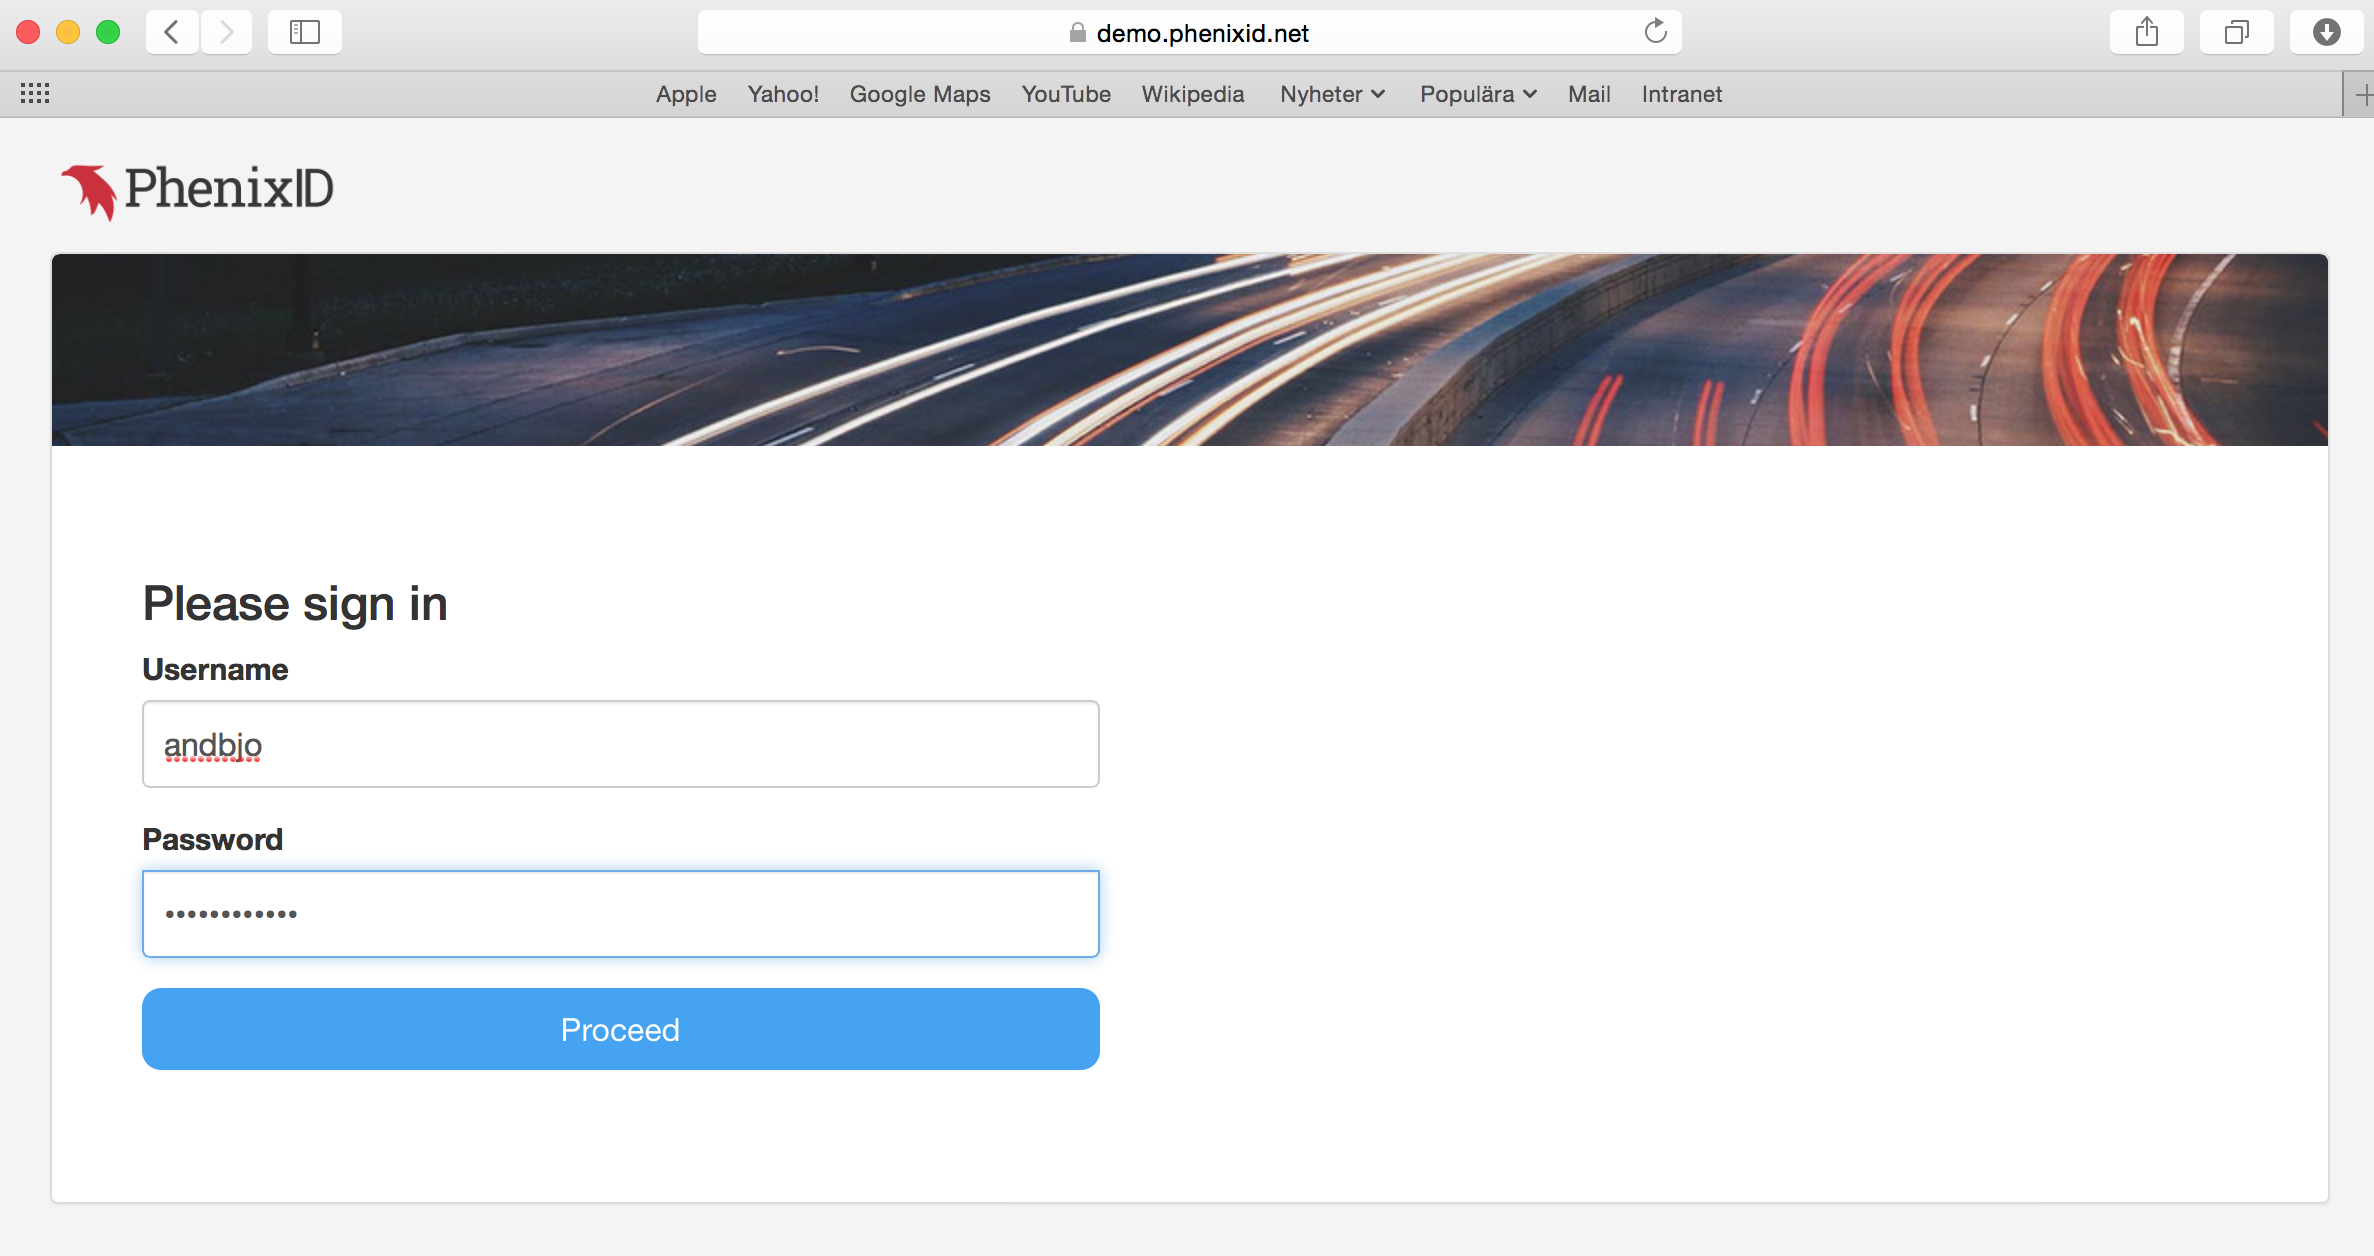
- Select authentication method

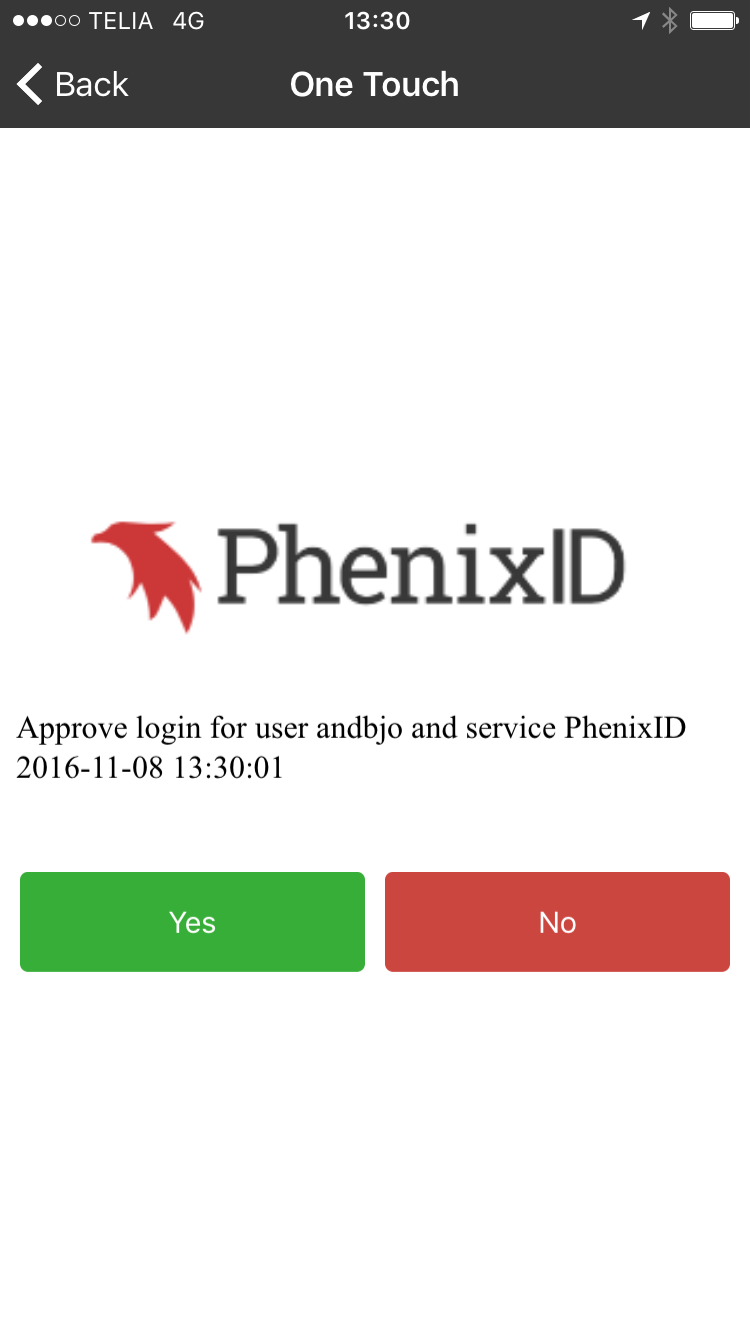
- Authenticate
- You should now be logged in to Box.
DISCLAIMER
Information provided in this document is for your information only. PhenixID makes no explicit or implied claims to the validity of this information. Any trademarks referenced in this document are the property of their respective owners.The origin of this information may be internal or external to PhenixID. PhenixID makes all reasonable efforts to verify this information.
PhenixID - support.phenixid.se