Summary
This document will guide you through the steps to connect PhenixID Signing Services to Nexus Certificate Manager CA.
When using PhenixID Signing Services to sign PDF or XML (PADES/XADES), a signing certificate is produced in runtime for every signature request.
By following this guide, PhenixID Signing Services will produce a keypair and a CSR, send the CSR to Nexus Certificate Manager CA (over https) which will return a X509 certificate. PhenixID Signing Services will use the certificate and the corresponding keypair to sign the PDF /XML.
PhenixID Signing Services consumes the CM REST API.
System Requirements
- PhenixID Authentication Server (PAS) 4.1 or higher
- PhenixID Signing Services configured for PDF and/or XML signing
- Nexus CM REST API endpoint
- Nexus CM keystore (for mutual TLS and signing of the dataToSign parameter) in p12 format
- Allow communication from PhenixID Signing Services to Nexus CM REST API endpoint
Instruction
Nexus CM
Please consult your Nexus CM technical contact for assistance in enabling the Nexus CM REST API.
PhenixID Signing Services
Add trust to Nexus CM Rest endpoint SSL certificates (https)
- Download the CA chain for the SSL-certificate protecting the REST endpoint.
- Add trust to the CA certificates (all ca:s in the chain must be added) by using this instruction.
Upload keystore
- Login to Configuration Manager
- Scenarios->Federation->Keystore
- Click the plus sign to add a new keystore
- Upload the Nexus CM keystore and enter the password
- Click create
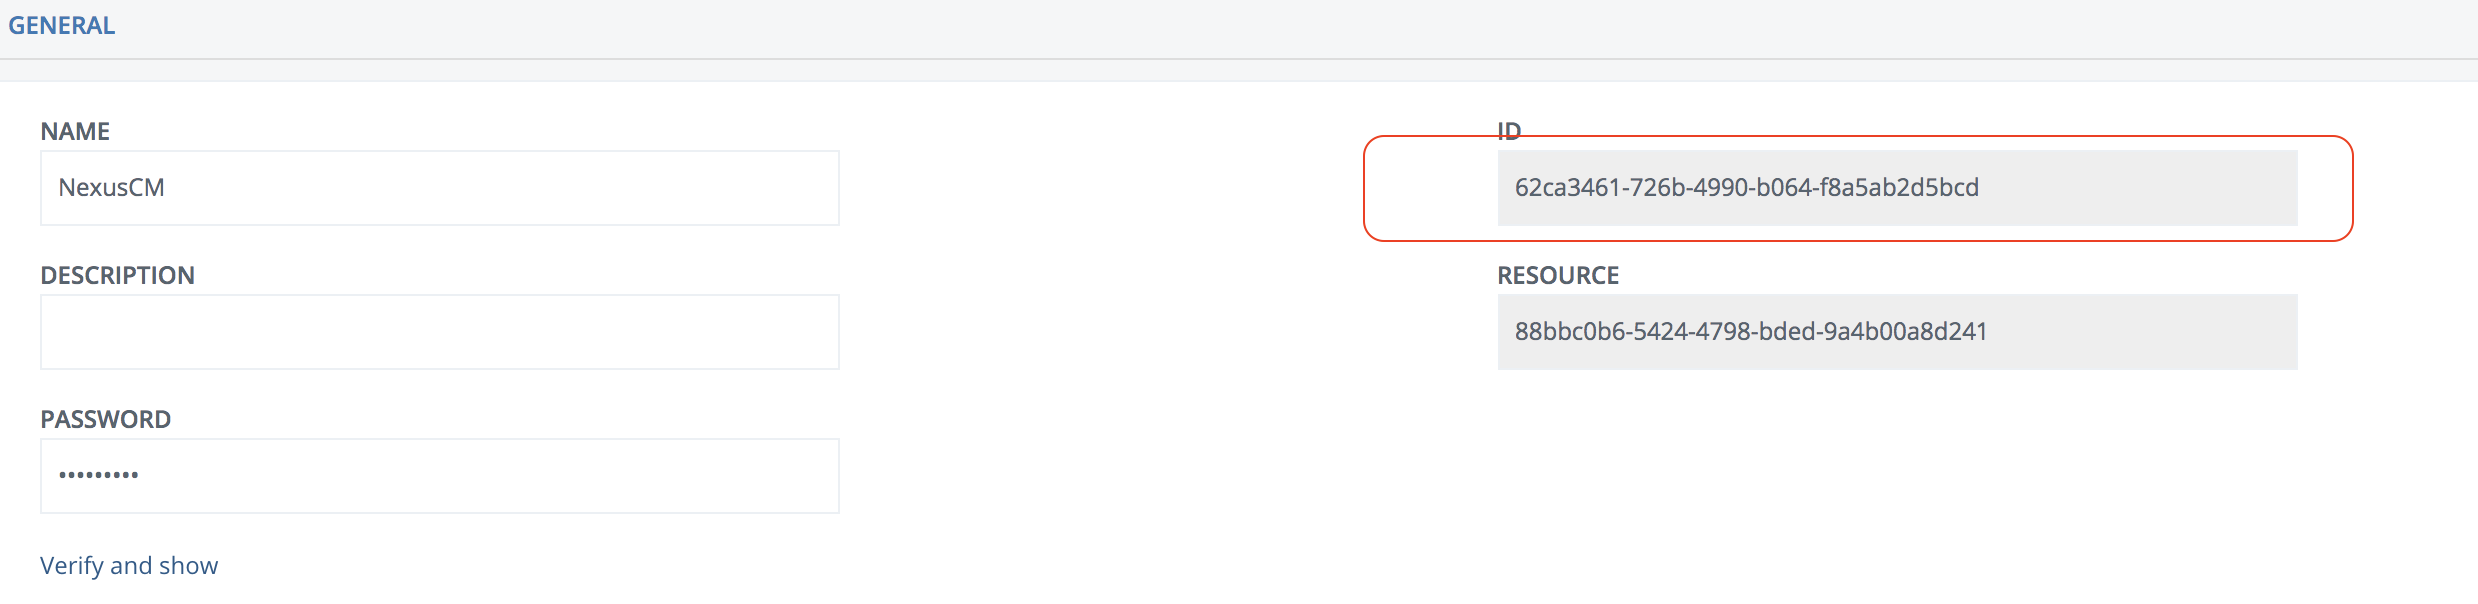
- Once uploaded, copy the ID value and place it in a texteditor for temporary storage.
Modify signing pipe(s)
- Login to Configuration Manager
- Advanced
- Click on the pen to the right of Pipes
- Locate the pipe with id = pdf_sign_sign_pipe_01 or id = xml_sign_sign_pipe_01
(Please note that the id value may differ based on your environment. If you can’t find them, the pipe(s) that need to be changed contains a CreateShortTermKeyStoreValve) - Locate the CreateShortTermKeyStoreValve in the pipe
- Copy the value of the parameter subjectKeyParameter.

- Set “enabled” : “false” on the CreateShortTermKeyStoreValve
- Add a new valve after CreateShortTermKeyStoreValve
{
“name”: “NexusCMCreateCertificateValve”,
“config”: {
“keystore”: “KEYSTORE_ID”,
“subject”: “SUBJECT”,
“endpointURL”: “ENDPOINT”
}
} Replace these values:
KEYSTORE_ID = Previously copied ID value
SUBJECT = Previously copied subjectKeyParamater value
ENDPOINT = Nexus CM REST API endpoint - Click Stage changes and commit changes
- Repeat for every pipe containing CreateShortTermKeyStoreValve.
Test
- Trigger an electronic signature of a pdf or xml (based on your setup)
- View the signed result and verify that the signing certificate was issued by the Nexus CM CA.
Debug
View server logs on the PhenixID Signing Services server.
View server logs on the Nexus Certificate Manager server.
DISCLAIMER
Information provided in this document is for your information only. PhenixID makes no explicit or implied claims to the validity of this information. Any trademarks referenced in this document are the property of their respective owners.The origin of this information may be internal or external to PhenixID. PhenixID makes all reasonable efforts to verify this information.
PhenixID - support.phenixid.se