Summary
This PSD is written for PhenixID Identity Manager (PIM) 5.6.0 or later.
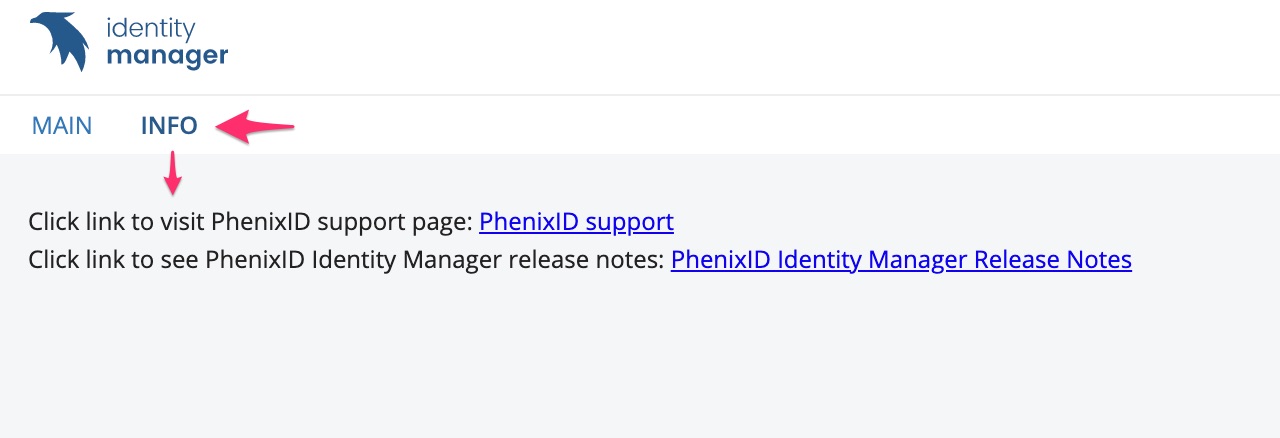
PIM includes views like MAIN and SELF SERVICE. This PSD explains how you can create your own view, for example you can add support and help information for your organisation there. The custom view feature lets you create how many views as you like. All views is associated with an JSP-file with content of your choice.
Add a custom view
There are three things you need to configure:
- DSEditor.properties. Add configuration to use a custom view.
- JSP-file. Update default or create new jsp-file with content.
If you upgraded to PIM 5.6.0 (or later) from an earlier version than PIM 5.6.0 you need to do some more stuff, see in document.
DSEditor.properties
Create and load view
The policy LOAD_VIEW lets you decide which views to load.
To create a custom view you:
- Add the custom view or views to the LOAD_VIEW policy
- Add a policy to specify display name of view. For example Info or Help.
Since you can add several custom views to one role we have done this with a “formula”
View name is build by adding a custom name to the fixed part:
(below se.nordicedge.view.HelpView is fixed and Test1 is custom)
se.nordicedge.view.HelpViewTest1 (one custom view)
Some example. If you like to have three custom views called “Info” and “Data” or “PhenixID Support”then you might name them:
se.nordicedge.view.HelpViewInfo
se.nordicedge.view.HelpViewData
se.nordicedge.view.HelpViewPhenixIDSupport
Add policy for display name of view
The view is displayed like Main and Self Service with a display name on the tab. The name of the your view is decide with a policy that is mapped to the view name. The policy name must be in capital letters. If we use the three examples above then the policy name would be:
VIEW_NAME_HELPINFO=PIM Info
VIEW_NAME_HELPDATA=Data
VIEW_NAME_HELPPhenixIDSupport=PhenixID Support
The end-user will see three tabs with the names PIM Info, Data and PhenixID Support.
Add JSP page
Each of the three examples above will be associated with a JSP-file. The name must be the same as the the end of the policy name. In our example the files would be:
helpinfo.jsp
helpdata.jsp
helpphenixidsupport.jsp
The file must be stored in \..\PhenixID\IM\customer\extension\views
The views folder are include in PIM 5.6.0 or later if clean install. If you have upgraded from earlier version than PIM 5.6.0 you must manually create the folder.
If you make a clean install the views folder contains an example JSP-file called help.jsp.
Update server.xml
If you have upgraded from an older version than PIM 5.6.0 you must add a line in server.xml.
- Open server.xml
\..\PhenixID\IM\server\conf - Scroll to the botom.
- Add one line, see below in the example. In the example I have also added the line before and after the new line should be added. The line to add is the one with views in it.
- Save server.xml and restart PIM.
        <PostResources base="C:\Program Files\PhenixID\IM/customer/extension/web" className="org.apache.catalina.webresources.DirResourceSet" webAppMount="/"/>

        <PostResources base="C:\Program Files\PhenixID\IM/customer/extension/views" className="org.apache.catalina.webresources.DirResourceSet"  webAppMount="/WEB-INF/views" />

        <PostResources base="C:\Program Files\PhenixID\IM/customer/extension/lib" className="org.apache.catalina.webresources.DirResourceSet" webAppMount="/WEB-INF/lib"/>
DISCLAIMER
Information provided in this document is for your information only. PhenixID makes no explicit or implied claims to the validity of this information. Any trademarks referenced in this document are the property of their respective owners.The origin of this information may be internal or external to PhenixID. PhenixID makes all reasonable efforts to verify this information.
PhenixID - support.phenixid.se