Summary
This document will guide you through the steps to enable multi-factor authentication and SSO for the video conferencing solution Jitsi Meet (https://meet.jit.si/)
System Requirements
- PhenixID Authentication Server 3.0 or higher
- Jitsi meet administrative rights
Instruction
Configure PhenixID Authentication Services as Identity Provider
- Setup PhenixID Authentication Services as a SAML IdP using one of the Federation scenarios described here. (If the desired authentication method is not provided by a scenario, use the documentation for the SAML authenticator here)
- Fetch the mail, displayName and userID attributes from the user store. Attribute names may differ depending on user store type.
For Active Directory, sAMAccountName is the userID attribute to fetch - Go to Scenarios->Federation-><YOUR_IDP>->Execution Flow
- Make the following adjustments:
- Rename the properties to OID-values in the Execution Flow:
userID (sAMAccountName) -> urn:oid:0.9.2342.19200300.100.1.1
mail -> urn:oid:0.9.2342.19200300.100.1.3
displayName -> urn:oid:2.16.840.1.113730.3.1.241 - Use the OID properties in the AssertionProvider config.
– userID OID as nameID
– All OIDs above as additional attributes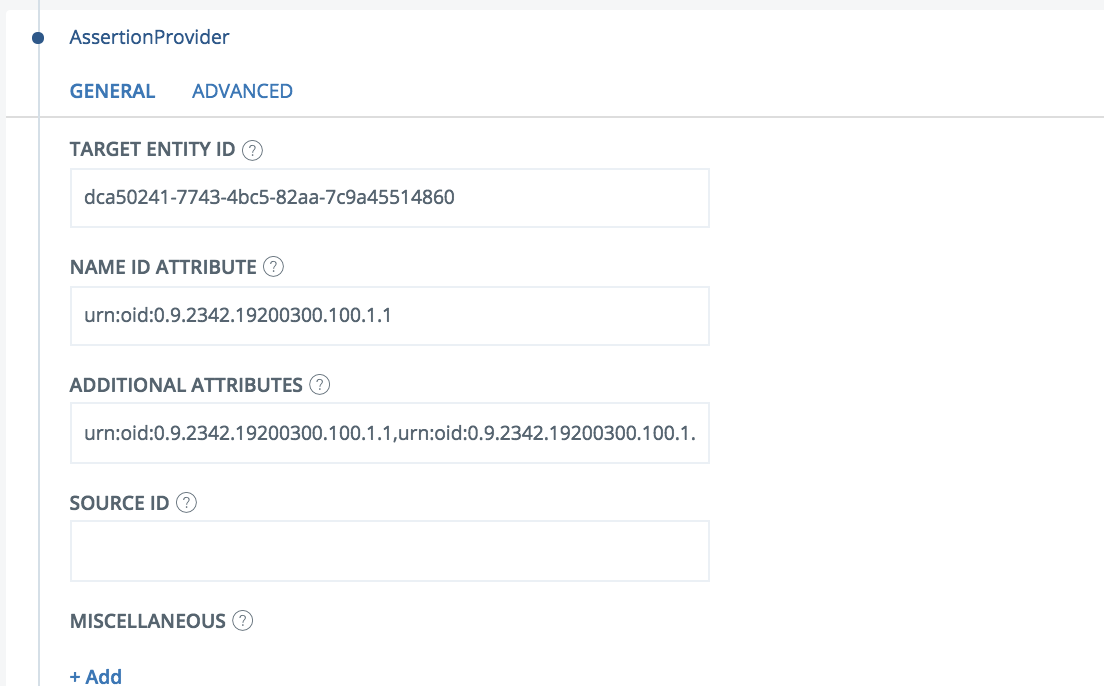
- Rename the properties to OID-values in the Execution Flow:
- Save.
- Go to Scenarios->Federation-> <newly_added_scenario> -> Identity Provider. Deselect “Require signed requests”.
- Save.
- Then export your SAML IdP metadata by going to the URL:
https://<YourServerDomainName>/saml/authenticate/<authenticator_alias>?getIDPMeta
and download the metadata to a xml file.
Configure Jitsi meet
- Enable and install Shibboleth authentication for Jitsi meet using this guide.
- Configure Shibboleth SP by following these steps:
- https://support.phenixid.se/sbs/sso_header_enrichment_shibboleth_sp/#Configure_Shibboleth_SP-2
- https://support.phenixid.se/sbs/sso_header_enrichment_shibboleth_sp/#Metadata_exchange
Use the downloaded IDP metadata file above for value population in the configuration steps.
Add Jitsi Meet as Service Provider in PhenixID Authentication Services
- Follow this guide.
DISCLAIMER
Information provided in this document is for your information only. PhenixID makes no explicit or implied claims to the validity of this information. Any trademarks referenced in this document are the property of their respective owners.The origin of this information may be internal or external to PhenixID. PhenixID makes all reasonable efforts to verify this information.
PhenixID - support.phenixid.se