Summary
This document will guide you through the steps to provide Single-Sign-On to Azure AD (including such services as Office 365, Dynamics 365, CRM) using SAML with PhenixID Authentication Services as SAML IdP.
SAML2 for Office365 enables SSO (Single Sign-on) for the office clients supporting ADAL:
- Web browsers
- Office 2016 desktop
- Office 2016 mobile apps
System Requirements
- PhenixID Authentication Services 2.0 or higher
- Azure AD corporate domain registered
- Azure AD tenant administrator username and password available
- Users provisioned to Azure AD (NB! It is not possible to manually create test users in Azure AD web administration). Provision users to Azure using PhenixID Identity Provisioning (PIP).
- Windows Server 2008 or higher (required to perform the configuration. PhenixID Authentication Services can still run on any server platform)
- Windows Azure Active Directory Module for Windows PowerShell
Before you start
Make sure that the Azure AD tenant administrator username suffix is @<yourcompany>.onmicrosoft.com. The tenant administrator username suffix MUST NOT be the same as the Azure AD domain name you are setting up for sso. This is to prevent administrator lockouts.
Instruction
- Setup PhenixID Authentication Services as a SAML IdP using one of the Federation scenarios described here. (If the desired authentication method is not provided by a scenario, use the documentation for the SAML authenticator here)
- Download the SAML IdP Metadata as a file.
- Start Windows Windows Azure Active Directory Module for Windows PowerShell
- Connect to
Connect-MsolService - Login with your Azure AD administrator username and password.
- Enter your Azure AD domain name.
$dom = "<myoffice.domain.com>"
Example:
$dom = "office365demo.phenixid.net"
- Enter the entityID of your IDP. This is fetched from the SAML IdP Metadata entityID value.
$MyURI = "<EntityID_of_idp>"
Example:
$MyURI = "https://demo.phenixid.net/idp"
- Enter the login URL of your idp. This is fetched from the SAML IdP Metadata SingleSignonService->Location value.
$LogOnUrl = "<SSO Location>"
Example:
$LogOnUrl = "https://demo.phenixid.net/authenticate/selector"
- Enter the logoff URL of your idp. This is fetched from the SAML IdP Metadata SingleLogoutService->Location value. If the value can not be found, use “https://<phenixid_server>/authenticate/logout”
$LogOffUrl = "<Logout Location>"
Example:
$LogOffUrl = "https://demo.phenixid.net/authenticate/logout"
- Enter the signing certificate value of your idp. This is fetched from the SAML IdP Metadata KeyDescriptor=”signing” certificate value. Remove line breaks from the value.
$MySigningCert = "<certificate_value>"
Example:
$MySigningCert = "MIIE/TCCA+WgAwIBAgIQJAchUFzczcaQzqSprMwf9TANBgkqhkiG9w0BAQsFADB+MQswCQYDVQQGEwJVUzEdMBsGA1UEChMUU3ltYW50ZWMgQ29ycG9yYXRpb24xHzAdBgNVBAsTFlN5bWFudGVjIFRydXN0IE5ldHdvcmsxLzAtBgNVBAMTJlN5bWFudGVjIENsYXNzIDMgU2VjdXJlIFNlcnZlciBDQSAtIEc0MB4XDTE1MDMyMzAwMDAwMFoXDTE2MDMyMzIzNTk1OVowgYUxCzAJBgNVBAYTAlNFMRgwFgYDVQQIDA9TdG9ja2hvbG1zIGzDpG4xFTATBgNVBAcMDE5hY2thIFN0cmFuZDEUMBIGA1UECgwLUGhlbml4SUQgQUIxEDAOBgNVBAsMB1N1cHBvcnQxHTAbBgNVBAMMFGRvd25sb2FkLnBoZW5peGlkLnNlMIIBIjANBgkqhkiG9w0BAQEFAAOCAQ8AMIIBCgKCAQEA3iDsnHZy4xzdt2XeO8YJ3TCEAwTaSWkccibvTObBrsSEqmpeIh2PAynifF8sf/OosyYrD1YG2Xq/hWs8CEwxvJcVD5cnfueJrhj30Iakmd0m78ntna1yyWkJfdY2f/jKr7GrNKmmXqpUn3O4NQFMTRyqgxQVkYyGXEYb+s6v+7Lkrhai9J46cNev7XX0wtoYB9nENuR+fZl8Y//p9j1yOvCpPBgl8cBVLN5Q2maXVkVj1ofp/pHVRUNPDzXtB7AEViXKr7huaK5q79E7bKQvpYsgVR648PRvCGCrNXKphhf8q2Ibzwf3bzacNBQXDzRHhc4JR3dZowcQvc0lHxlScQIDAQABo4IBbTCCAWkwHwYDVR0RBBgwFoIUZG93bmxvYWQucGhlbml4aWQuc2UwCQYDVR0TBAIwADAOBgNVHQ8BAf8EBAMCBaAwHQYDVR0lBBYwFAYIKwYBBQUHAwEGCCsGAQUFBwMCMGUGA1UdIAReMFwwWgYKYIZIAYb4RQEHNjBMMCMGCCsGAQUFBwIBFhdodHRwczovL2Quc3ltY2IuY29tL2NwczAlBggrBgEFBQcCAjAZGhdodHRwczovL2Quc3ltY2IuY29tL3JwYTAfBgNVHSMEGDAWgBRfYM9hkFXfhEMUimAqsvV69EMY7zArBgNVHR8EJDAiMCCgHqAchhpodHRwOi8vc3Muc3ltY2IuY29tL3NzLmNybDBXBggrBgEFBQcBAQRLMEkwHwYIKwYBBQUHMAGGE2h0dHA6Ly9zcy5zeW1jZC5jb20wJgYIKwYBBQUHMAKGGmh0dHA6Ly9zcy5zeW1jYi5jb20vc3MuY3J0MA0GCSqGSIb3DQEBCwUAA4IBAQAw7ugs6WdRAKvZvLcoLPmMqtL67Gm1aVAIeLF047gu/9tfBHlRLTIKCtcej6he1YkkvpOH+oidmOy44Pf0SFgLRnLK+Sgolzf8Ep1KcBsx1RwR0Lr+Cj87JFV5MAHLBF9hVO0/y1oLBlTqEpgzBEymlu05JisDQgX9vkZNkSQHIix9A8BMvngeaGELthJ+avIv8dc3x25IlwLwMwyXc8QEA6zRI+rpPEPdOa49ZNfLcveeBh1ejr9x7FpIMArNiMGtT1gu5rCxXEZE8qTDM5OMUAyY33qw6F9L+yEng94kFdO24OJH6sb7gTlef+2idy9xe5z/VLafmoUF44pXO5Iq"
- Make the domain federated.
Set-MsolDomainAuthentication -DomainName $dom -Authentication Federated -IssuerUri $MyURI -LogOffUri $LogOffUrl -PassiveLogOnUri $LogOnUrl -SigningCertificate $MySigningCert -PreferredAuthenticationProtocol "SAMLP"
- Download Azure AD SAML SP metadata file from https://nexus.microsoftonline-p.com/federationmetadata/saml20/federationmetadata.xml. Rename the downloaded file to Office365Metadata.xml.
- Open Configuration Manager -> Scenarios -> Federation
- Add the metadata file using the scenario SAML Metadata upload.
- Configure the authentication method(s) to be used for the Azure AD federation.
- Click on the Configuration tab
- Click on Pipes
- Modify the pipe(s) connected to the authenticators.
- Fetch the attributes userPrincipalName and <attribute_used_for_azure_ad_immutable_id_identifier> from the user data source. In this example, wbemPath contains the immutable id identifier.
If Azure AD Connect is used for provisioning the attribute used for immutable id is mS-DS-ConsistencyGuid.
That attribute is binary and must be added as: “binary_attrs”: “mS-DS-ConsistencyGuid”{ "name": "LDAPSearchValve", "config": { "connection_ref": "MyAD", "base_dn": "ou=demo,DC=demo,DC=phenixid,DC=net", "scope": "SUB", "size_limit": "0", "filter_template": "(&(objectClass=user)(samaccountname={{request.username}}))", "attributes": "userPrincipalName,wbemPath" } } - Copy property userPrincipalName to IDPEmail.
{ "name": "PropertyCopyValve", "config": { "source": "userPrincipalName", "dest": "IDPEmail" } } - Configure SAML assertion. Change “targetEntityID” to the id of your SAML Identity Provider.
{
                "name": "AssertionProvider",
                "config": {
                    "targetEntityID": "PhenixID_IdP",
                    "nameIDAttribute": "wbemPath",
                    "misc": {
                        "excludeSubjectNotBefore": "true",
                        "nameIdFormat": "urn:oasis:names:tc:SAML:2.0:nameid-format:persistent",
                        "signMessage": "false",
                        "signAssertion": "true"
                    },
                    "sourceID": "urn:federation:MicrosoftOnline",
                    "audienceRestriction": "urn:federation:MicrosoftOnline",
                    "additionalAttributes": "IDPEmail"
                }
            }
- Fetch the attributes userPrincipalName and <attribute_used_for_azure_ad_immutable_id_identifier> from the user data source. In this example, wbemPath contains the immutable id identifier.
- Click “Stage changes” and then “Commit changes”
Additional configuration instructions can be found on this page.
Test
- Browse to your azure ad domain. (https://login.microsoftonline.com?whr=<your_azure_ad_domain> . Example: https://login.microsoftonline.com?whr=office365demo.phenixid.net)
- This should result in a redirect to PhenixID Authentication Services
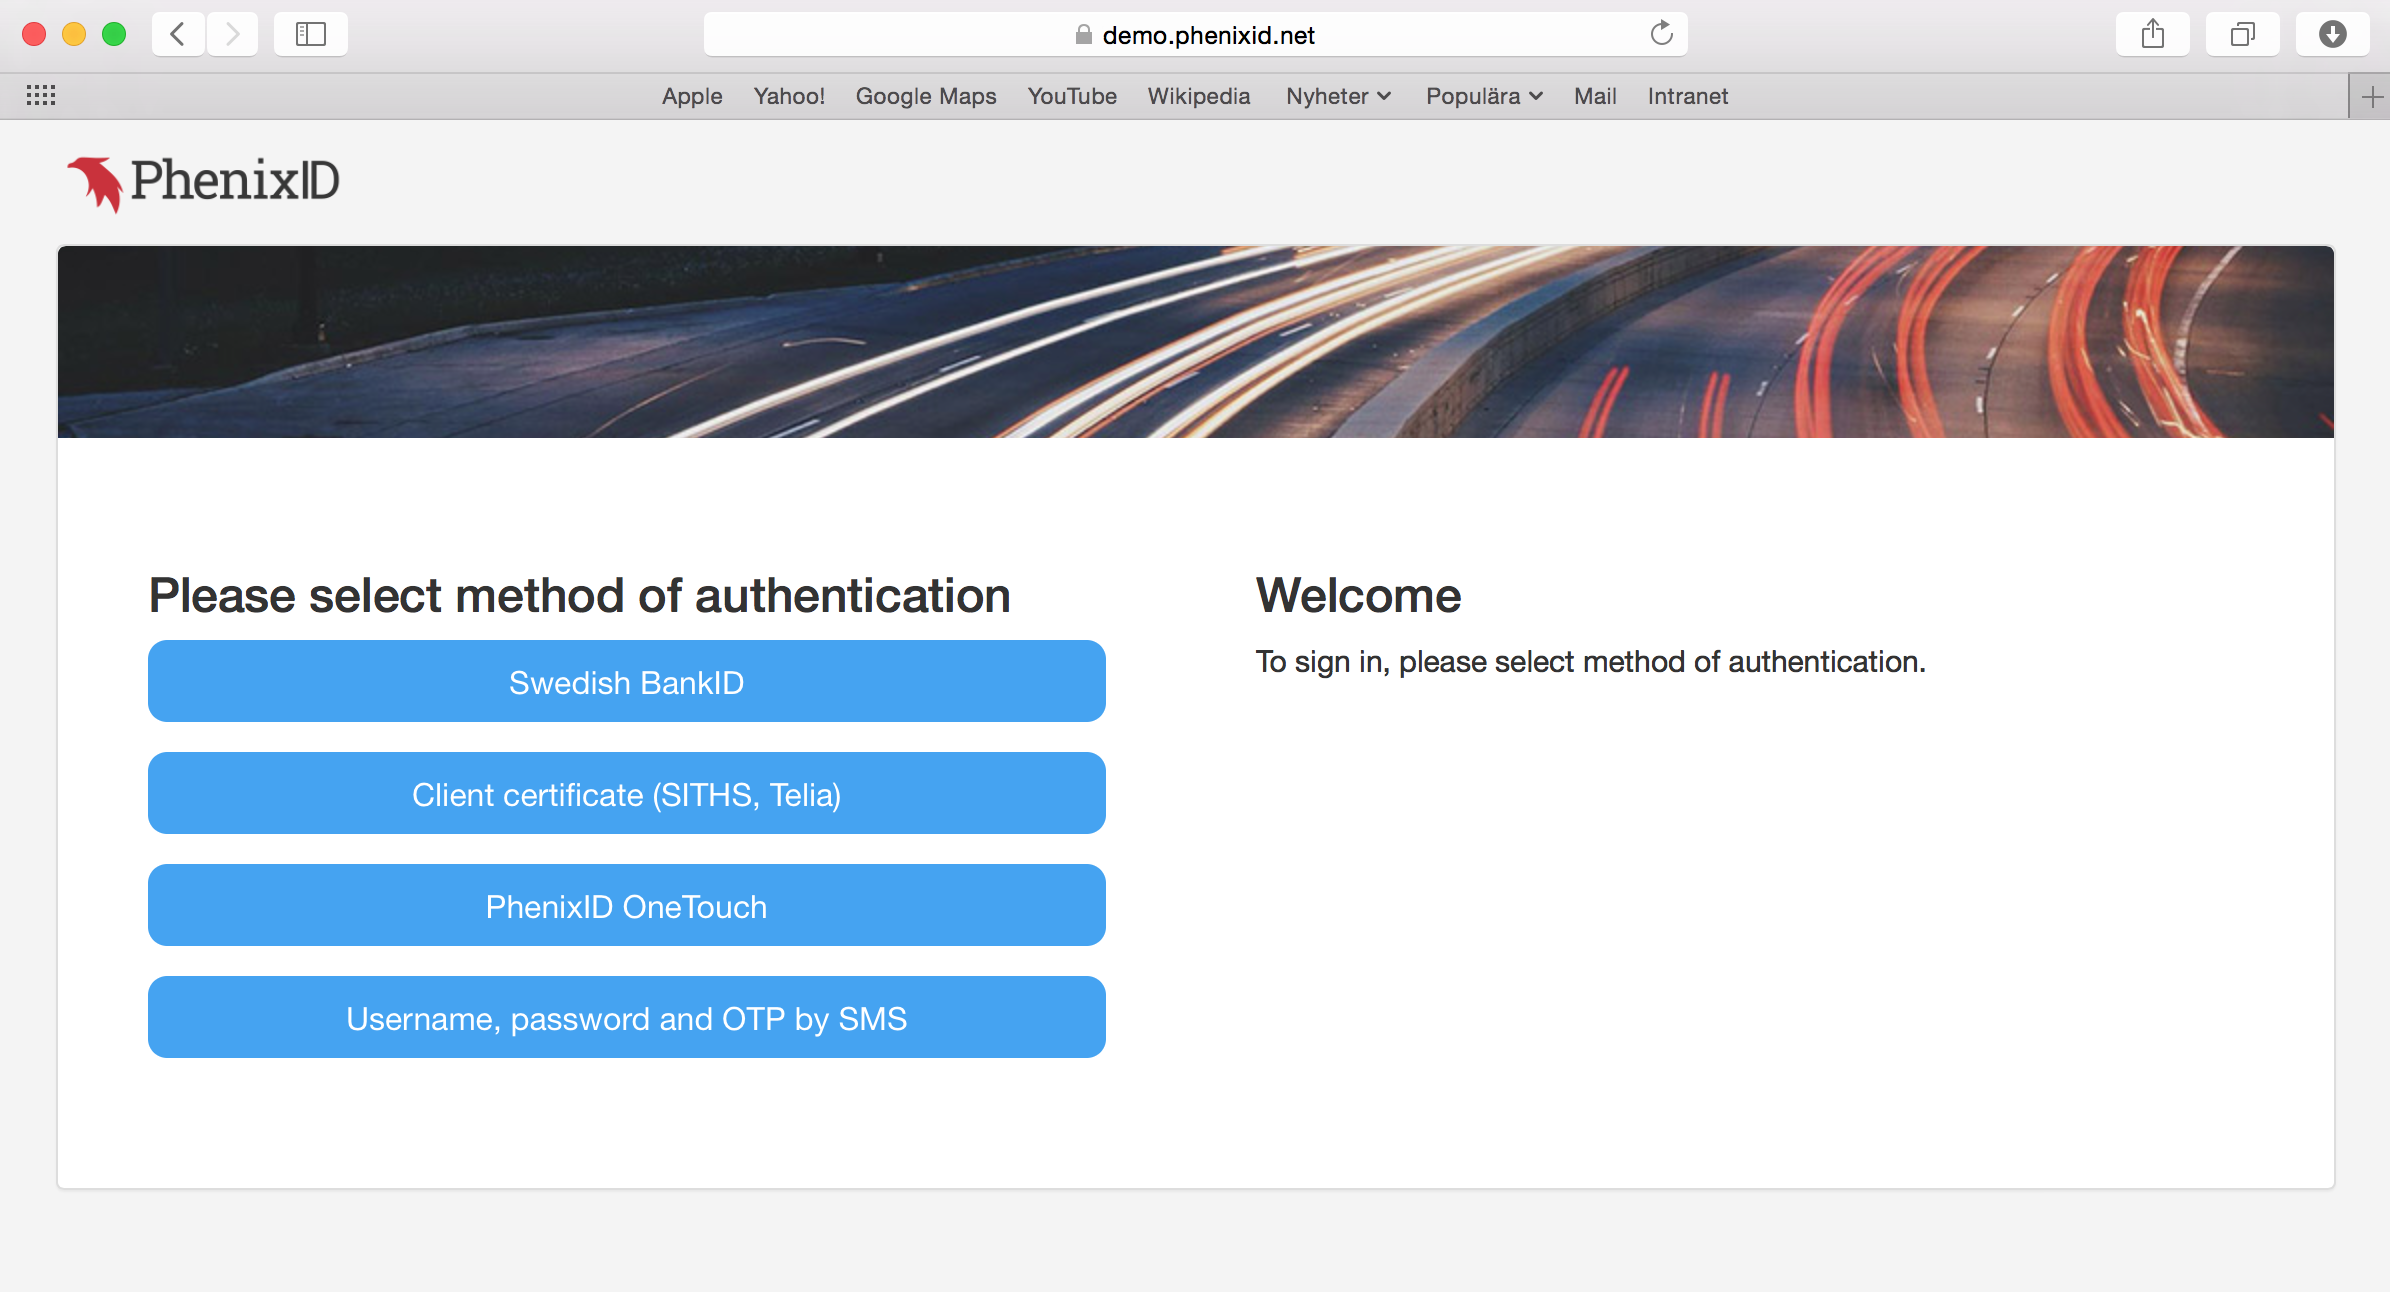
- Select authentication method

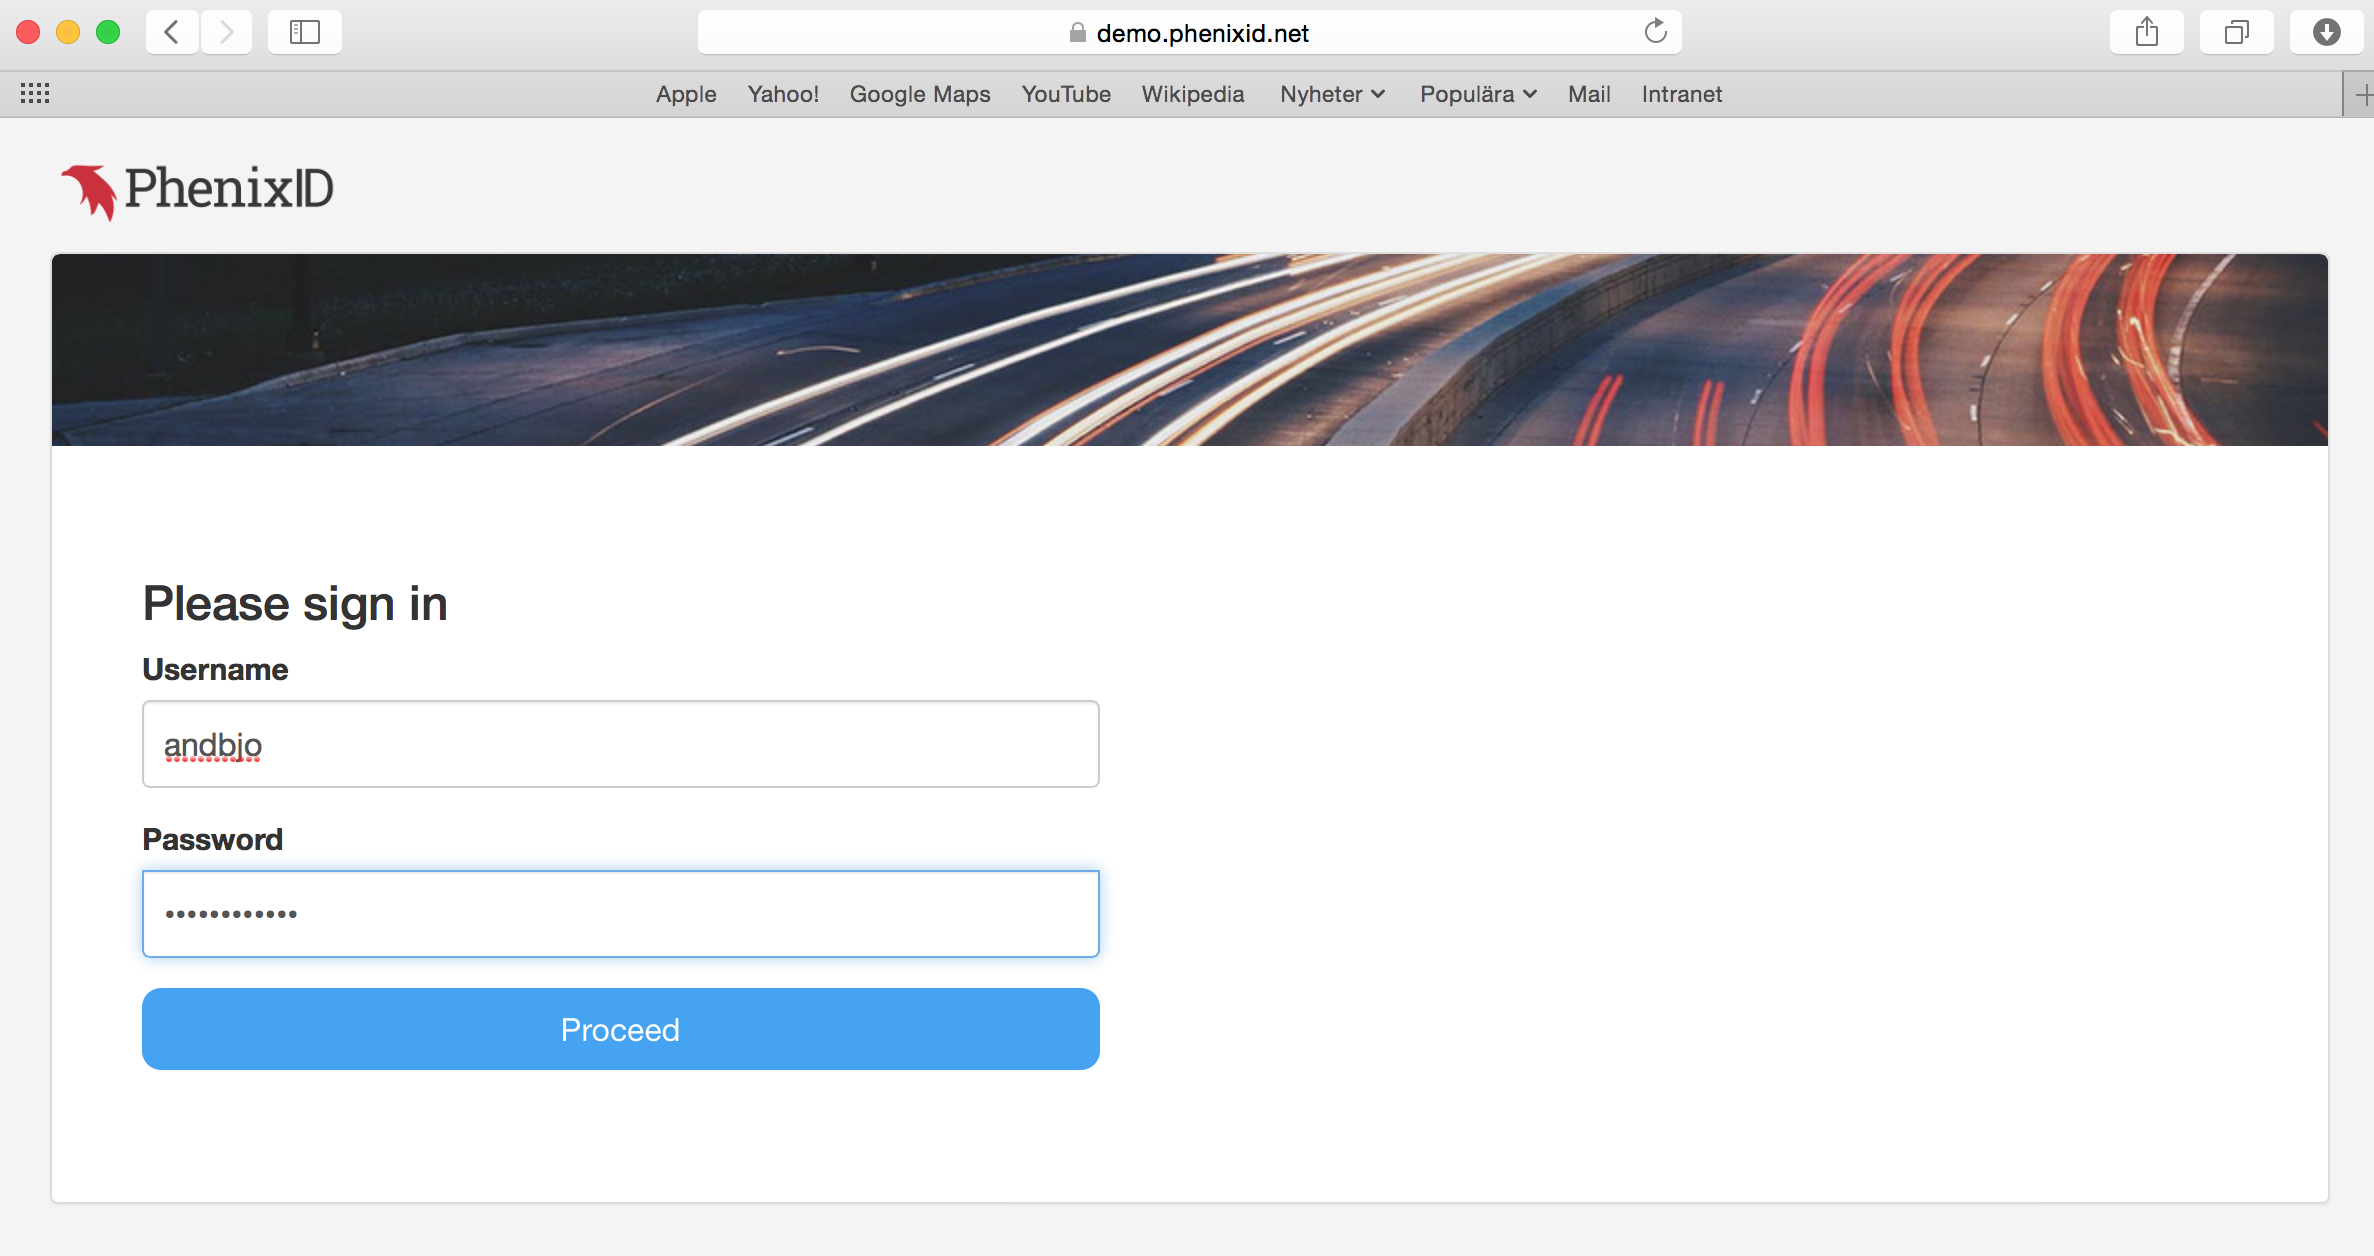
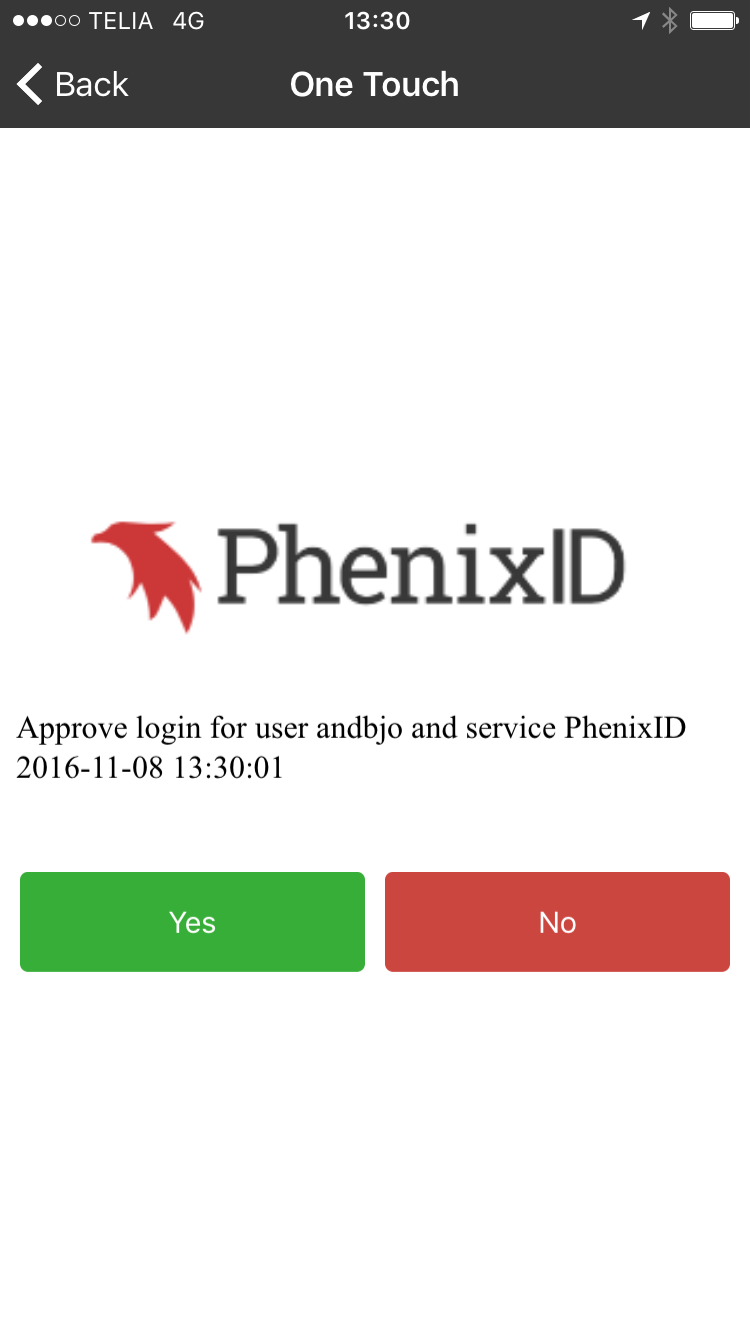
- Authenticate
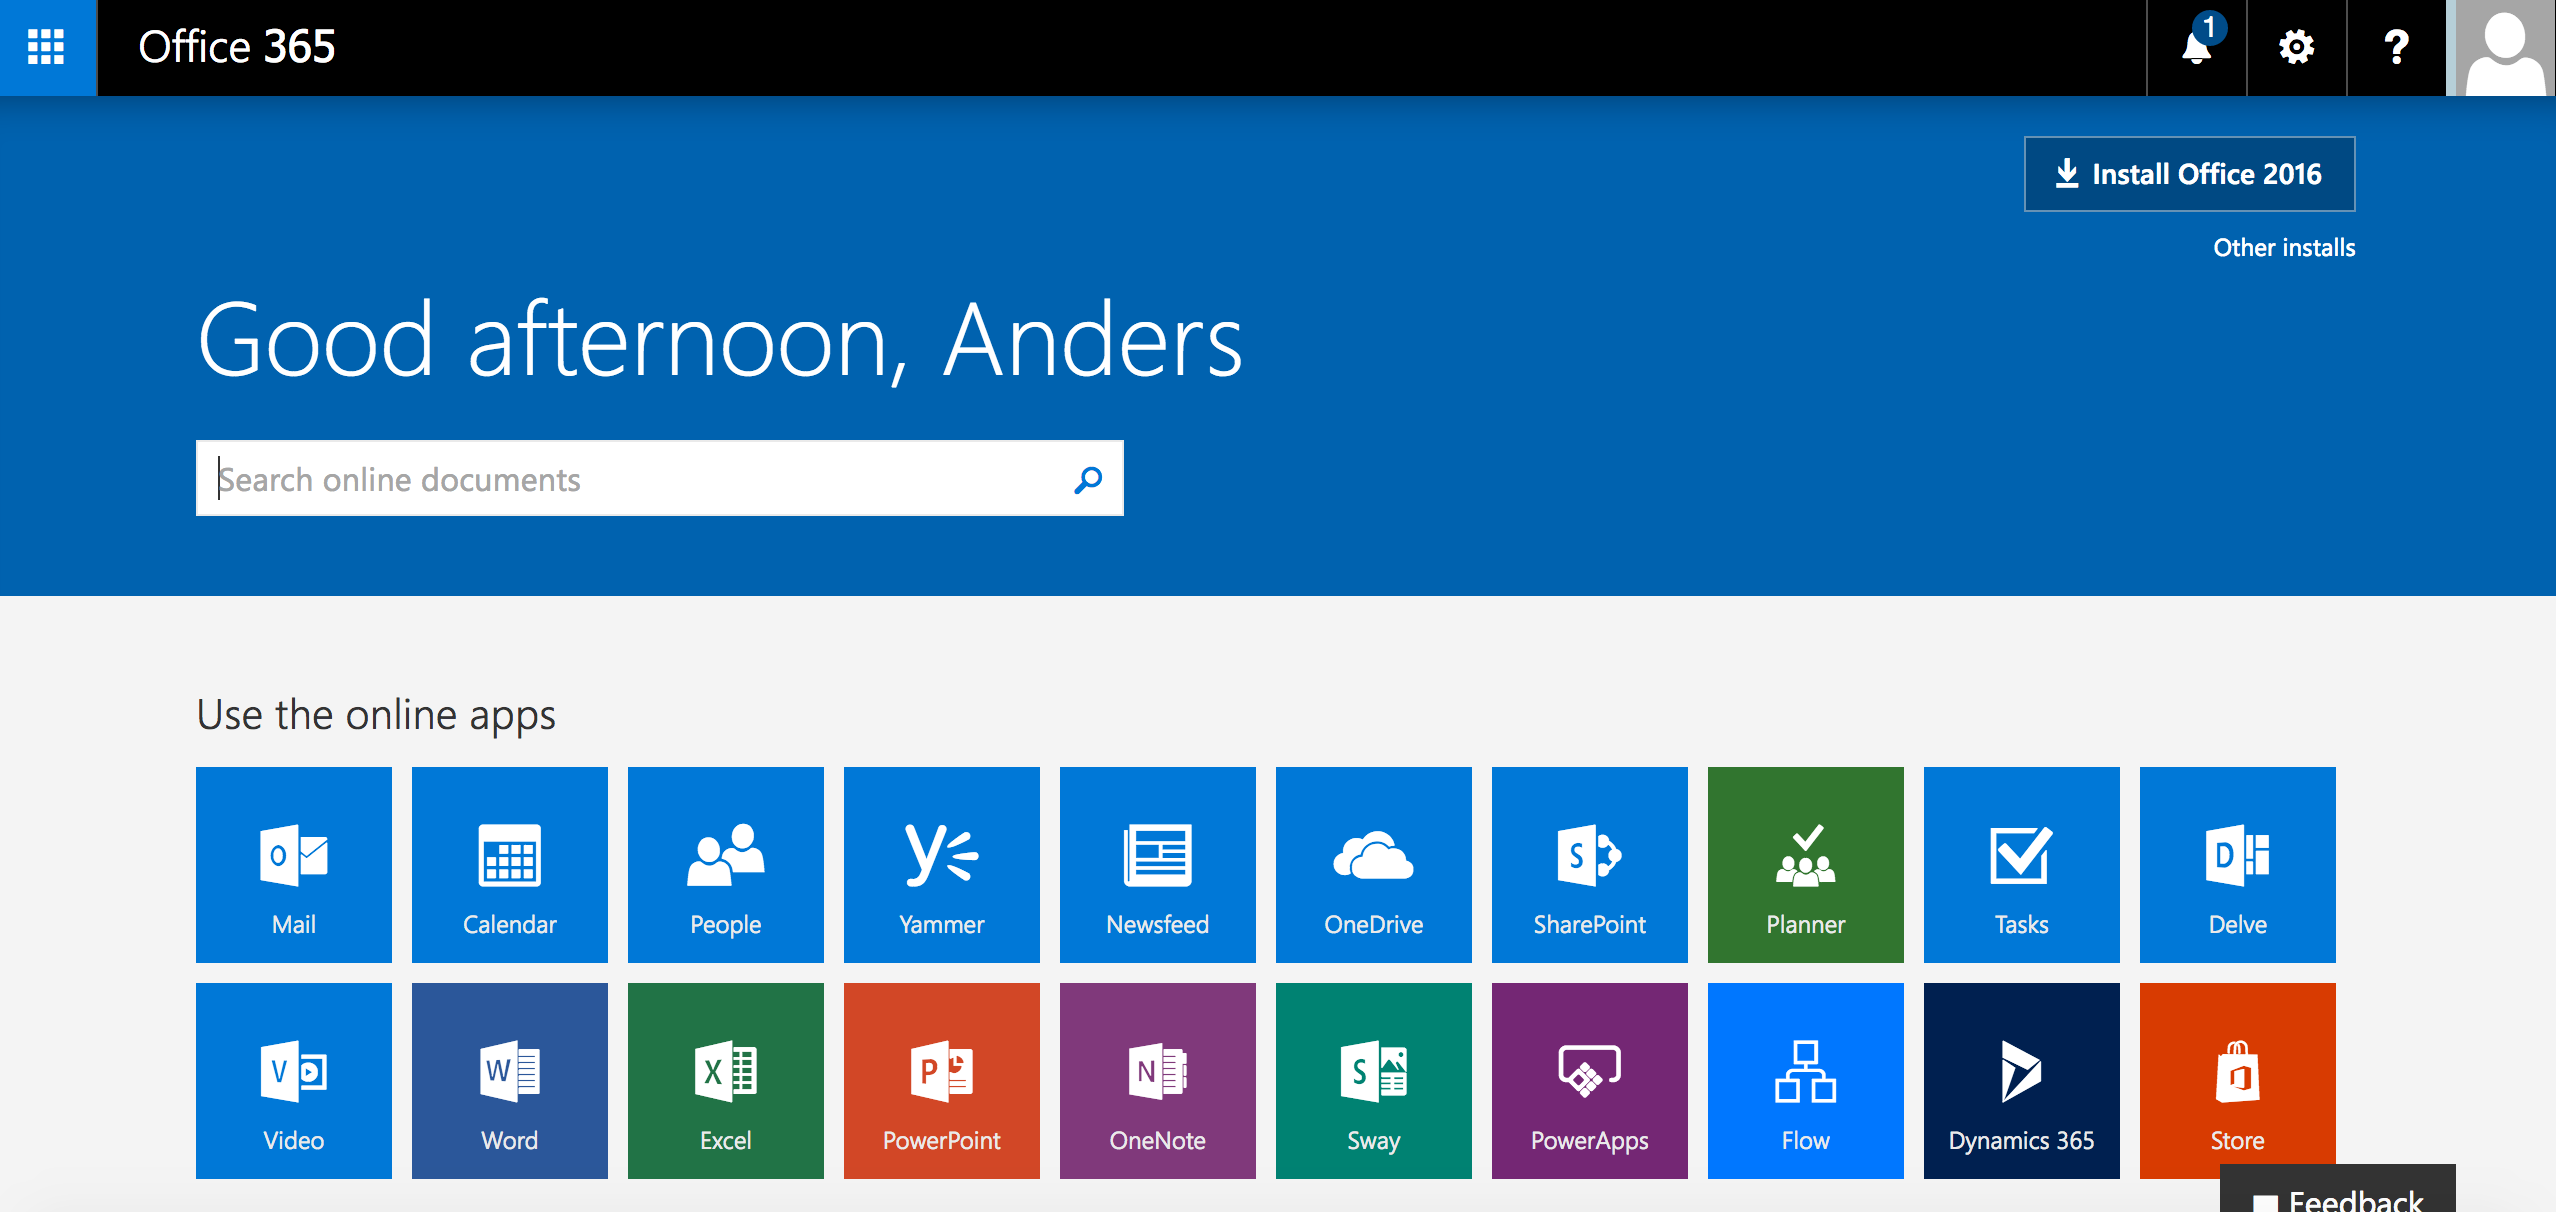
- You should now be logged in to Azure AD.
Troubleshooting
- Use Firefox “SAML Tracer” tool to examine the values in the SAML Assertion
- Download and install “Microsoft Office 365 Support and Recovery assistant” on client PC or server. Run the tool for diagnostics.
- Download and install “Microsoft Connectivity analyzer” on client PC or server. Run the tool for diagnostics.
DISCLAIMER
Information provided in this document is for your information only. PhenixID makes no explicit or implied claims to the validity of this information. Any trademarks referenced in this document are the property of their respective owners.The origin of this information may be internal or external to PhenixID. PhenixID makes all reasonable efforts to verify this information.
PhenixID - support.phenixid.se