Summary
This document will guide you through the configuration steps to configure PhenixID server as a RADIUS server with 2FA. When done, PhenixID Server will be configured for the scenario Username, Password and One-Time Password delivered by SMS.
This is a very common two-factor authentication scenario.
System Requirements
- PhenixID Server installed
- Information about your user store, such as IP address/server name, port and userid/password for the connection.
- A userid and password for the PhenixID Message Gateway. Please contact PhenixID Support, support@phenixid.se, to set up an account.
- The Scenario will make use of RADIUS, so we need to know the port and shared secret configured on the application being secured with PhenixID Server two-factor authentication.
Instruction
Overview
This scenario will:
- Configure PhenixID server as a RADIUS server
- Create a connection to your user store (LDAP)
- Enable two-factor authentication, the one-time password will be delivered via SMS using PhenixID Message Gateway
Login to PhenixID Administration Portal
We will use one of the scenarios included in the administration portal.
Open a browser and go to https://PhenixidServerIP:8443/prism/.
Use e.g. the default administrator user called phenixid with the default password password to login.
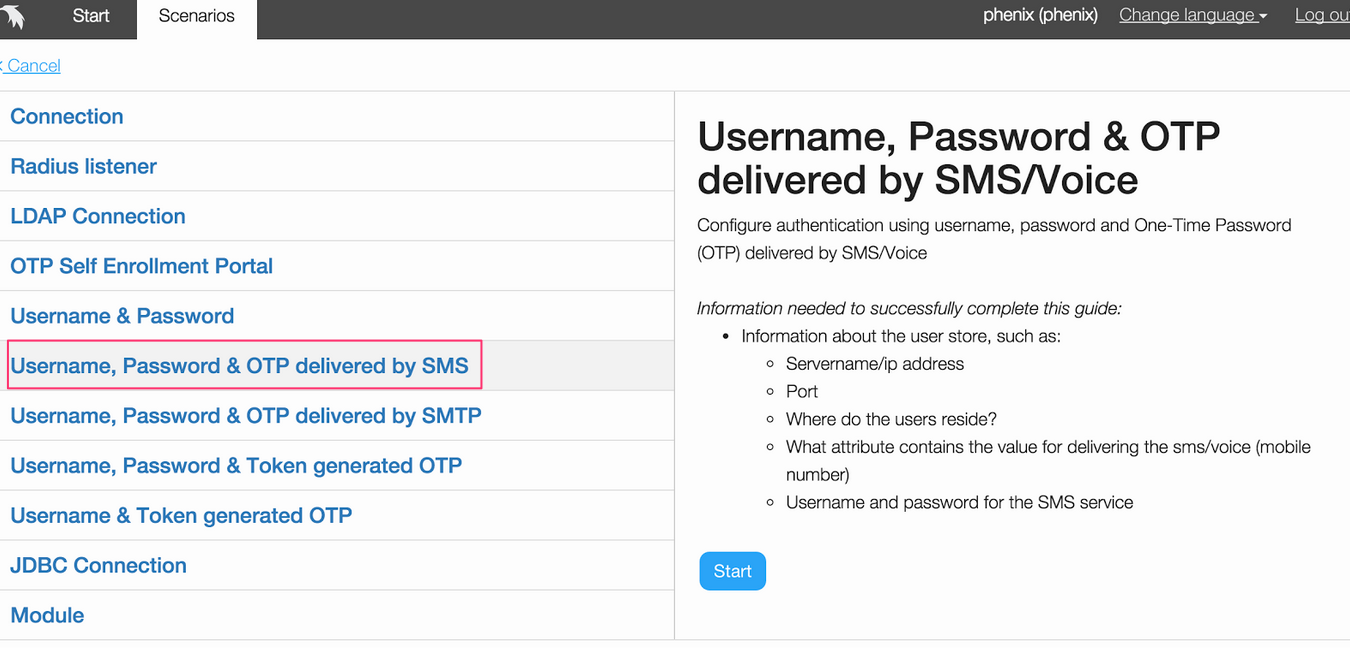
Configure “Username, Password & OTP delivered by SMS”
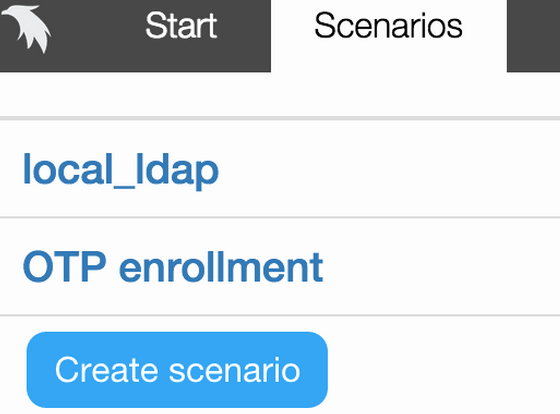
1 – When logged in, click the Scenarios tab and click Create scenario
2 – Choose Username, Password and OTP delivered by SMS and click Start
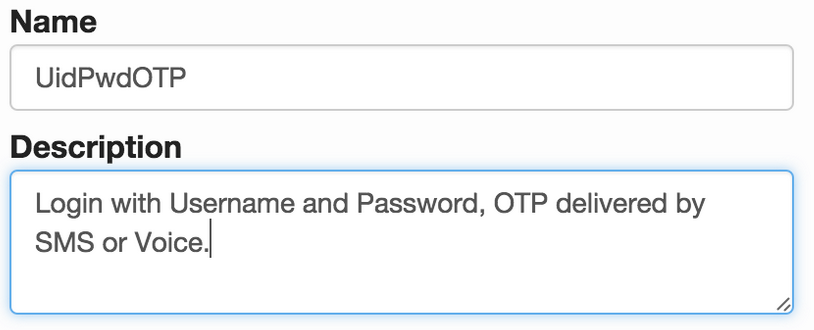
3 – Add name and description for this scenario.
Set a name for the Scenario, and add a Description:
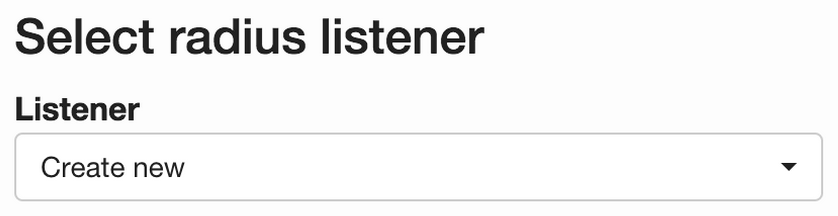
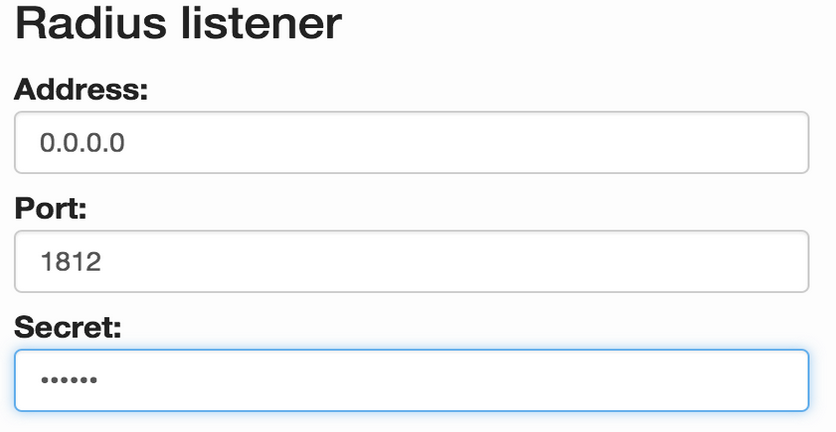
4 – Configure PhenixID server as a RADIUS server.
Since we will be using RADIUS you need to configure a RADIUS listener or select an already configured one (this is maybe from a previous scenario and you like two scenarios to share a listener)
In this scenario we will create a new RADIUS listener, select Create new and the click Next:
4.1 – Set the address that you want for the listener, or choose the default value to listen to all addresses.
Set the port and secret corresponding to the application being secured with PhenixID Server two-factor authentication.
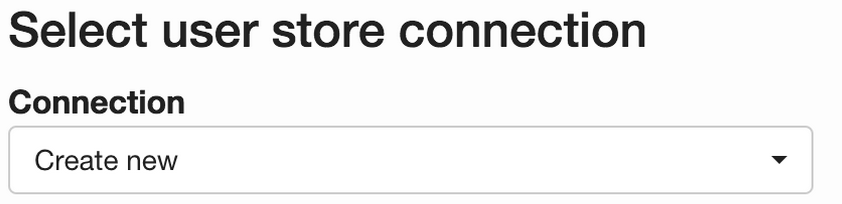
5 – Configure a connection to your user store
We need a connection to your user store, where the user accounts reside. You can either setup a new one or pick an already created one. In this case we will create a new one:
Select Create new, and press Next:
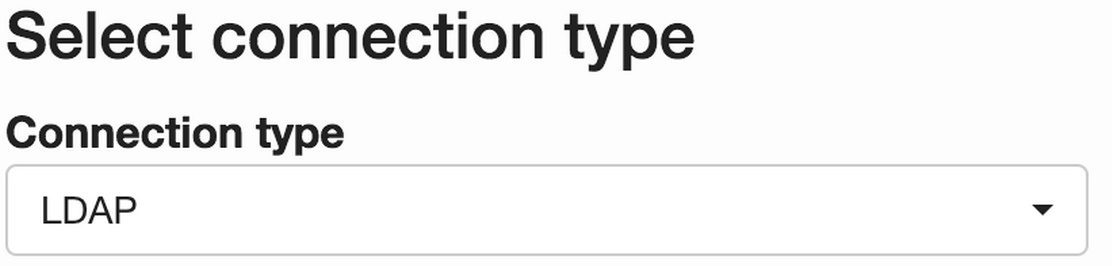
5.1 – For your user store, choose the type of connection:
5.2 – Set a name/description for the connection:

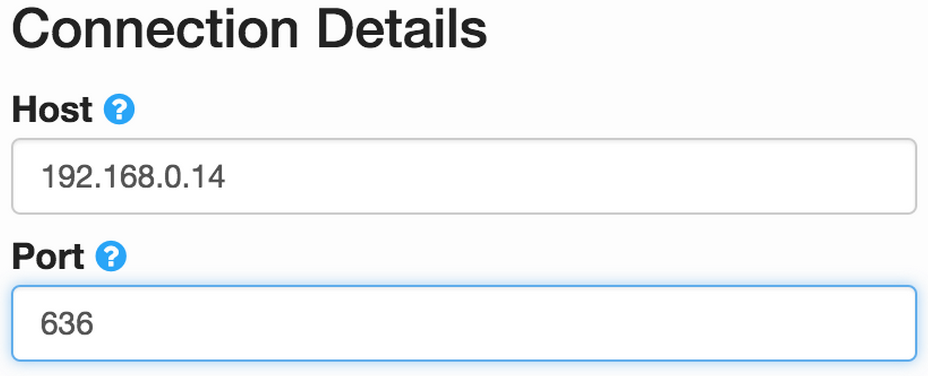
5.3 – Add the IP address or server name and port number of your LDAP server:
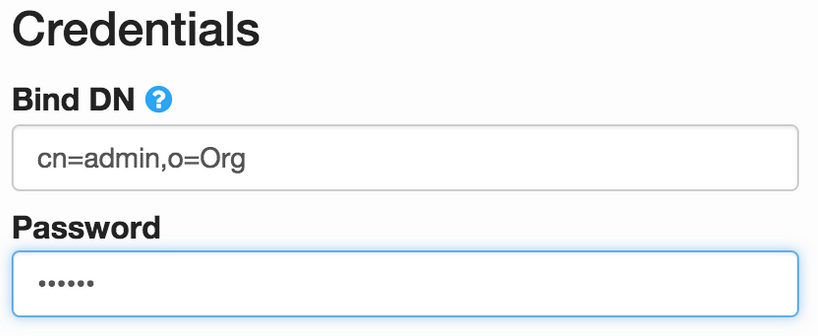
5.4 – The DN should be set to an account with sufficient rights to read attributes in the user store.
It should be set as a fully qualified path that trace the entry back to the root of the tree.
Like the example below, or cn=admin,ou=users,dc=org,dc=local.
Also set the password for the account.
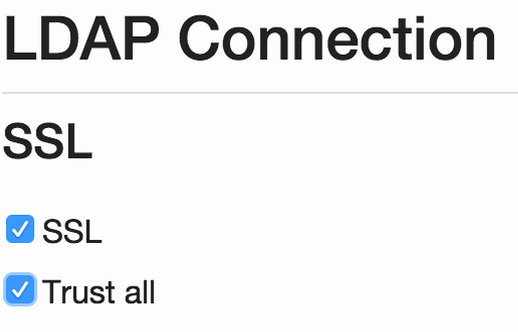
5.5 – Enable SSL if the LDAP server is configured to use it, and set trust all to accept the certificate.
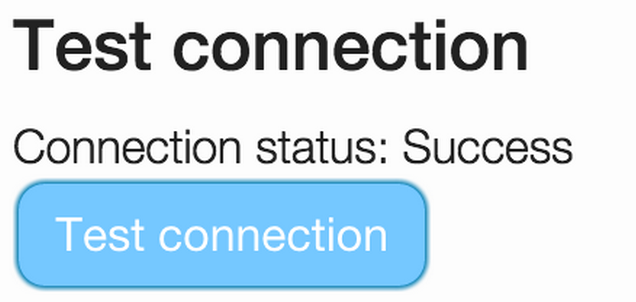
5.6 – Test the connection to make sure that everything is configured correctly:
5.7 – Set the search filter and search base according to your user store:

6 – Configure connection to the RADIUS client
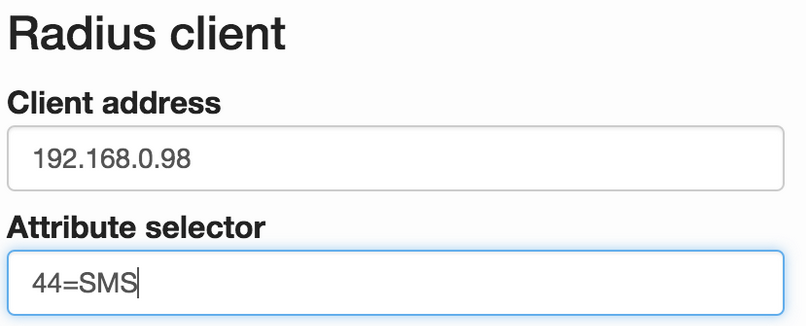
The Radius Client will be the IP address allowed by the system to use this listener/connection.
So set the IP address of the application secured by PhenixID server two-factor authentication.
Attribute selector will be used if the application has the possibility to allow the users to choose
different authentication methods.
For instance, SMS or OATH.
This value can be either exact match, 44=SMS.
Or a regular expression, 44=^.*Token.*$, any string containing the word Token.
The value 44 is the RADIUS attribute containing the selector.
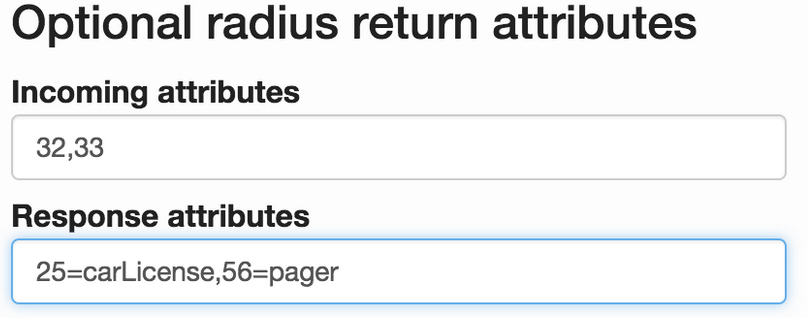
6.1 – Specify what attributes that should be returned to the RADIUS client after successful authentication.
Incoming attributes is a list of radius attributes by number, separated by comma.
Response attributes is a list of radius attributes containing the value that should be returned, also separated by comma.
See examples below.
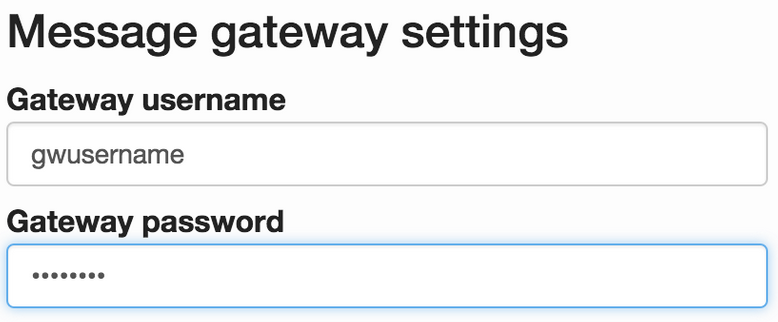
7 – Configure the connection to the PhenixID Message Gateway.
Set the gateway username and password:
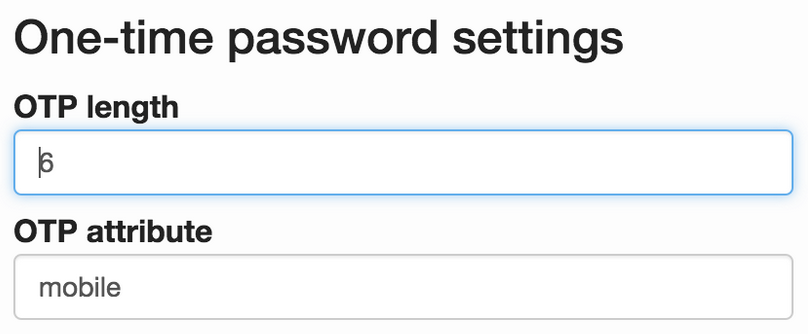
7.1 – Specify the length of the OTP and the attribute containing the number where the SMS should be sent:
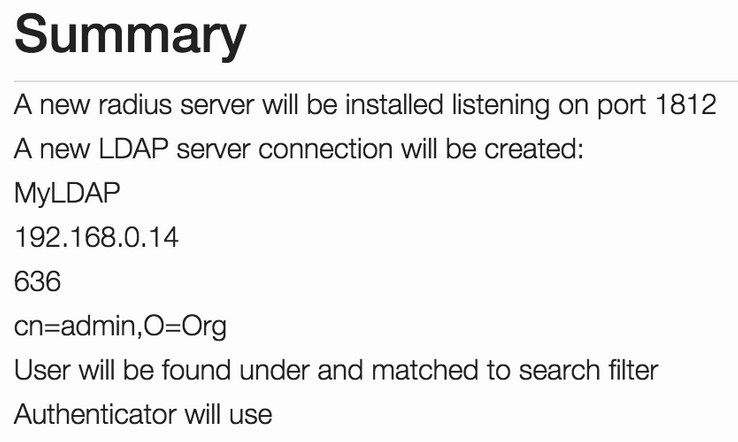
8 – Verify the configuration on the Summary screen, and then press create:
9 – PhenixID Server is now configured to act as a RADIUS server and also to deliver SMS for one-time passwords.
Next step is for you to configure your RADIUS client. There are some other step-by-steps that also will guide to configure some of the most common RADIUS clients. Please check out at, http://support.phenixid.se/category/sbs/
DISCLAIMER
Information provided in this document is for your information only. PhenixID makes no explicit or implied claims to the validity of this information. Any trademarks referenced in this document are the property of their respective owners.The origin of this information may be internal or external to PhenixID. PhenixID makes all reasonable efforts to verify this information.
PhenixID - support.phenixid.se