Summary
This document will guide you through the steps to secure the authentication of your Citrix NetScaler solution with PhenixID Server, delivering two-factor authentication via SMS to your phone.
You will be able to test the product, with your current LDAP user database, without making any changes that affect existing users.
System Requirements
- PhenixID Server installed and configured as a RADIUS server
- The Scenario will make use of RADIUS, so we need to know the port and shared secret configured on the application being secured with PhenixID Server two-factor authentication.
Instruction
Overview
This document will guide you through the configuration steps to integrate two-factor authentication against Citrix NetScaler.
Login to PhenixID Administration Portal
We will use one of the scenarios included in the administration portal.
Open a browser and go to https://PhenixidServerIP:8443/config/.
Use e.g. the default administrator user called phenixid with the default password password to login.
Configure PhenixID Server as a RADIUS server and 2FA
This is explained in another Step-by-Step document, please read through it and then return to this document to continue the setup the Citrix NetScaler.
The step-by-step document to configure PhenixID server to act as a RADIUS server:
http://document.phenixid.net/m/82710/c/270347
Guide to configure Citrix NetScaler to use PhenixID Server for two-factor
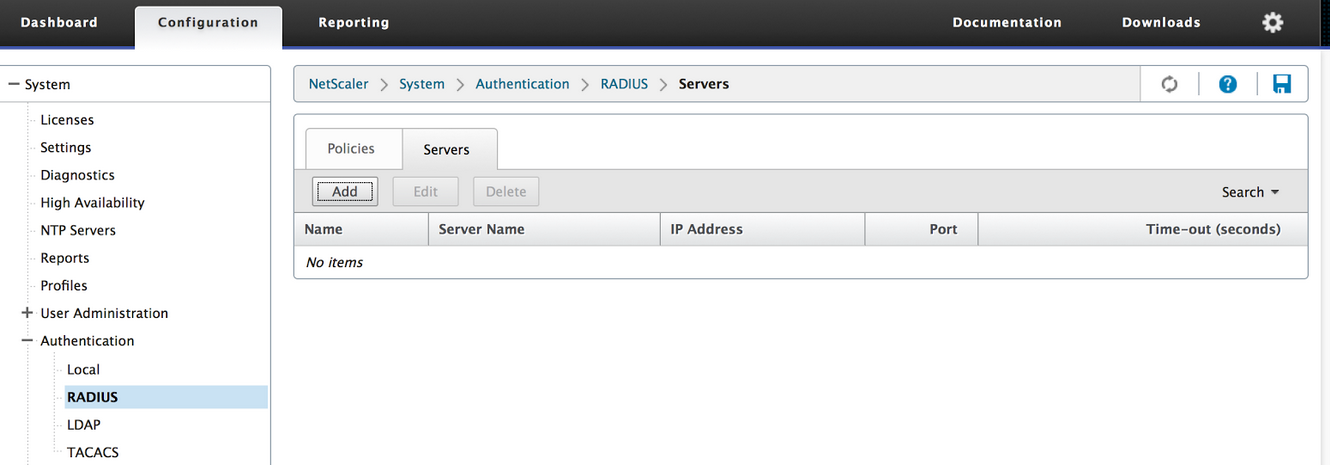
1 – We will start by adding the PhenixID Server as a RADIUS Authentication Server in the NetScaler configuration.
Go to Authentication- > RADIUS -> Servers and press Add:
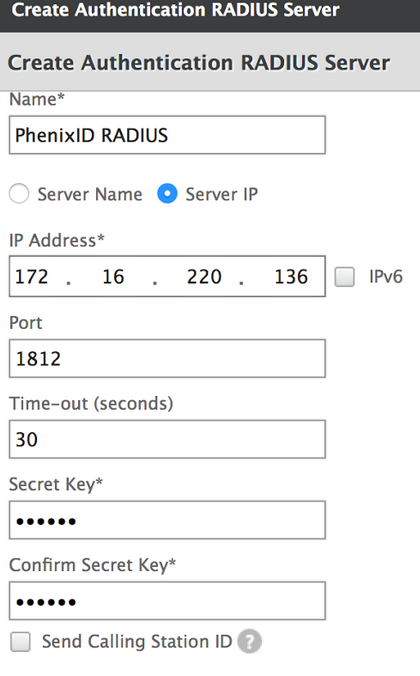
1.1 – Set a name as well as the IP address and the Port for the PhenixID Server.
Change the Time-out to 30 seconds.
This gives the solution enough time to verify the authentication, send the One Time Password and the user time to receive and provide it in the authentication process.
Enter the RADIUS shared secret (Secret Key), according to the one set in the PhenixID Server configuration.
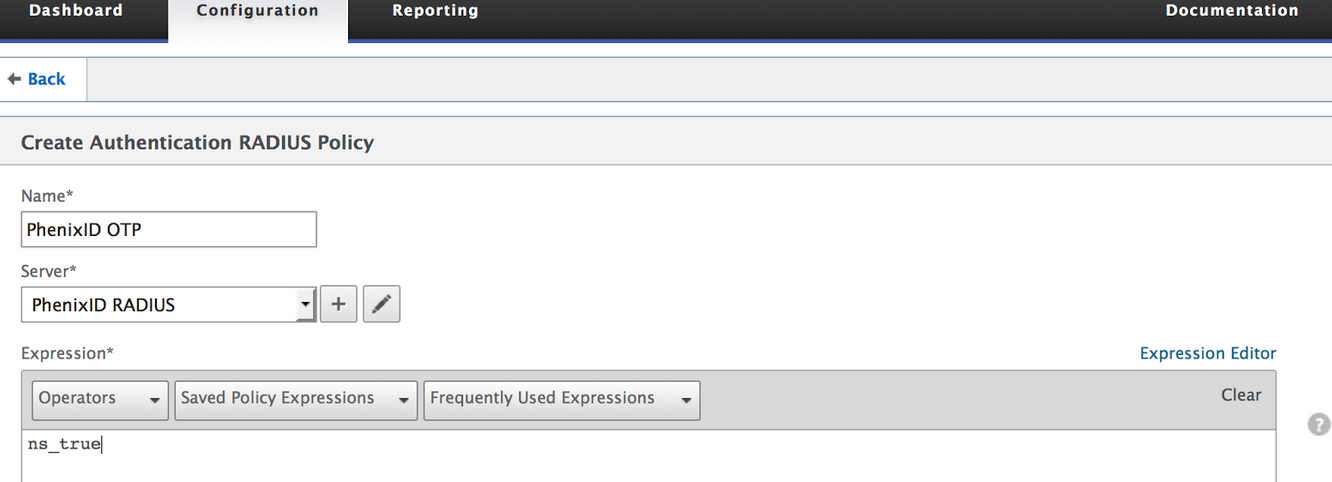
2 – We also need a policy for the authentication.
So go to Authentication -> RADIUS -> Policies and press Add.
Give it a Name and choose the Server created in the earlier step.
Add a policy that will need to be true for it to be triggered after being bound to the SSL VPN Virtual Server. For authentication servers, this is almost always the built in expression “True value”. Press the Add Expression to add the chosen expression to your policy.
Use the Expression Editor to add the expression that you want.
For a detailed description on how to build expressions, please see the Citrix NetScaler documentation.
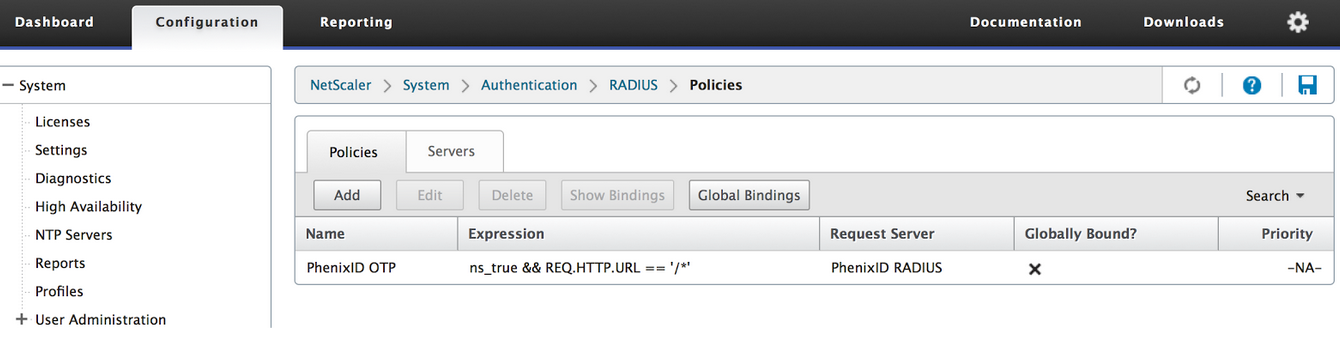
2.1 – It should now look something like this (depending on your expression):
3 – We will now add the two-factor authentication to our virtual server.
Go to NetScaler Gateway -> Virtual Servers.
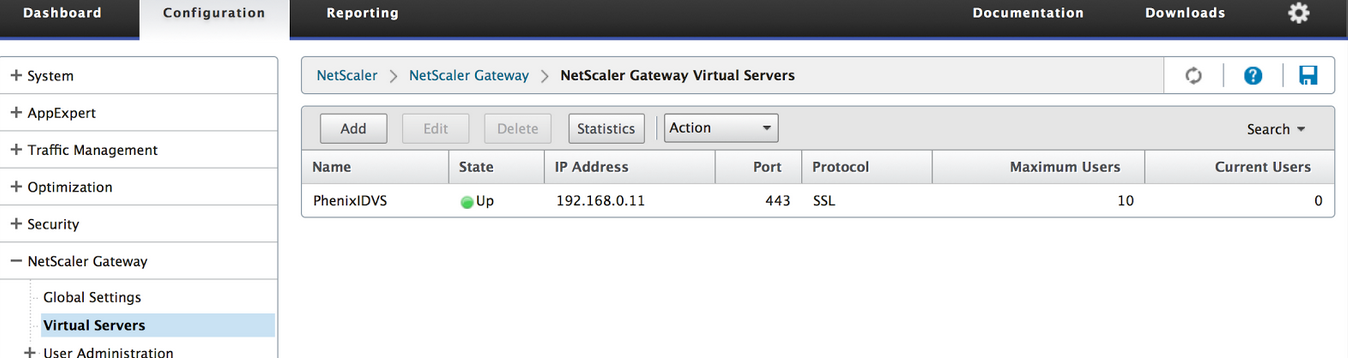
3.1 – Choose edit on your virtual server and go to Authentication.
Press the + sign to add:

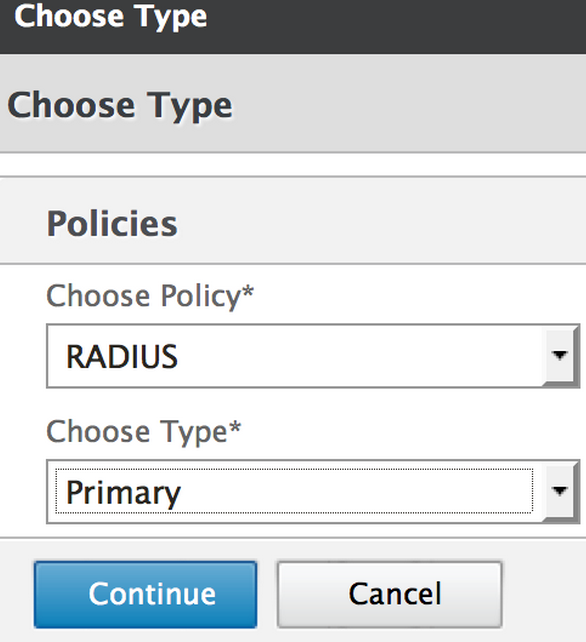
3.2 – Choose RADIUS for policy and Primary for Type, then press Continue:
3.3 – Click the + sign to Select Policy:

3.4 – Choose the policy created earlier, press OK:
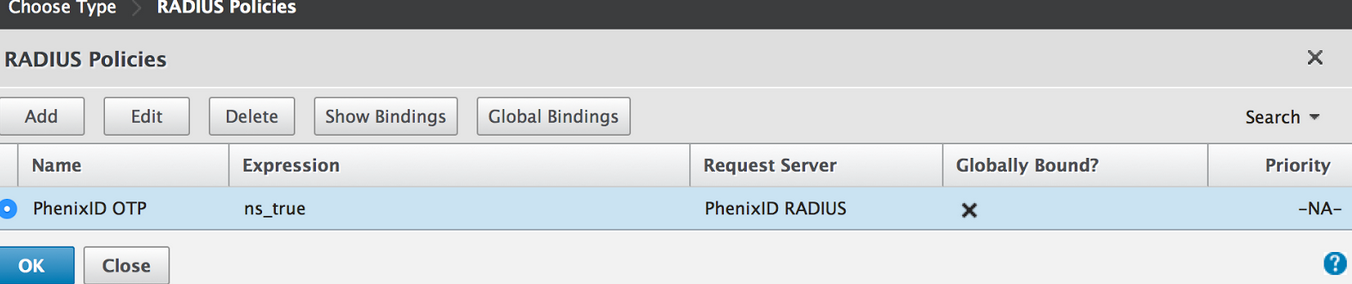
3.5 – Then click Bind:
4 – Now we can try the authentication on the virtual server.
When users now go to the Access Gateway Virtual Server log on page, they will start by entering their normal username and password.
Then (after successful authentication using username/password) they will be presented with a One Time Password field where they will enter the OTP sent to the phone.
DISCLAIMER
Information provided in this document is for your information only. PhenixID makes no explicit or implied claims to the validity of this information. Any trademarks referenced in this document are the property of their respective owners.The origin of this information may be internal or external to PhenixID. PhenixID makes all reasonable efforts to verify this information.
PhenixID - support.phenixid.se