Summary
This document will guide you through the configuration steps to configure the OTP Self Enrollment Portal. This portal will let users enroll for Google Authenticator, add a mobile phone number or e-mail address to send one-time passwords to.
System Requirements
- PhenixID Server installed
- Information about the userstore, such as ip address, port and userid/password for the connection.
Instruction
Overview
This scenario will help you to configure the OTP Self Enrollment Portal.
Login to PhenixID Administration Portal
1 – Login to https://serverip:8443/prism/.
1.1 – By default the username is phenixid and the password is password.
Guide to Authentication Scenario
2 – When logged in, go to Scenarios and click Create scenario
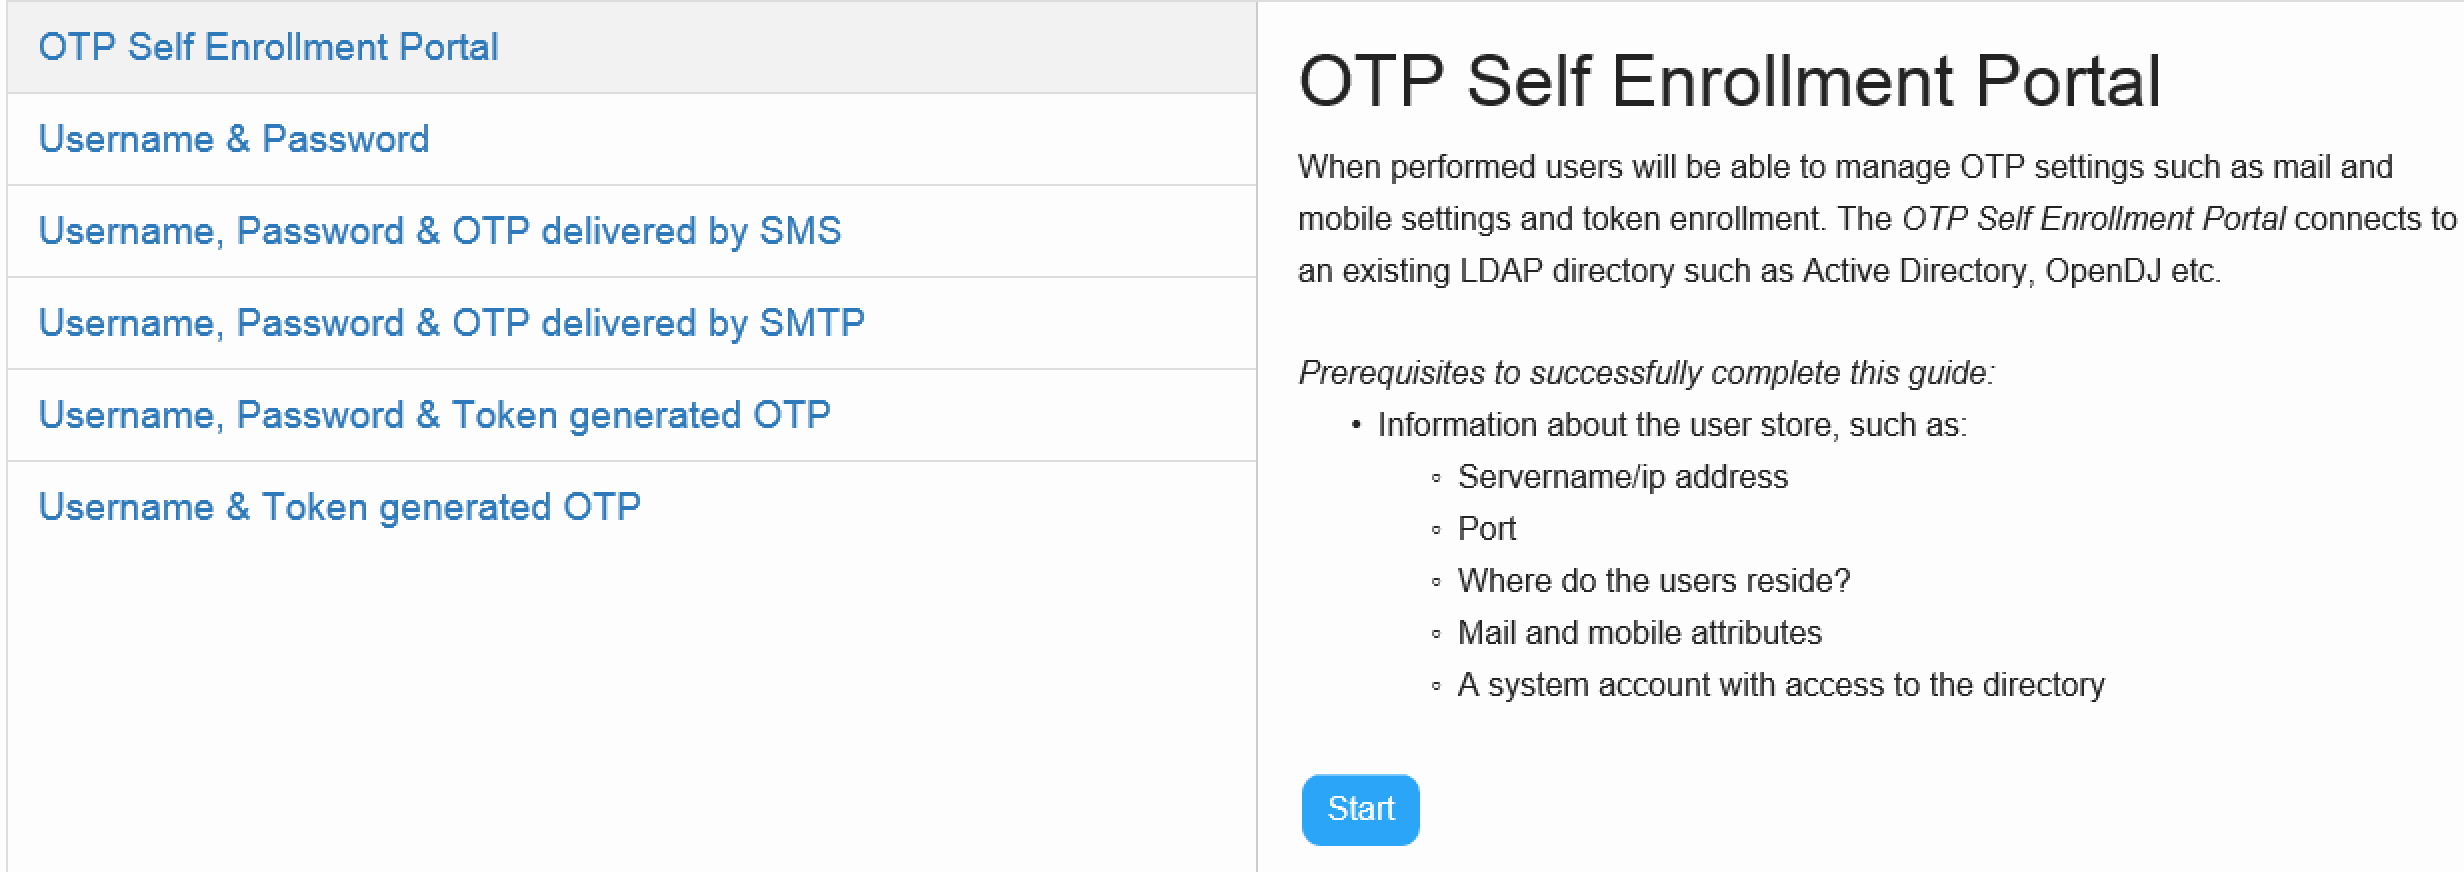
2.1 – Choose scenario OTP Self Enrollment Portal and click Start
3 – Create a connection to your user store. In this scenario you an select an existing one or create a new. Will create a new connection.
3.1 – Make sure Create new is selected in drop-down list. Click Next
3.2 – Add a Description or use the default text. Click Next
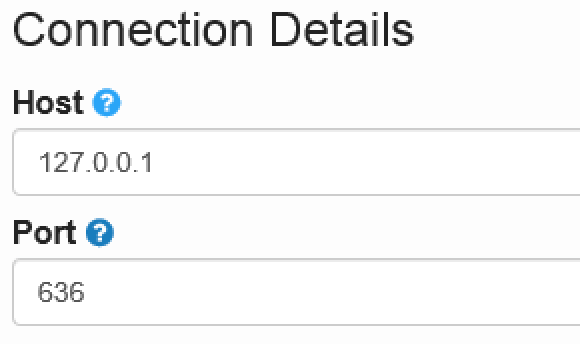
4 – Add a connection to your user store,for this document I have an Active Directory installed locally with a certificate so I can communicate using LDAPS. Click Next
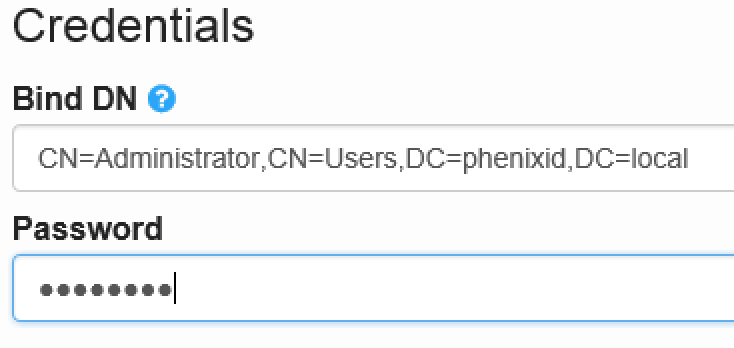
4.1 – Add credentials for the account that will bind to your user store. This account will do all communication between your user store and the PhenixID service. Click Next
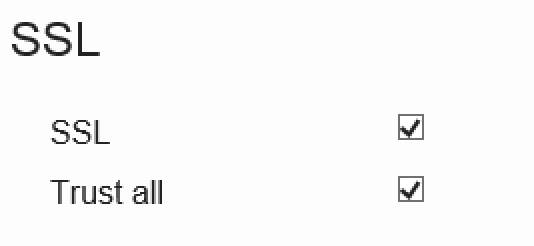
4.2 – If you have a server certificate on the server hosting your user store then you can communicate over LDAPS. If so then check both check boxes. Click Next
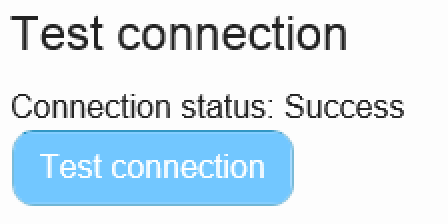
4.3 – Verify the connection between PhenixID service and the user store by clicking Test connection. If connection is NOT successfully then verify previous steps with name and password and make sure no e.g. firewall is preventing communication. If successfully, click Next
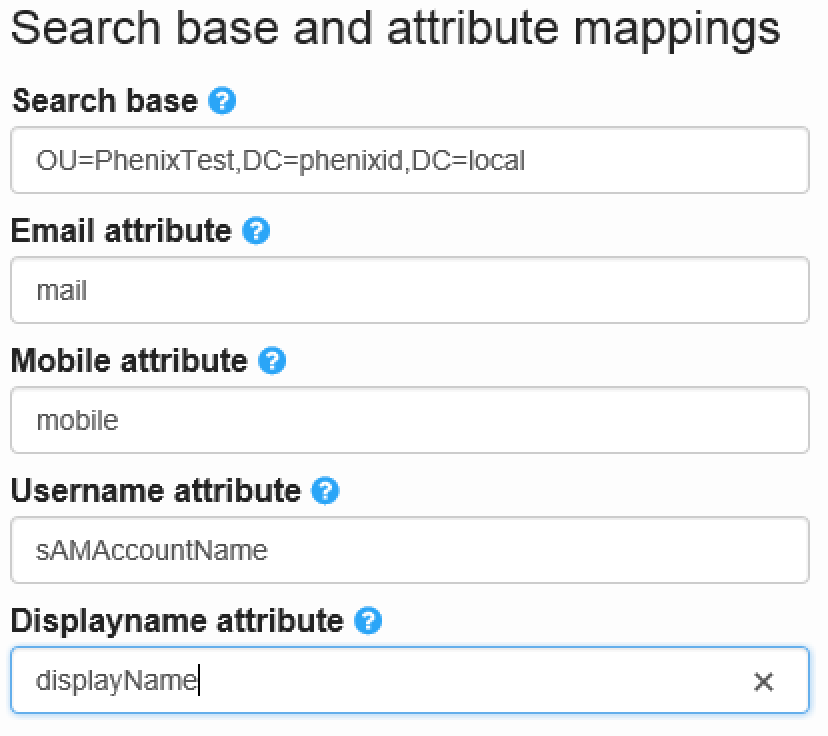
4.4 – Enter in Search base where the user that will use the Enrollment portal are located, all sub OU´s will be included. Email and Mobile are where the user email address and mobile number will be stored. Username is the attribute used when user logs in. DisplayName is the attribute where we present the name of the user inside the portal. Click Next
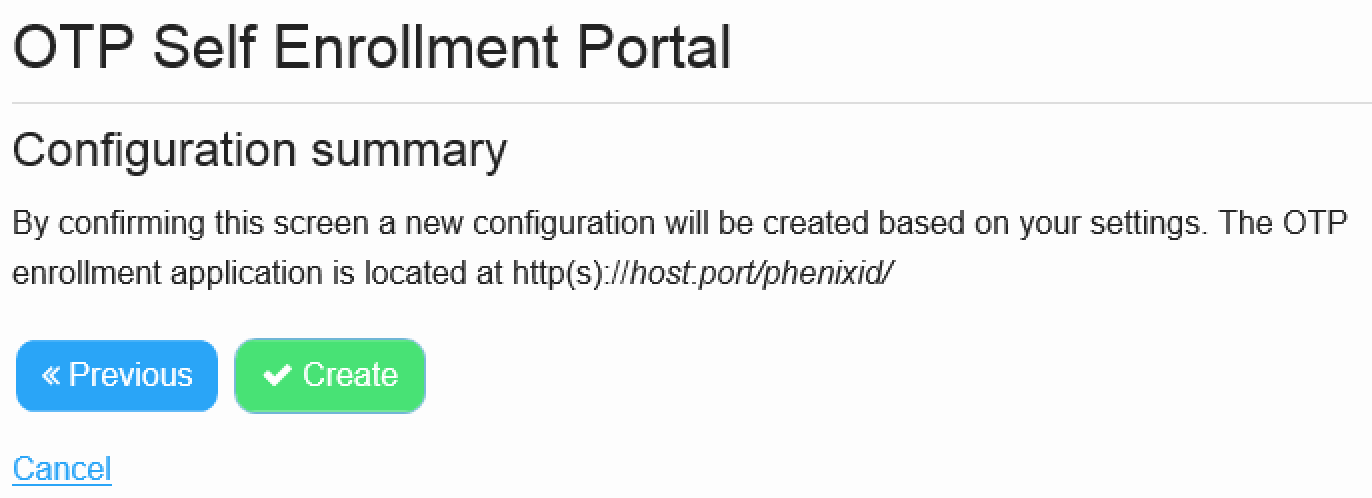
5. Click create to finish this the “OTP Self Enrollment Portal” Scenario
6. In you scenario list you should see these two object that was generated from the steps above
“User store connection for OTP Self Enrollment” – This is the setting for for user store. In the example above that would be for the Active Directory used. Click Edit if you like to change Domain Controller, Port e.g.
“OTP Self Enrollment Portal” – This is the setting for the scenario above. E.g. where in the user store are the user located, what attribute should be used for login to the Self enrollment portal?
7. To login to the “OTP Self Enrollment Portal”, go to https://127.0.0.1:8443/phenixid/ and login with a user located in your search base for your user store.
DISCLAIMER
Information provided in this document is for your information only. PhenixID makes no explicit or implied claims to the validity of this information. Any trademarks referenced in this document are the property of their respective owners.The origin of this information may be internal or external to PhenixID. PhenixID makes all reasonable efforts to verify this information.
PhenixID - support.phenixid.se
