Fact
- PhenixID Identity Manager (PIM) 6.0.0 or later
For earlier version of PIM, please read PSD1108
Overview
PIM ships with a default look and feel. If you like to change this to match your organisations look and feel with text, images and colors, this document will guide you how to do that.
Note. The things mentioned is what we support to make upgrades of newer version supported. If you do CSS changes outside what is mentioned in this document make sure that you verify your implementation each time you upgrade.
Some changes are done using polices (see section Changes through policies) and some changes are done using CSS (see section Changes through CSS).
Changes through policies
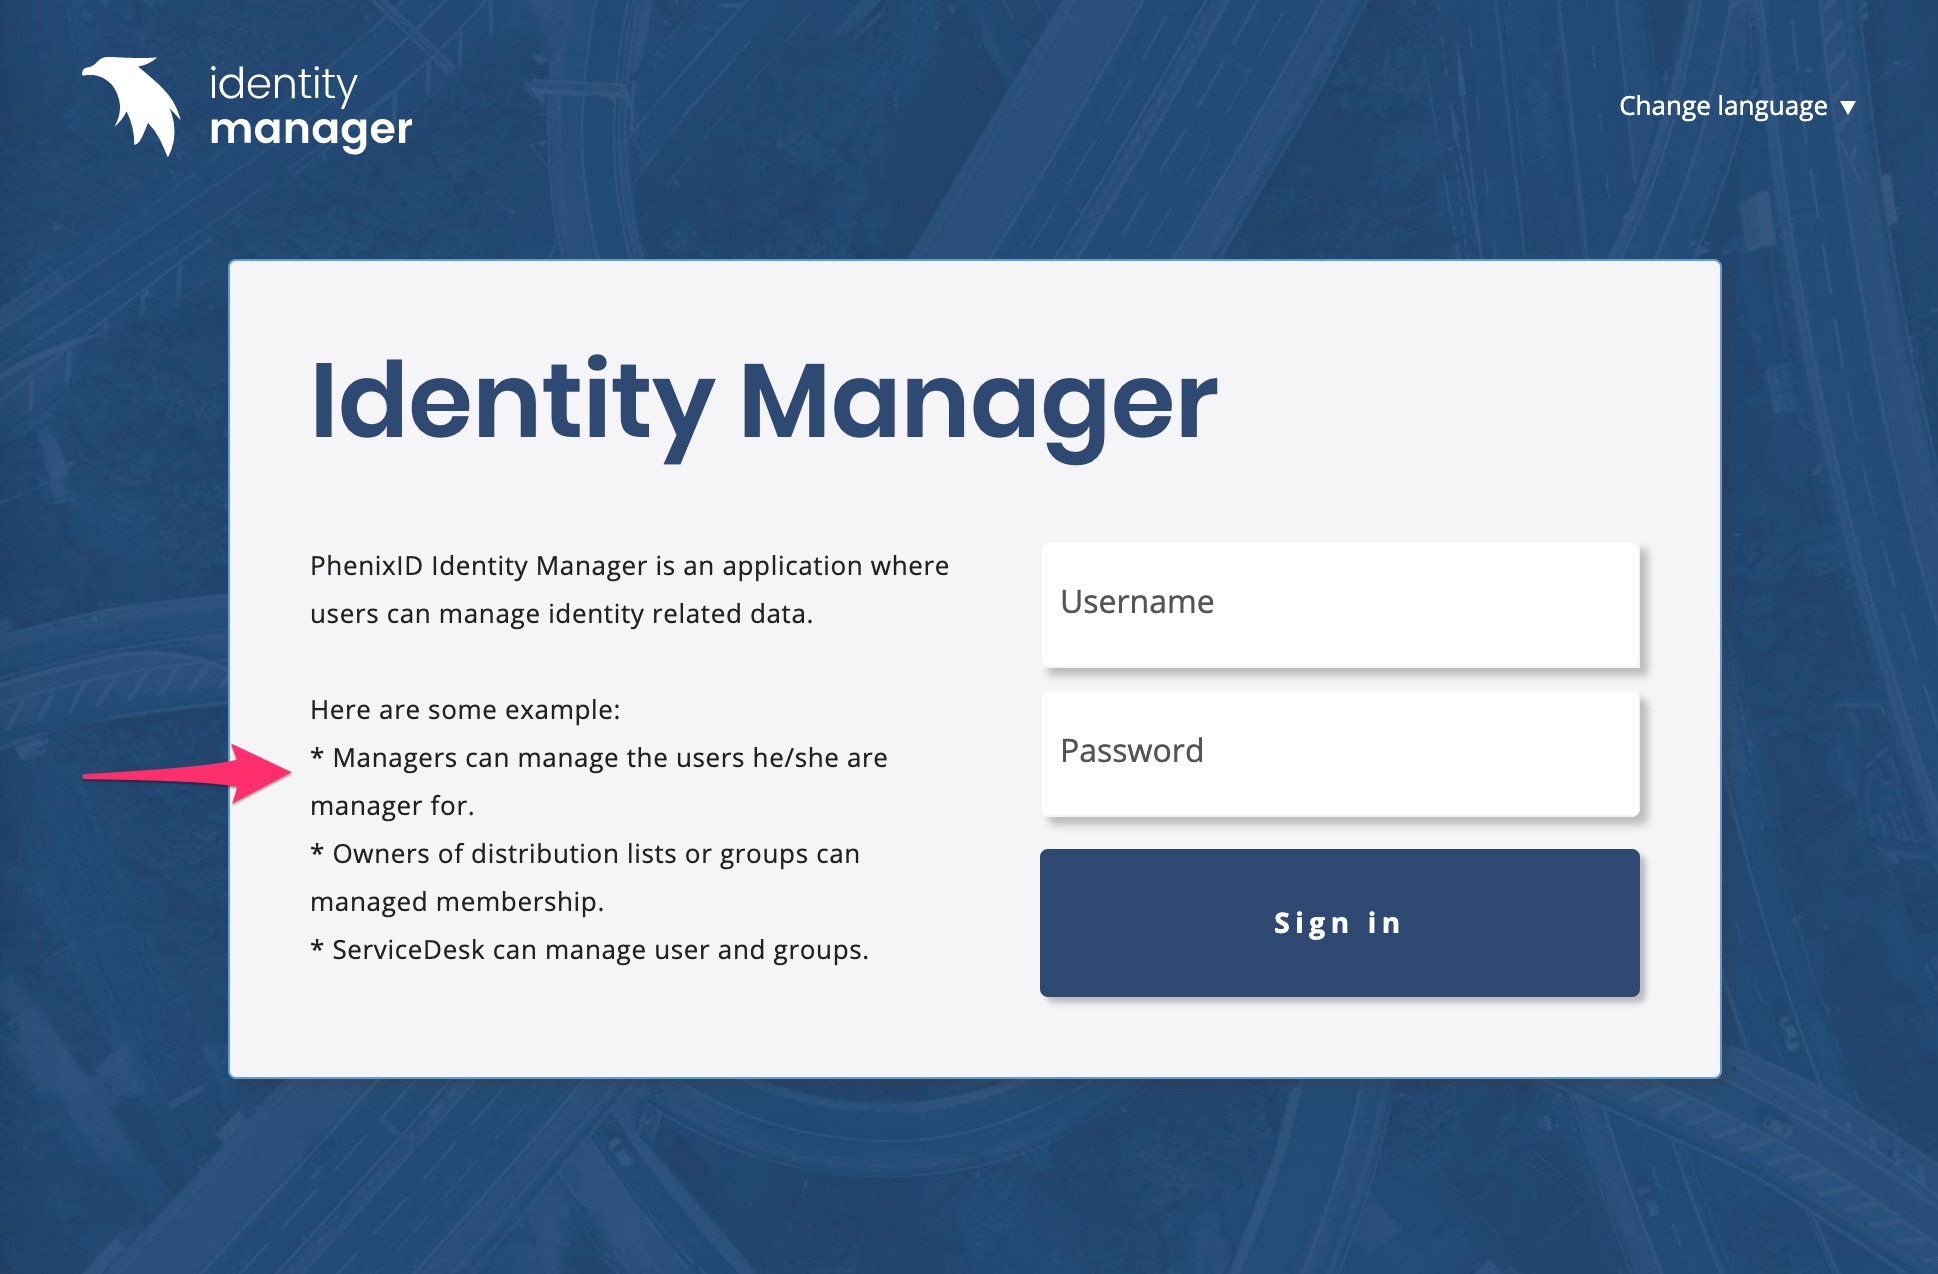
Texts on LOGIN and SELECT ROLE pages
The best way to change the text displayed on the login page is to modify the language files. Open the lang-file and find the text section the login page of IM and change the text to whatever you like.
The language files are located in: \\..\PhenixID\IM\customer\lang
- Open for example en.lang
- Locate LOGIN_PAGE_TEXT= to change the text on the login page
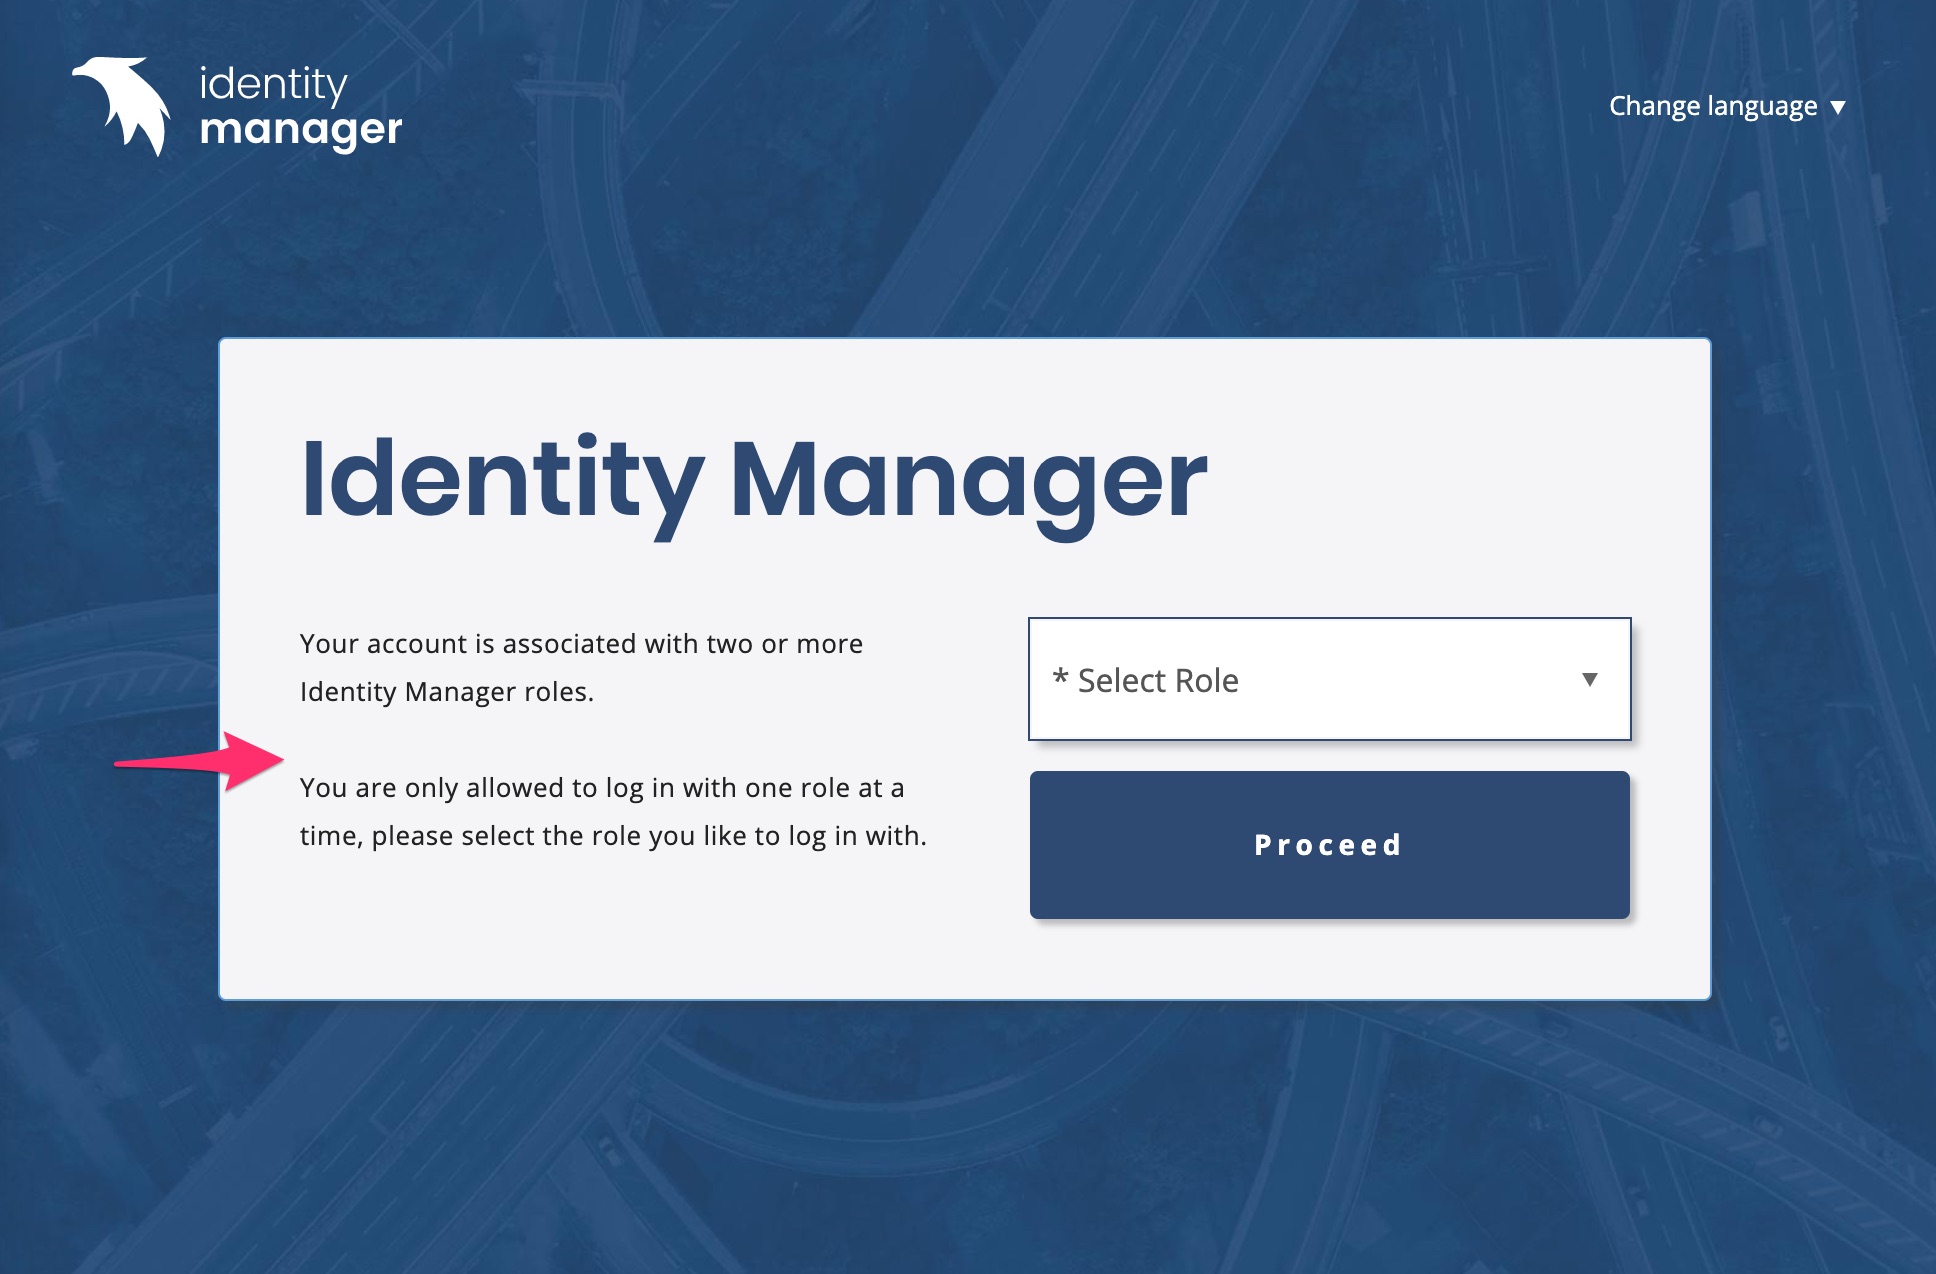
- Locate SELECTOR_PAGE_TEXT= to change the text on the selector page
- Change the text after the equal sign to your liking
- Do the same in all language files that you use
- You need to restart the PIM service.
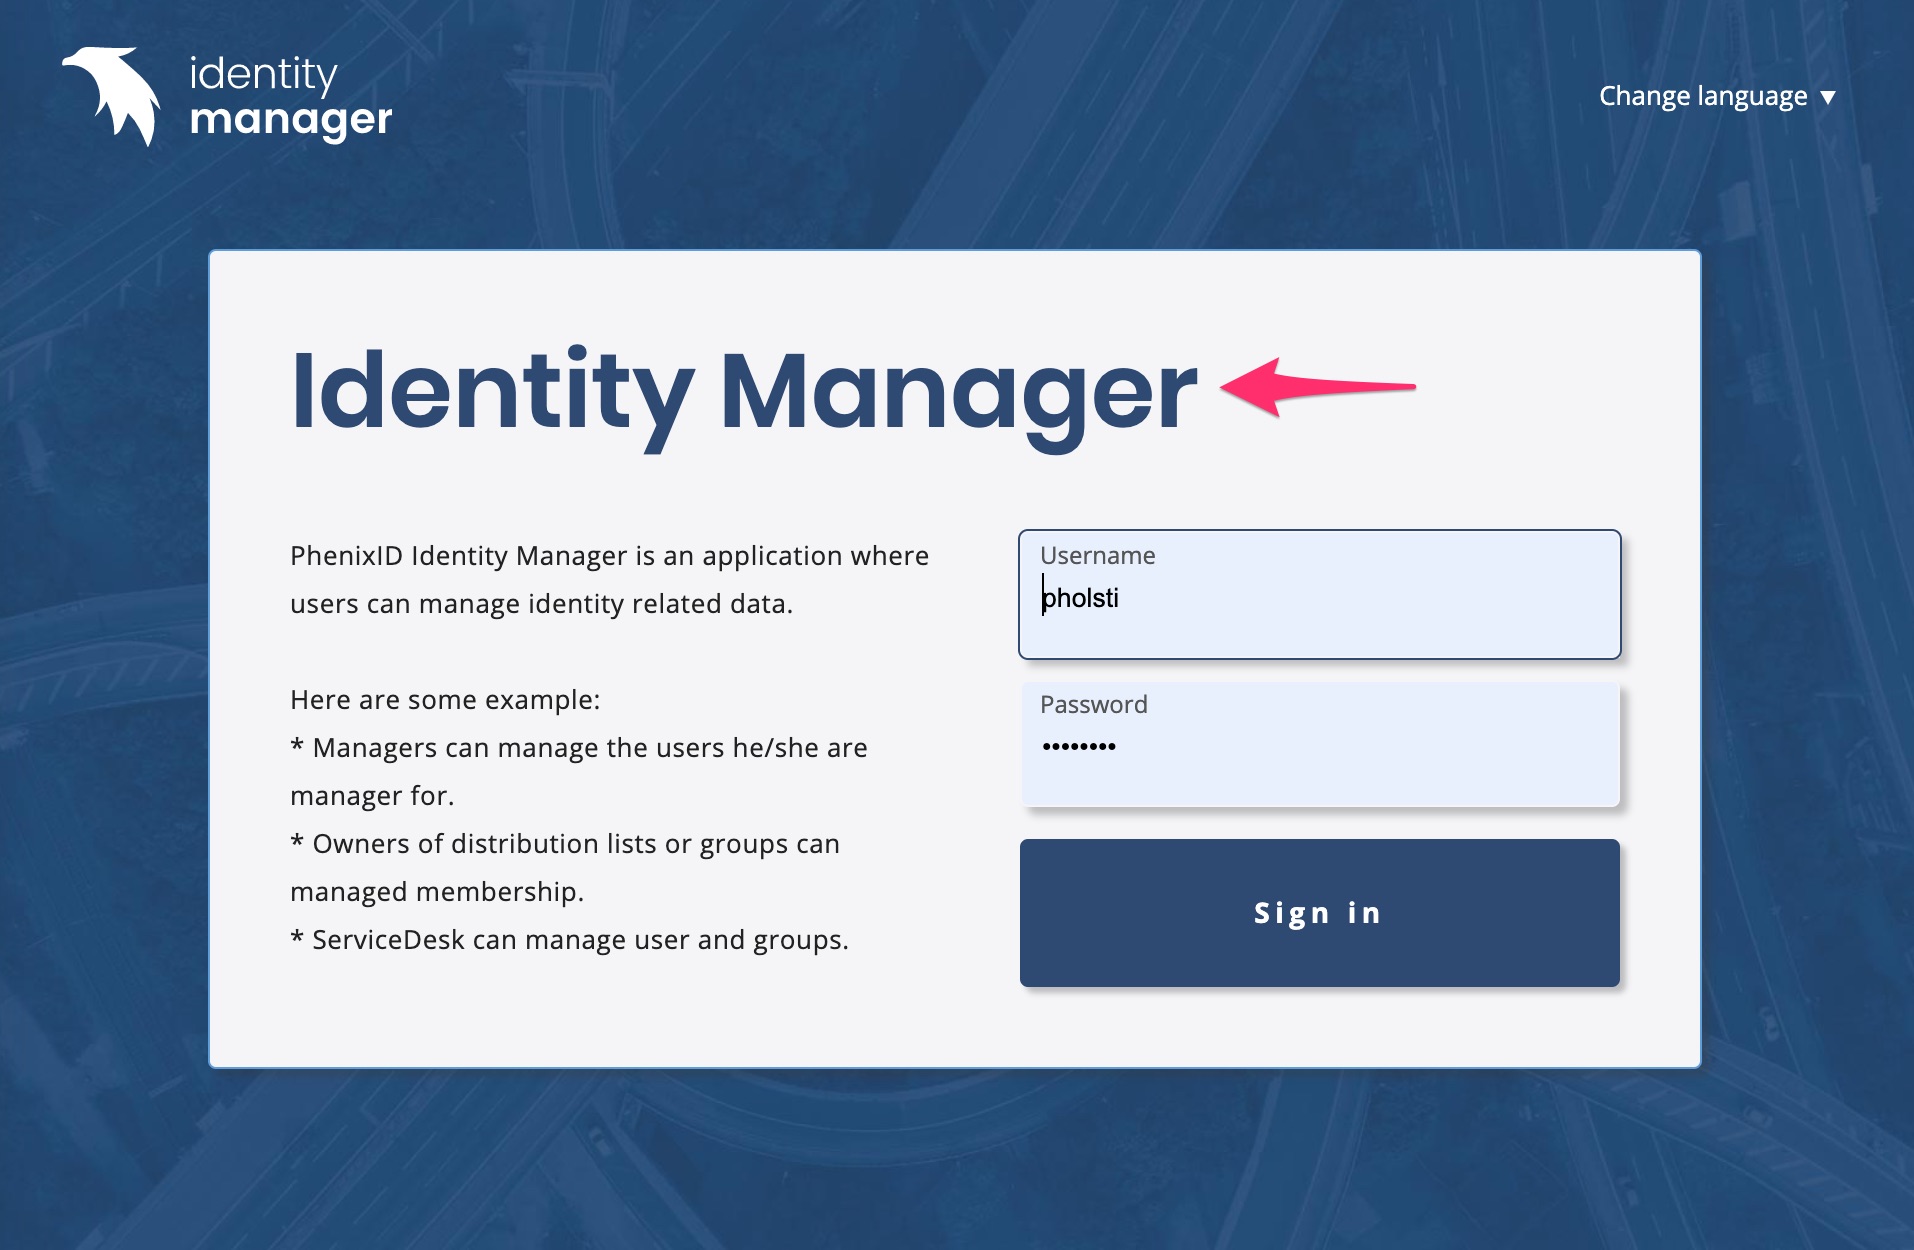
Change label text “Identity Manager”
The heading text “Identity Manager” on the login and select role page can be changed with a policy.
- Open \\..\PhenixID\IM\customer\config
- Open for example DSEditor.properties
- Add policy
CUSTOM_TOP_BAR_TEXT_LOGIN_PAGE=your text - You need to restart the PIM service.
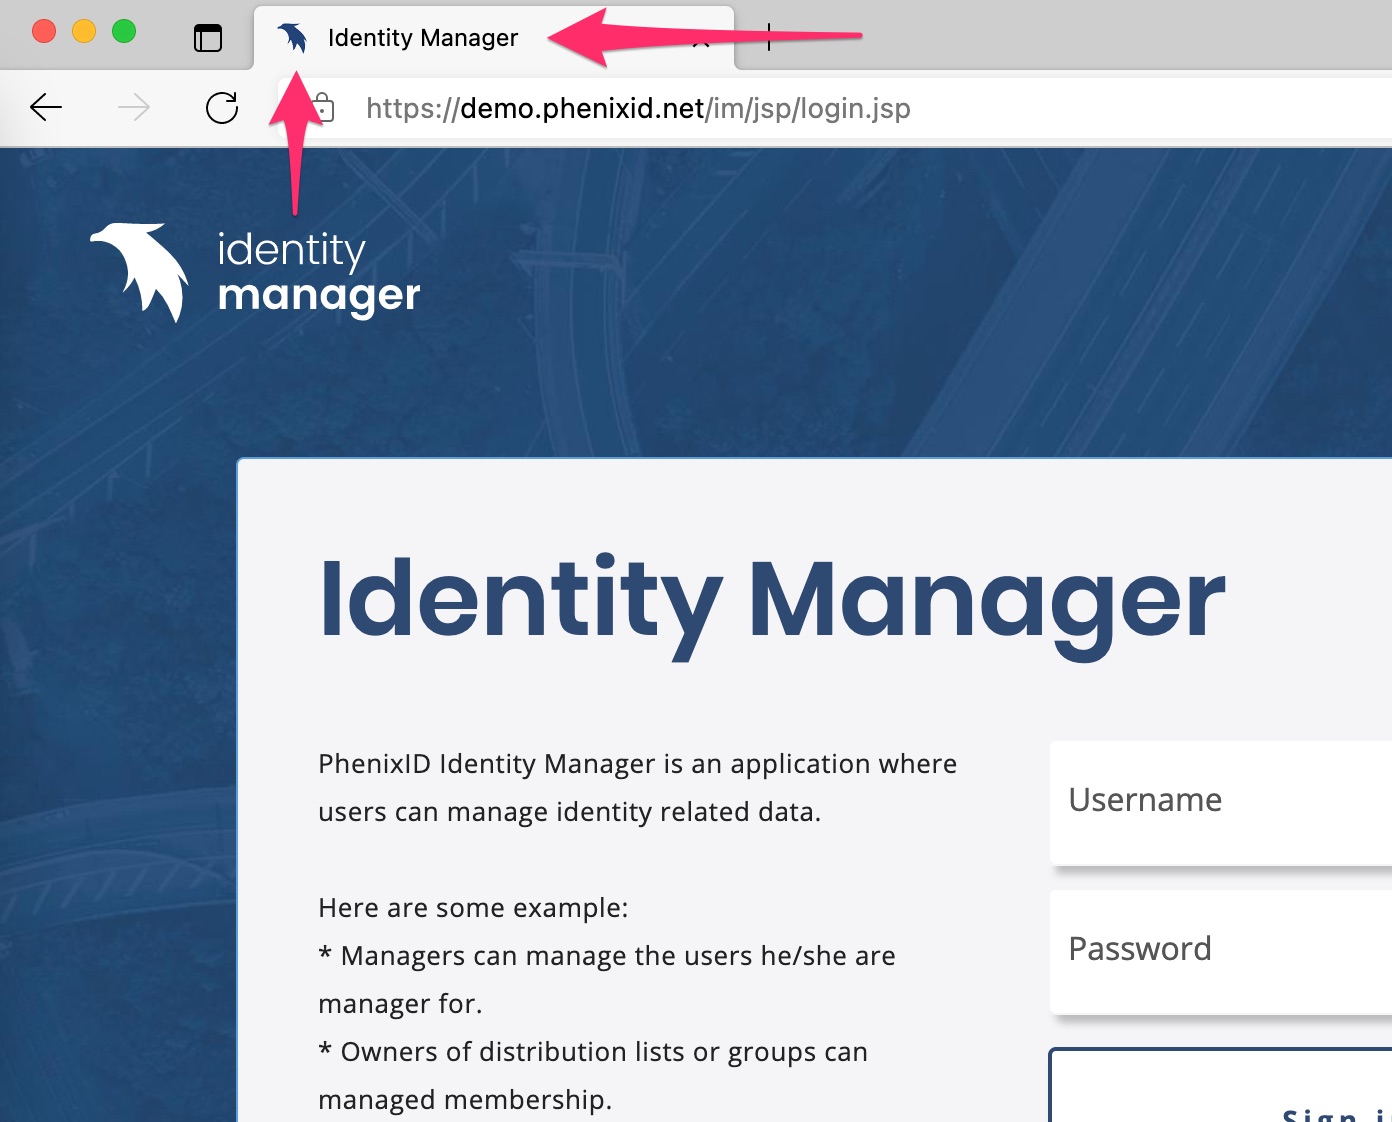
Change browser tab label text and icon
The browser tab text can be changed with a policy.
Browser tab label
- Open \\..\PhenixID\IM\customer\config
- Open for example DSEditor.properties
- Add policy
CUSTOM_TITLE_TEXT=your text - You need to restart the PIM service.
Browser tab icon (favicon)
- Open \\..\PhenixID\IM\customer\config
- Open for example DSEditor.properties
- Add policy
CUSTOM_TITLE_ICON=for example company.ico - Add the icon to \\..\PhenixID\IM\customer\extension\web. Update the value above to the policy name of your ico-file.
- You need to restart the PIM service.
Remove language selection in UI
- Open \\..\PhenixID\IM\customer\config
- Open for example DSEditor.properties
- Add policy DISPLAY_LANGUAGE=false
- You need to restart the PIM service.
Changes through CSS
Overview
If you for example like to change background image, logo on login page and select role page, this section will explain hot to do that.
When IM is installed it will use core CSS files included in IM. These CSS will always be replaced when an upgrade is done of PIM. If you like to use your own CSS so that a custom background images and colors will be kept during an upgrade you can do so.
To use custom CSS data you simply enable the custom CSS files included in the product.
Enable use of custom CSS files
Overview
PIM ships with two CSS files that are available in the \..\PhenixID\IM\customer\extension\web folder. The two files are templates that need to be renamed and enabled to work. By default they are not in use.
Note: Each time you upgrade PIM the two templates files will be overwritten and updated. This is for you convenience so you can copy updates from the templates to you active CCS files. All PIM version will not include updates, make sure to verify release notes of each new PIM version.
The two template files are called customer.css_TEMPLATE and customer_form.css_TEMPLATE.
- customer.css_TEMPLATE
This template is for login, role selector, MAIN view, Self Service view and predefined search. - customer_form.css_TEMPLATE
This template is for create and edit forms.
Rename templates files
- Open \..\PhenixID\IM\customer\extension\web
- Locate the two files:
customer.css_TEMPLATE
customer_form.css_TEMPLATE - Rename them to:
customer.css
customer_form.css - NOTE: If you upgrade from earlier version of PIM 6.0 there is an customer.css file. You just simply replace that file with the template. If you have updated that file you need to migrate you changes to the template file.
Enable the CSS files
- Open \\..\PhenixID\IM\customer\config
- Open for example DSEditor.properties
- Add policy
CUSTOM_CSS_FILE=customer.css
CUSTOM_FORM_CSS_FILE=customer_form.css - You need to restart the PIM service.
All settings below assumes that the customer.css and customer_form.css policies are enabled.
Edit and change customer.css
All settings below are made to customer.css.
Open the customer.css in a text editor, for example Notepad++.
This template is for login, role selector, MAIN view, Self Service view and predefined search related to CSS.
Change background images
Recommended size etc for this file are: 1920*1080 pixels
- Find the section that starts with:
@media (min-width: 600px) {- Change the name of the existing background image, Background.jpg, to the name of your background image.
- Save file and reload browser
Change logo for login and select role page
- Find the section that starts with:
.login header.top .logo { - Change the name of the existing logo image, Bank-of-Europe.png, to the name of your logo image.
- You might need to change the values of the width and height
- Current values are:
height: 61px;
width: 200px;
- Current values are:
- Save file and reload browser
Change logo when logged in
- Find the section that starts with:
header.top .logo { - Change the name of the existing logo image, Bank-of-Europe_dark.png, to the name of your logo image.
- You might need to change the values of the width and height
- Current values are:
height: 35px;
width: 114px;
- Current values are:
- Save file and reload browser
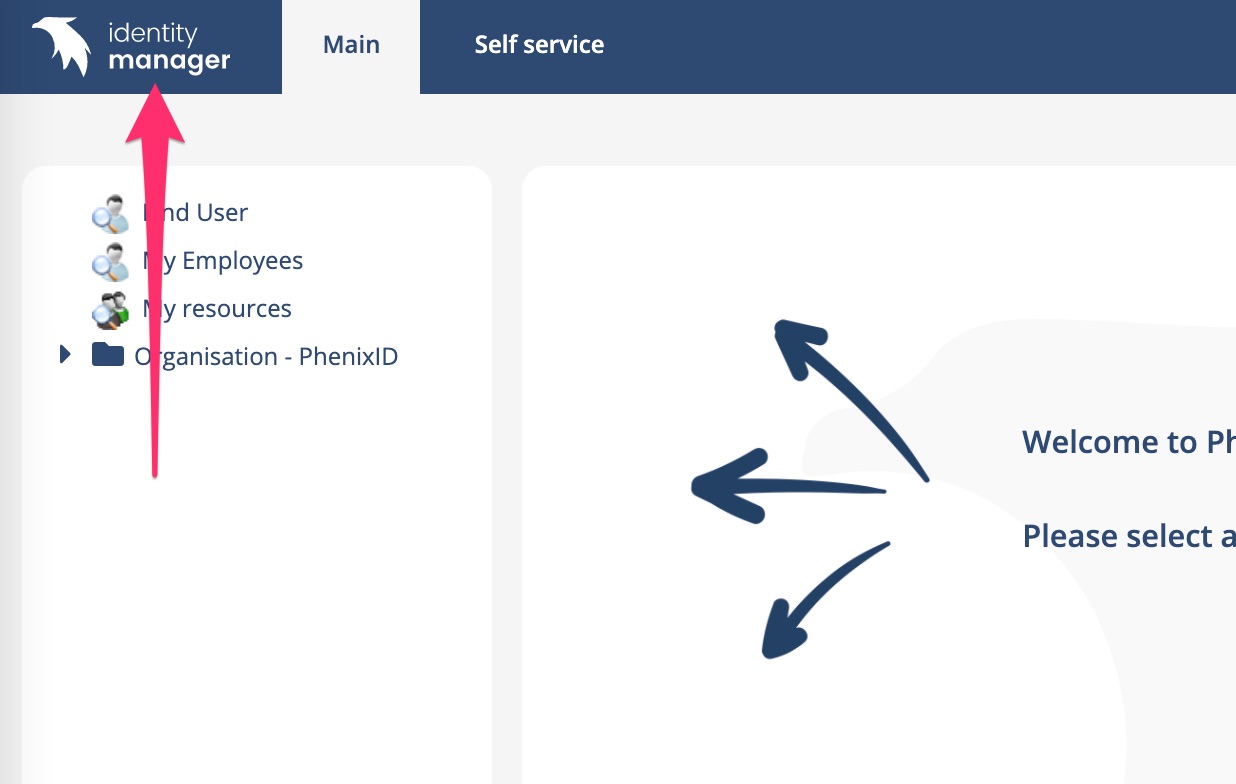
Remove/change the PhenixID logo and the arrows
When logged in to the MAIN view by default the result set view will be displayed with a PhenixID logo, an arrow image and some text.
(if have a predefined search set to Run on launch this will not be displayed).
Do disable you must enable the customer.css.
Make sure you run PIM 6.0.4 where this was added.
Change text
Locate the text in en.lang, sv.lang and others and change the text to your liking. Locate or add the lines below to the lang-files:
Welcome to PhenixID Identity Manager=add your custom text
Please select an action on the left=add your custom text
Change PhenixID logo
Add the data below to custom.css
div.main div.emptyspace {
    background-image: none;
 }
Change the arrow images
Add the data below to custom.css
#welcomeGridImage {
 display: none;
 }
Change CSS for Views
- In customer.css, from line 94 to 117 are CSS changes for Views.
- Save file and reload browser
Change CSS for Predefined Search
- In customer.css, from line 120 to 128 are CSS changes for Views.
- Save file and reload browser
Change CSS for the Avatar
- In customer.css, from line 132 to 153 are CSS changes for Views.
- Save file and reload browser
Edit and change customer_form.css
All settings below are made to customer_form.css.
Open the customer_form.css in a text editor, for example Notepad++.
This template handles edit and create forms related to CSS.
Change tab color and background
- Open customer_forms.css and change value to your liking.
- Save file and reload browser
DISCLAIMER
Information provided in this document is for your information only. PhenixID makes no explicit or implied claims to the validity of this information. Any trademarks referenced in this document are the property of their respective owners.The origin of this information may be internal or external to PhenixID. PhenixID makes all reasonable efforts to verify this information.
PhenixID - support.phenixid.se