Summary
This document will guide you through the steps to enable multi-factor authentication and Single-Sign On for the healthcare staffing solution Medlo (https://www.medlo.se/) using OpenID Connect.
System Requirements
- PhenixID Authentication Server 4.0 or higher
- Medlo technical administrator contact
Instruction
Overview
This document will guide you through the steps to enable multi-factor authentication and Single-Sign on for Medlo.
PhenixID Authentication Services acting as OpenID Connect Provider
About claims
Medlo uses two custom claims:
- To determine the if the user is an administrator (auxMedloAdmin)
- The user unit (vårdenhet). (auxMedloUnit)
- Login to Configuration Manager.
- Scenarios->OIDC
- Add a new relying party:
– client_id = medlo
– client_password = <generate a password and set>
– Allowed redirect uri:s = <ask the Medlo admin which value to use> - Create a new OpenID Connect provider by selecting the desired authentication method. Follow the scenario guidelines for values.
Use the Authorization Code Flow.
Allow medlo as an allowed RP to use the OP. - Once done, click Execution flow
- Expand the first execution flow (this might be different based on the authentication method selected)
- Change the configuration to fetch these attributes:
- hsaIdentity
- auxMedloAdmin
- auxMedloUnit
Based on your environment, the values might be fetched from different attributes. If so, add PropertyRenameValves after the lookup to rename the item property to the values above.
- If the auxMedloAdmin value is empty, the value should be set to N. Add this valve to fulful the requirement.
{
“name” : “PropertyAddValve”,
“config” : {
“name” : “auxMedloAdmin”,
“value” : “N”,
“skip_if_expr” : “var myItem=flow.firstItem(); myItem.containsProperty(‘auxMedloAdmin’)”
}
} - Save the item properties to session properties by adding SessionPropertyReplaceValve valves to the config.
- Save
- Expand token endpoint
- Expand GenerateJwtTokenVavle (this valve produces the id_token).
- On the token attributes part, add a new name-value pair:
name = auxMedloAdmin
value = {{session.auxMedloAdmin}} - On the token attributes part, add a new name-value pair:
name = hsaIdentity
value = {{session.hsaIdentity}} - On the token attributes part, add a new name-value pair:
name = auxMedloUnit
value = {{session.auxMedloUnit}} - Save changes.
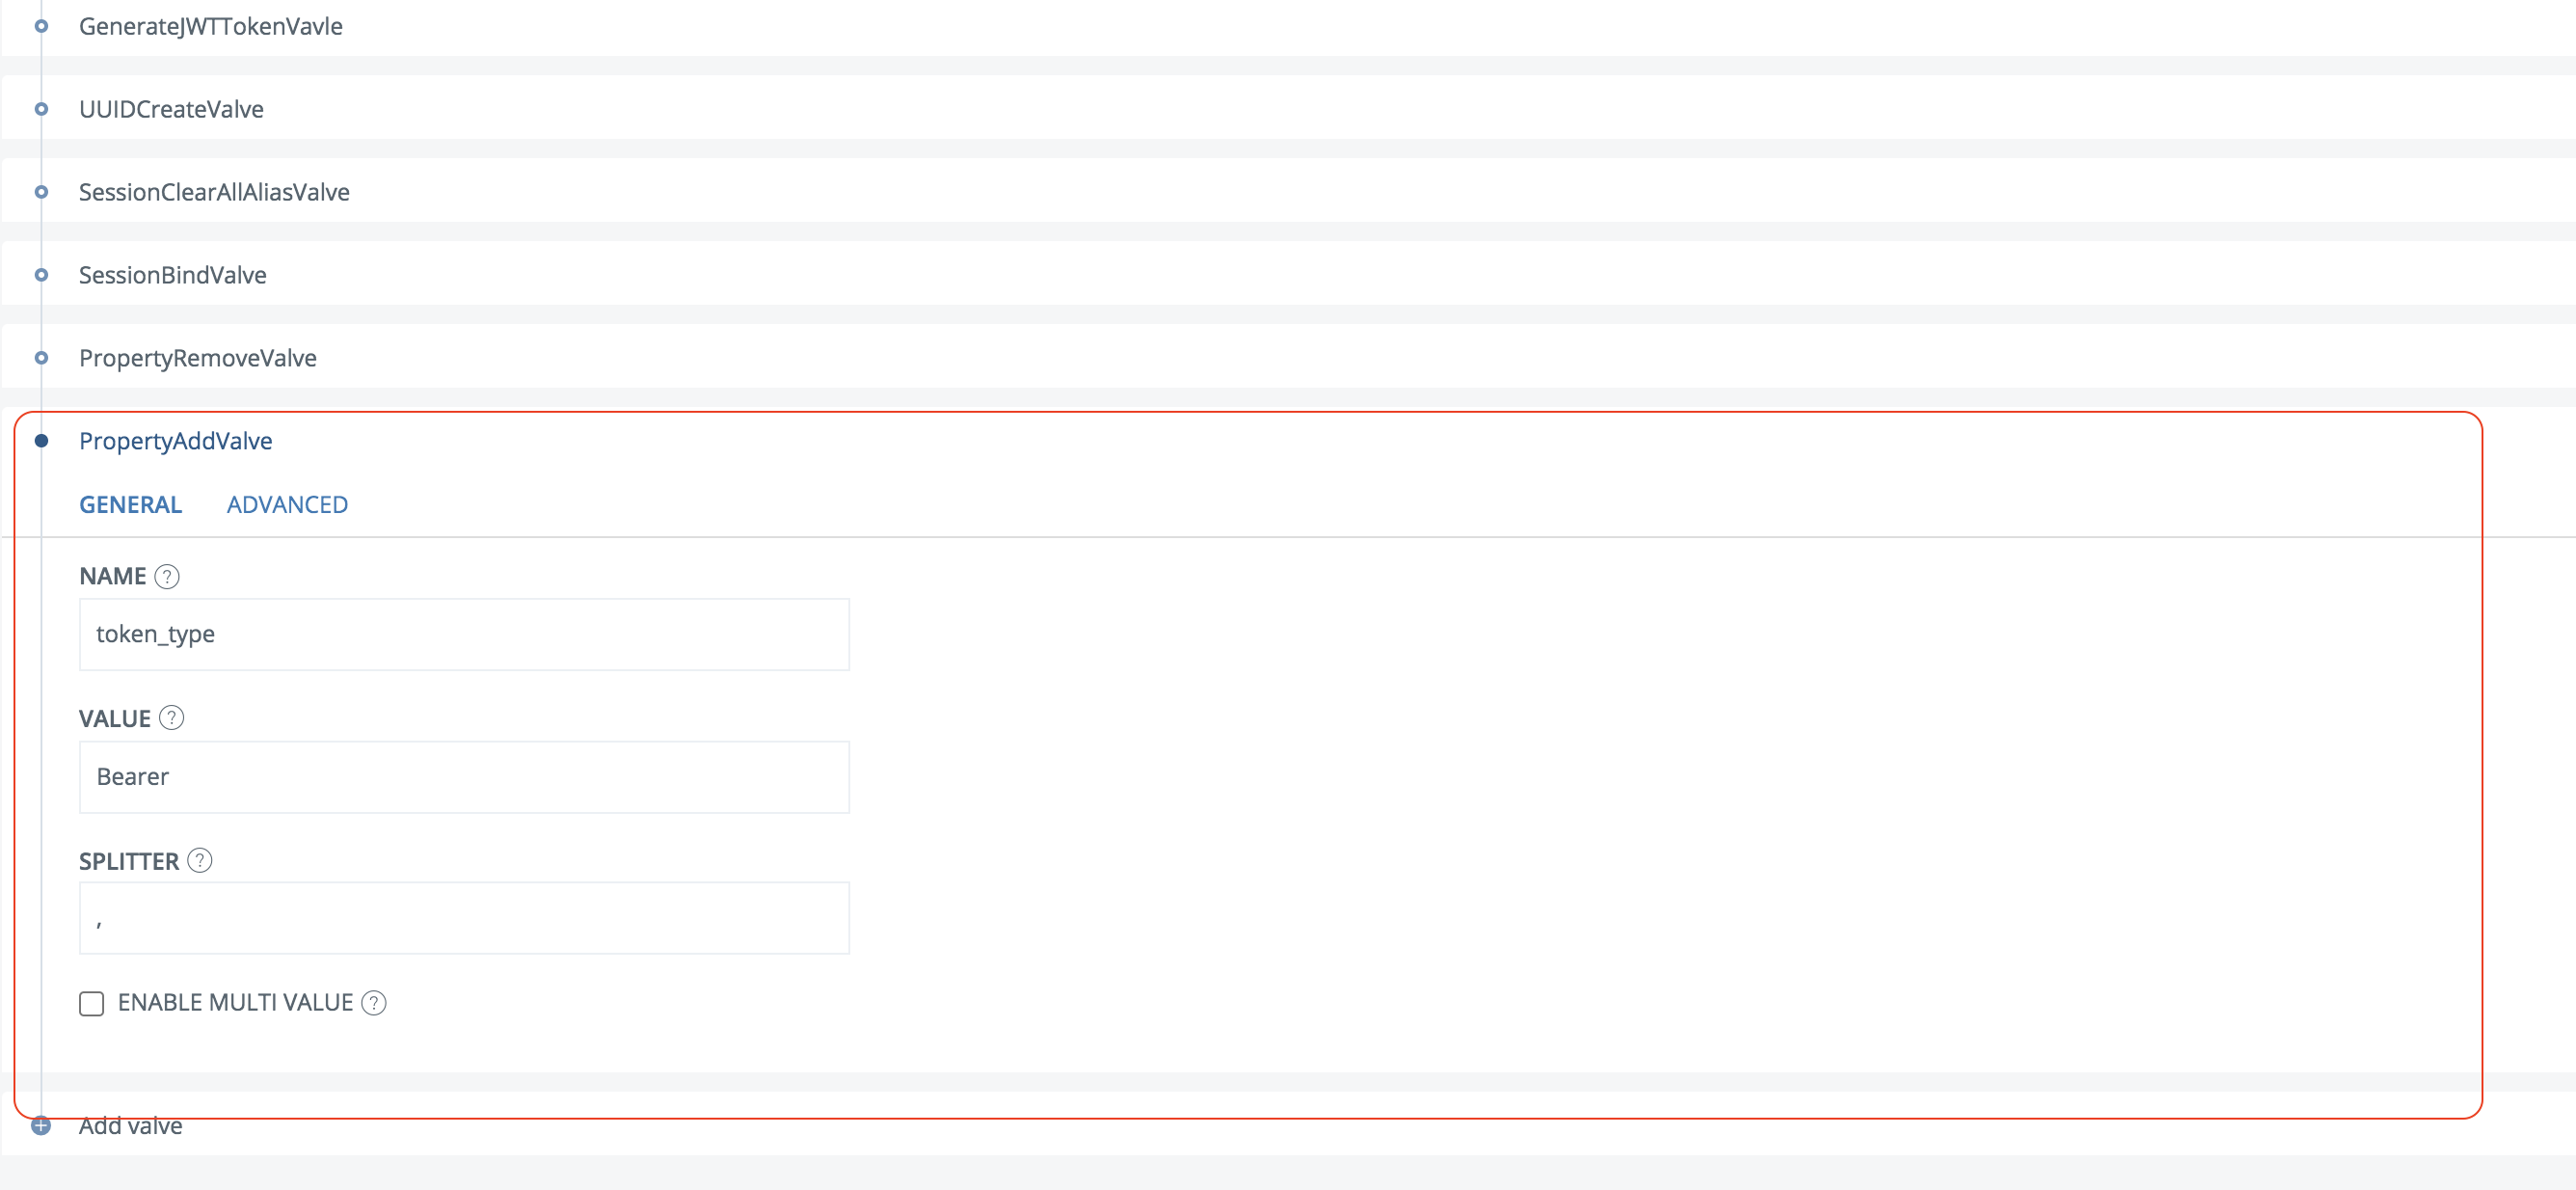
- Click Add valve
- Select PropertyAddValve
- Enter name = token_type and value = Bearer. Make sure the valve is placed last in the execution flow.

- Save the changes
- Click on the OpenID Connect Provider and then General
- Click View OP Discovery
- Copy the OP discovery URL.
- Send this info to the Medlo administrator:
- OP Discovery URL
- client_id
- client_secret
- Name of the claims in the identity_token.
Configure Medlo
The Medlo administrator will configure Medlo based on the information received in the step above.
Test
- Browse to Medlo
- Your browser should be redirected to PhenixID Authentication Services for authentication.
- Authenticate
- You should now be redirected back to Medlo.
- You should now be logged in to Medlo with the correct permissions (based on the unit and admin claim)
DISCLAIMER
Information provided in this document is for your information only. PhenixID makes no explicit or implied claims to the validity of this information. Any trademarks referenced in this document are the property of their respective owners.The origin of this information may be internal or external to PhenixID. PhenixID makes all reasonable efforts to verify this information.
PhenixID - support.phenixid.se